
If you’re wondering how to set up a WooCommerce private store quickly and easily, you’re in the right place.
Whether you want to create a private WooCommerce store or a WooCommerce private product or simply want to password protect the entire WooCommerce store, we’ve got you covered.
In this WooCommerce private store tutorial, we will walk you through the entire process step by step to demonstrate how easy it is to make your WooCommerce store private with the Password Protected plugin!
Are you ready? Let’s get started!
Who Should Create a Private WooCommerce Store?
If you’re wondering who might benefit from a private WooCommerce store, here are a few scenarios in which you would like to make your WooCommerce product visibility private.
- Photographers: Think of a photographer who wants to offer a selection of photos from a recent shoot to their clients. By creating a private area on their website, clients can view and choose their preferred images for prints or digital downloads.
- Custom Uniform Manufacturers: Companies that specialize in crafting custom uniforms might create private online stores for each client they serve. This way, each company has exclusive access to order their specific uniforms, ensuring confidentiality and convenience.
- Wholesalers with Different Pricing Tiers: For wholesalers or distributors who offer varying prices to different clients, a private WooCommerce store is invaluable. They can set up individual pricing structures based on customer tiers or volume discounts.
- Memberships and Exclusive Clubs: Businesses that offer memberships or exclusive clubs can benefit from a private WooCommerce store. Members can access unique products, services, or events through their exclusive online portal.
- Limited-Time Promotions: Suppose you’re running a promotion or sale for a select group of customers, such as VIP clients or loyal subscribers. Creating a private store for this limited-time offer adds an element of exclusivity and encourages targeted purchases.
In these scenarios, a private WooCommerce store offers a personalized and secure online shopping experience, which enhances customer service and business operations.
3 Ways to Create WooCommerce Private Store with Password Protected
The easiest way to create a WooCommerce private store is to use the Password Protected plugin. This plugin allows you to not only make your WooCommerce product visibility private but also let your password protect the WooCommerce category, WooCommerce shop page, or even the entire WooCommerce store.
Follow the below WooCommerce private store tutorial to learn how to make your WooCommerce private in 3 different methods:
First, Install and Activate Password Protected Pro
To make your WooCommerce store private, you’ll need to upgrade to the Password Protected Pro version. Here’s the step-by-step guide to get started:
Step #1: Install the Free Version
- Log in to your WordPress dashboard and go to Plugins → Add New Plugin.
- Search for “Password Protected” and look for “Password Protected – Ultimate Plugin to Password Protect…”.
- Click “Install Now” and “Activate” to enable the plugin.
Step #2: Upgrade to the Password Protected Pro
Once the free version is activated, it’s time to upgrade to Password Protected Pro. Here’s how to do so:
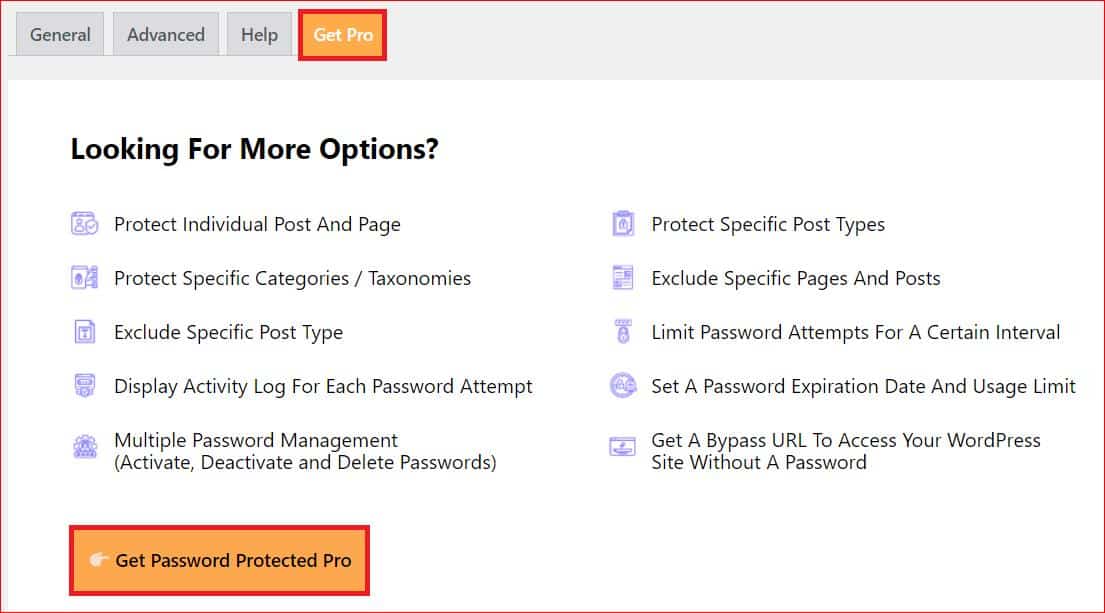
- Go to the Plugin’s settings screen.
- Navigate to the “Get Pro” tab.
- Click the “Get Password Protected Pro” button to proceed to the pricing page.
- On the Password Protected pricing page, select the subscription plan that best fits your needs. Once you’ve made your decision, complete the order process.
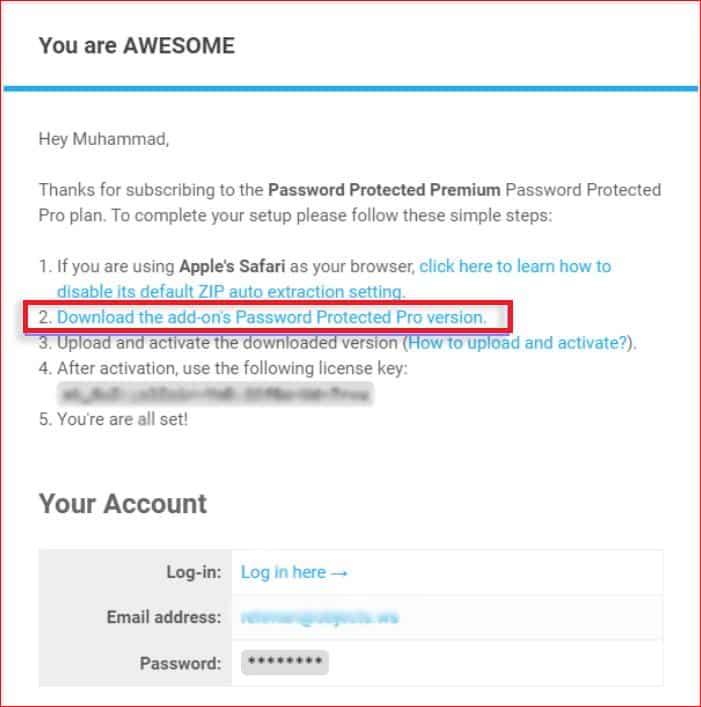
Step #3: Download Pro Version
After completing your order, you’ll receive an email containing a download link for the Password Protected Pro zip file and your unique license key.
Step #4: Install Pro Version
To install the Pro version, follow these steps:
- Return to your WordPress dashboard.
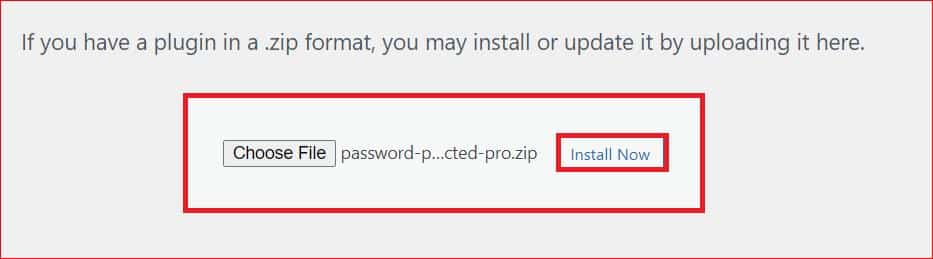
- Go to Plugins → Add New Plugin → Upload Plugin.
- Upload the “Password-Protected-pro.zip” file that you downloaded from the email.
- Click “Install Now” to install the Pro version.
Step #5: Activate Pro Version
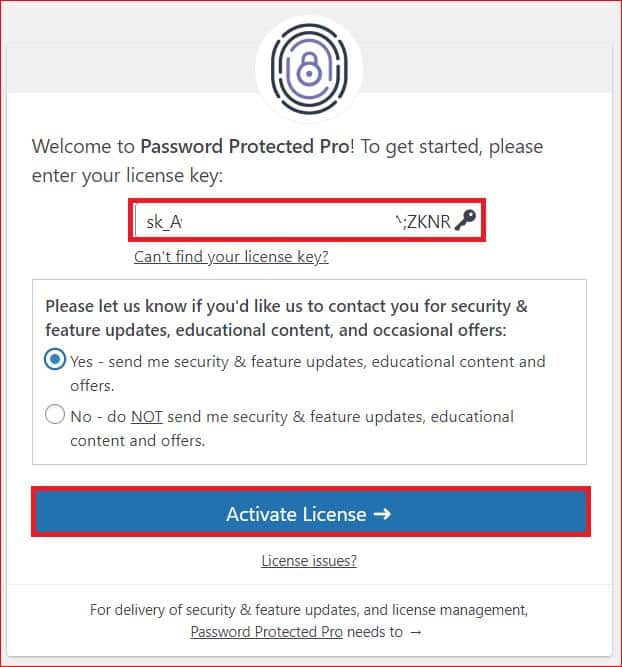
After installation, click on “Activate Plugin” to activate the Pro features.
- During the activation process, you’ll be prompted to enter your unique license key. Simply enter it to complete the activation.
Congratulations! You’ve now successfully installed and activated Password Protected Pro. With this upgraded version, you can easily create a private WooCommerce store in minutes.
Method #1: Set up a WooCommerce Private Product
If you want to sell a certain product privately, then you can password protect a WooCommerce individual product using the Password Protected plugin.
To make an individual WooCommerce private, follow the steps below:
Step #1: Access Plugin Settings
- Head to your WordPress dashboard and locate “Password Protected” in the menu on the right.
- Inside the plugin’s settings, go to the “Post Type Protection” tab.
Step #2: Select Individual Protection
- If you wish to protect specific products only, check the box for “Individual Product Protection.”
- Click “Save Changes” to apply these settings.
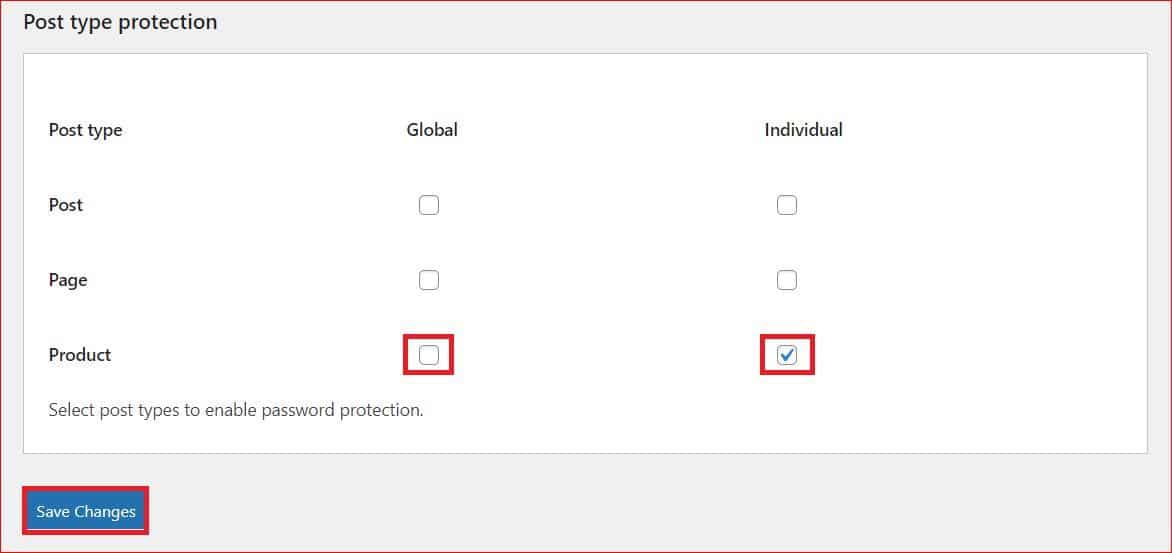
NOTE: If you prefer to protect all WooCommerce products, you can check the box under the “Global” column instead.
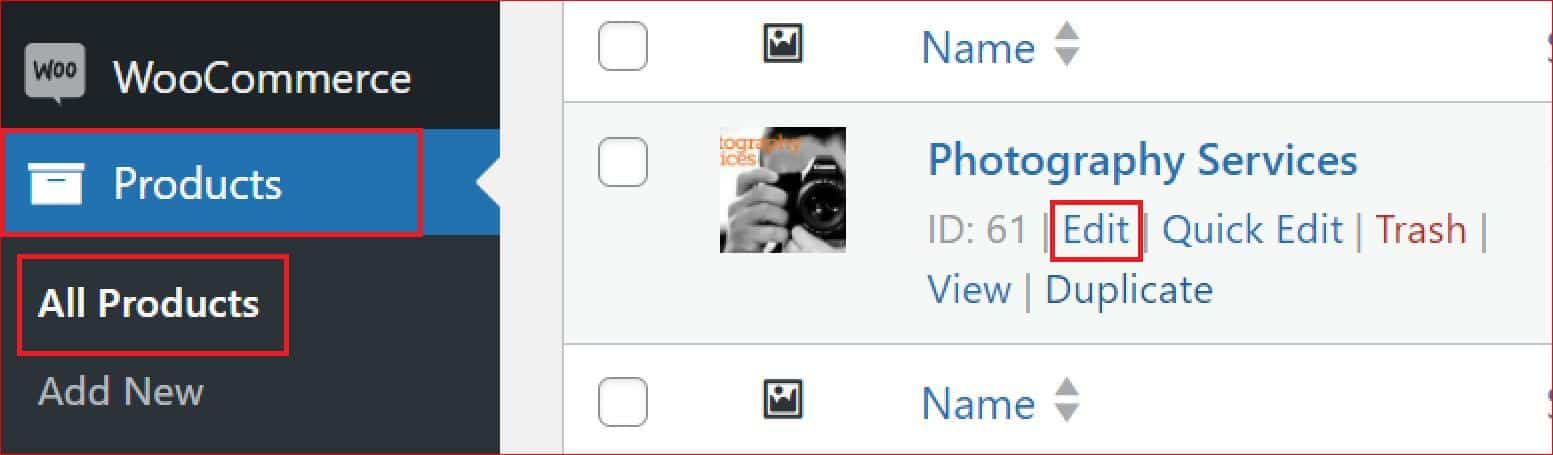
Step #3: Navigate to Product Editor
- Go back to your WordPress dashboard and click on Products → All Products.
- Find the product you want to protect and click “Edit.”
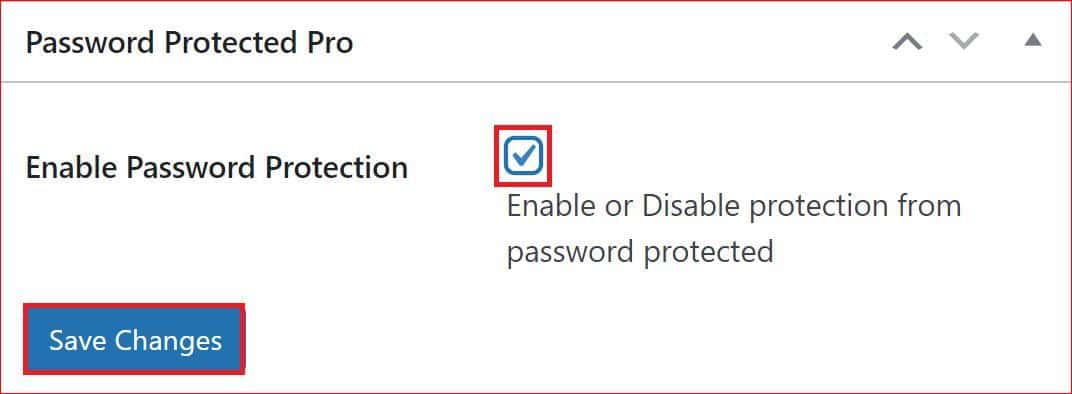
Step #4: Enable Password Protection
- Scroll down to locate the “Enable Password Protection” option on the product editor page. Check the box.
- Click “Save Changes” to proceed.
Step #5: Configure Password Settings
After saving, additional fields will appear for password configuration:
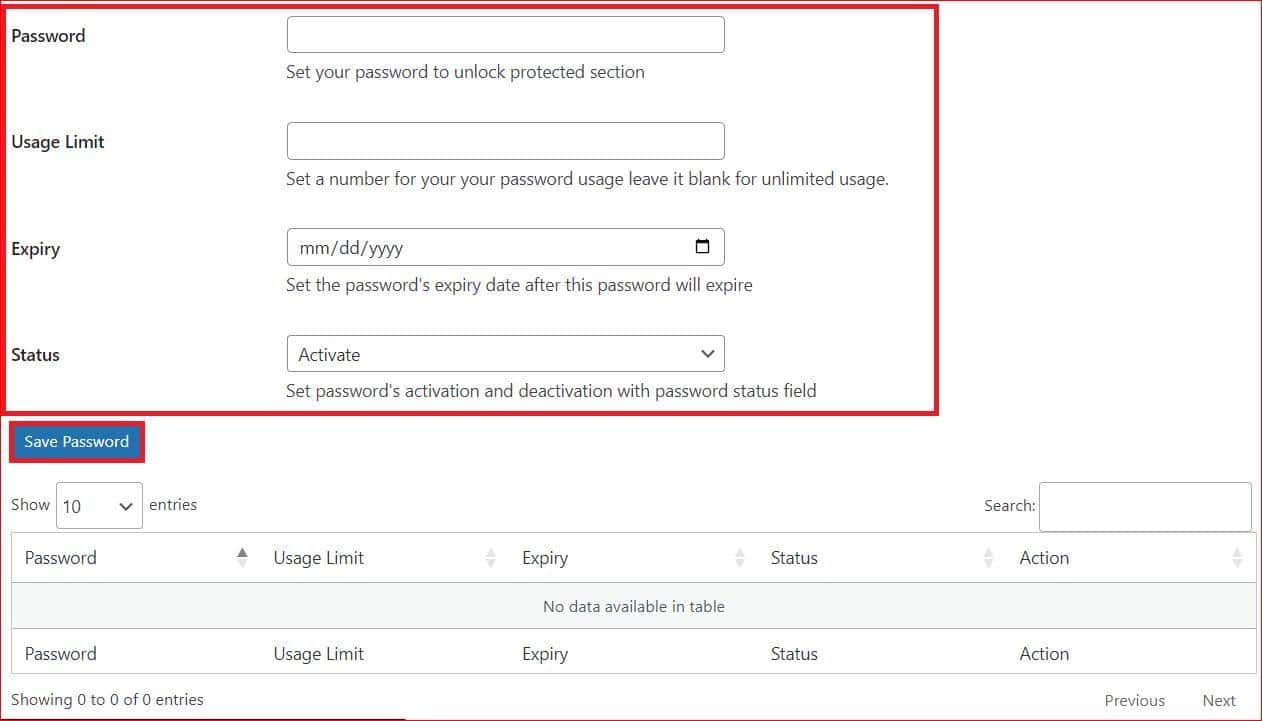
- Password: Choose a password of your choice. For better security, it’s recommended to use a minimum 8-digit password.
- Usage Limit: Set how many times the password can be used. After this limit, the password will no longer work.
- Expiry: Select when the password should expire, automatically removing the protection.
- Status: Keep it as “Activate” for now, but you can change it to “Deactivate” or “Expired” later.
Step #6: Apply Protection
- Once you’ve set the password and configured the settings, click “Save Changes” again to activate the protection.
From now on, when visitors try to access the protected WooCommerce product on your site, they’ll encounter a password protected screen.
Congratulations! You’ve successfully made your WooCommerce product private.
Method #2: Password Protect WooCommerce Categories
To make your WooCommerce categories private using the Password Protected plugin, follow the steps below:
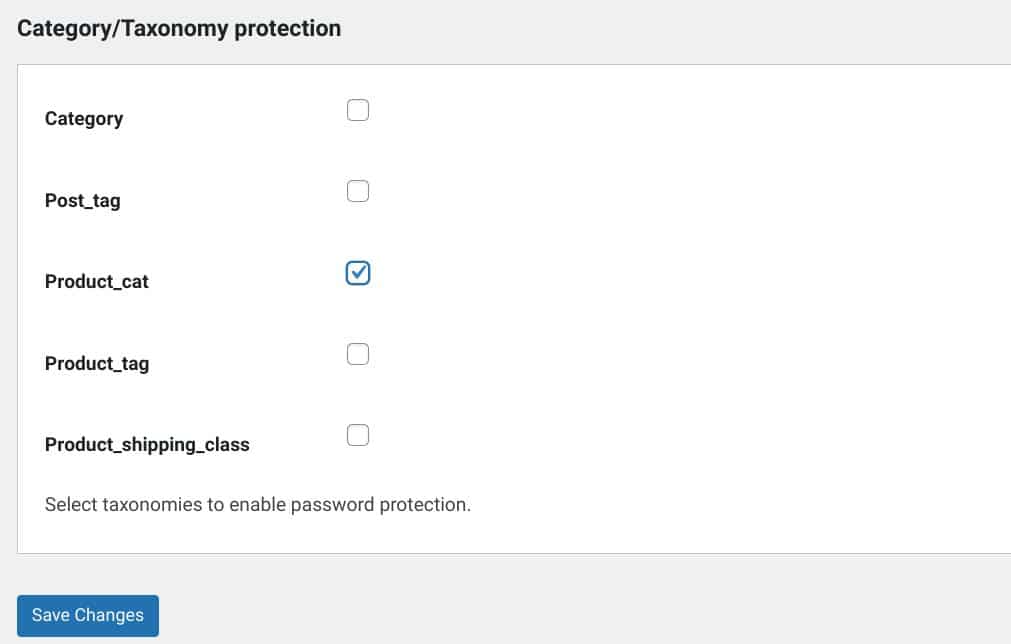
- Within the plugin’s settings, go to the “Category/Taxonomy Protection” tab in your WordPress dashboard.
- Tick the “Product_cat” option and hit the “Save Changes.”
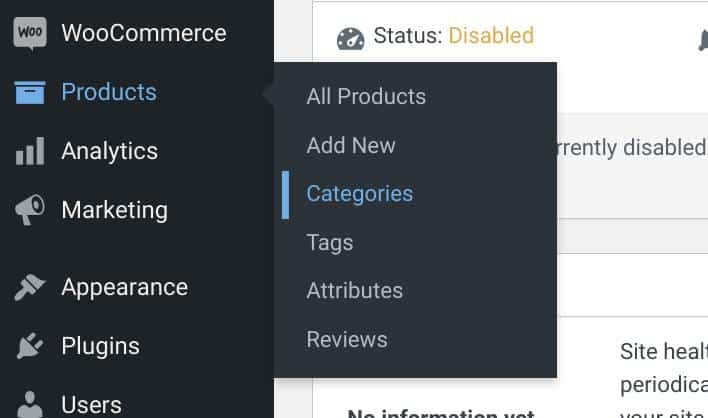
- Go to Products → Categories under WooCommerce from the left-hand side menu of the WordPress dashboard.
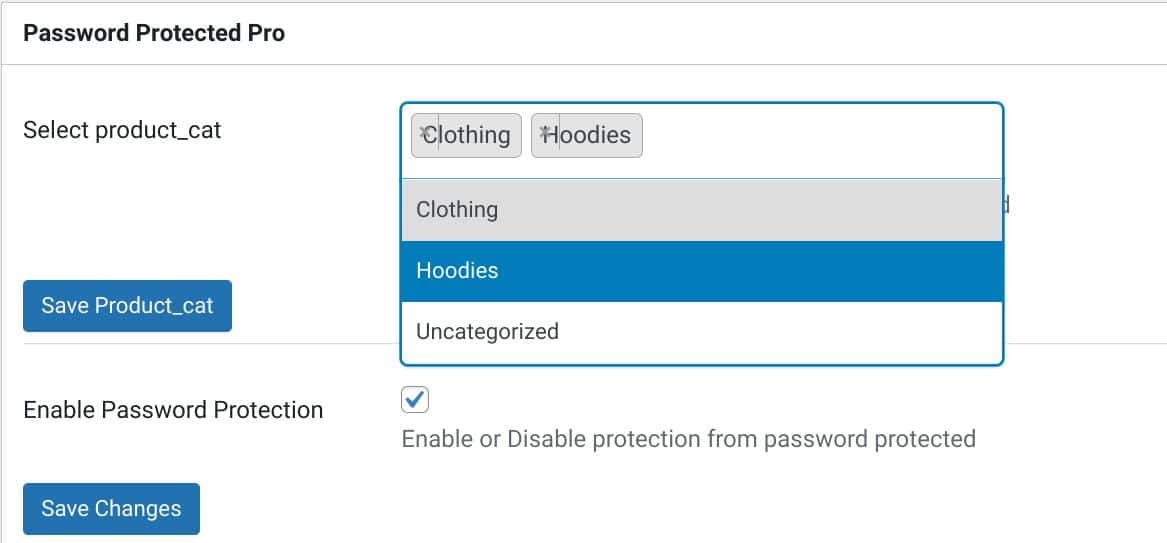
- Scroll down to the Password Protect Pro section, select one or multiple WooCommerce categories, and then hit the “Save Product_cat” button.
- Next, tick the “Enable Password Protection” option and select the “Save Changes” button to apply the password protection.
Now, you’ll see the multiple fields right under the Password Protect Pro section.
- Fill out all the fields to set up the password as we’ve previously described for the WooCommerce private product.

- Once you’ve set up the password simply select “Save Password.”
That’s it! You’ve now successfully created private categories in WooCommerce.
Method #3: Password Protect Entire WooCommerce Store
If you are wondering how do I hide my WooCommerce store? Keep reading as in this method we will show you how to make your entire Woomcerce store private using the Password Protected plugin.
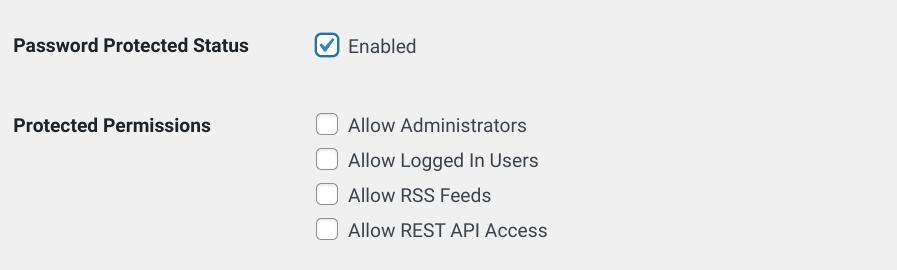
- In the Password Protected plugin’s setting, select the General tab.
- Scroll down and tick the Password Protected Status box. Also, you can specify which users and actions you allow access to.
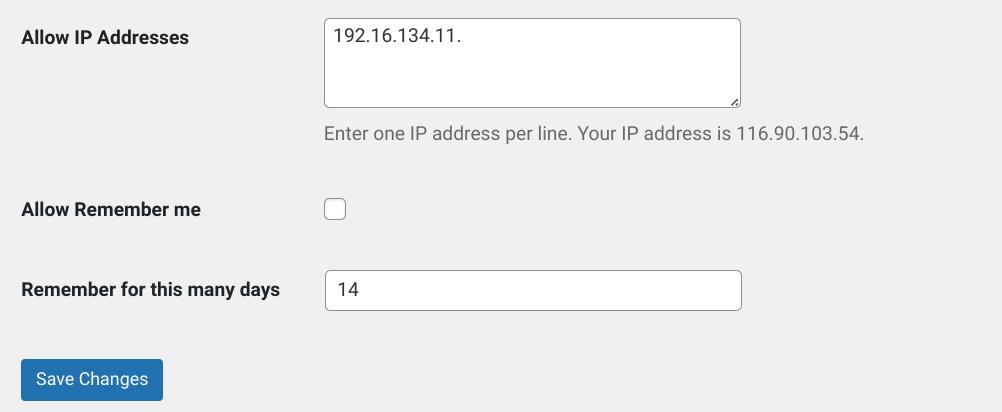
- Next, enter the password you want to set up.

- If you want to allow specific IP Addresses, then type in the box next to the “Allow IP Addresses” option.
- Check mark the “Allow Remember me” if you want open access for yourself.
- Lastly, specify the number of days that you would like this password to be effective and hit the “Save Changes “ button.
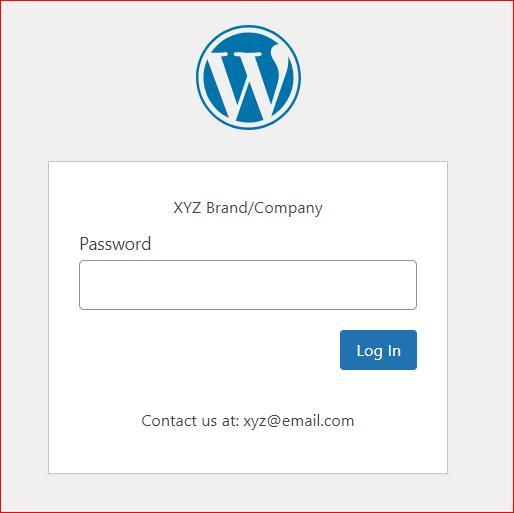
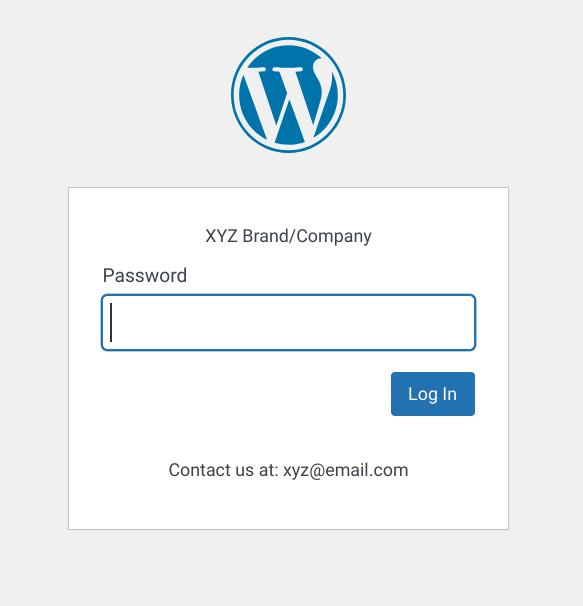
That’s all for now. When someone visits your Woocommerce store, they will see the password protected store screen below.
NOTE: Using the advanced tab in the plugin’s settings you can enable further settings such as Google reCAPTCHA, limit login attempts, exclude posts and pages, etc.
Next, Prevent Brute Force Attacks with Limit Login Attempts
The Password Protected plugin offers a feature to enhance security by limiting login attempts on the password protected screen.
With this setting, users are restricted from entering the password after a certain number of failed attempts, as demonstrated in the screenshot.
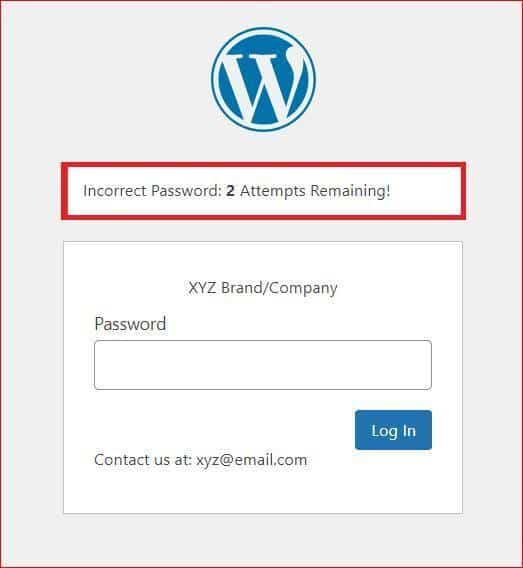
By implementing the “Limit Login Attempts” feature, you effectively protect your WooCommerce password protected screen from a potential WordPress brute force attack, which ultimately enhances the overall security of your store.
Final Remarks on WooCommerce Private Store
If you want to create a private WooCommerce store, you can do so easily and effectively with the Password Protected plugin.
Whether you’re offering exclusive products, managing memberships, or catering to specific customer segments, the methods we’ve mentioned in this WooCommerce private store tutorial make it easy for you to control access.
Remember to install and activate the Password Protected Pro plugin, then choose the method that best suits your store’s needs.Lastly, if you need any help feel free to contact us. Happy selling!