
Do you want to add content locking in WordPress so that only users with the password can access your website content?
You might have a paid subscription platform on your website, or you want to restrict public access to your WordPress content. No matter why you want to lock content in WordPress, you can do it via the Password Protected plugin.
Continue reading, as we will show you two easy ways to add content locking in WordPress in this tutorial. Also, we will discuss the benefits of WordPress content locking.
Ready? Let’s get started!
What is content locking in WordPress?
Content locking in WordPress refers to the activity in which website owners password protect the WordPress content so that only the user with the password can access it. The reason for this can be anything from creating a WooCommerce private store to gating premium content behind a password prompt.
To understand it better, imagine running a photography blog and offering your subscribers a free photography course. By locking this course content with a password, you ensure that only those who have signed up for your newsletter or membership can access it, thus incentivizing visitors to subscribe to your services.
Content locking operates similarly to digital subscriptions, where valuable content is offered in exchange for user action (e.g., paid content or asking for some kind of action such as giving an email address, etc.).
When implemented effectively, content locking can help you generate leads, build an engaged audience, and ultimately grow your online presence. However, striking the right balance is crucial to avoid frustrating visitors with excessive barriers to accessing your content.
Benefits of WordPress Content Locking
Content locking is quite prevalent among WordPress users, as it offers many advantages that can significantly enhance your website’s functionality and user experience.
Now let’s explore some of it’s benefits:
- Better User Engagement: By gating premium content behind a password prompt, you create a sense of exclusivity, enticing users to engage more deeply with your website.
- Monetization Opportunities: Content locking provides a seamless way to monetize your valuable content, whether through paid subscriptions, premium memberships, or one-time purchases.
- Increased Conversion Rates: Require users to sign up for a membership to access locked content, which in turn increases your potential customer base.
- A Higher Level of Security: By locking content, you can safeguard sensitive information and restrict access to authorized users only, enhancing the security of your website.
- Personalized User Experience: When you offer customized content based on user preferences and behaviors, you can give your users a more customized and engaging experience.
In short, content locking in WordPress not only adds an extra layer of security but also opens up avenues for revenue generation and fosters deeper engagement with your audience.
2 Easy Ways to Add Content Locking in WordPress
To add content locking to your WordPress site, you need to have a content locker plugin, and Password Protected makes content locking a breeze!
First, Install and Activate Password Protected Plugin
Let’s kickstart the process by installing and activating the Password Protected plugin on your WordPress site. For the convenience, follow these steps:
- First, log in to your WordPress dashboard and head over to Plugins → Add New Plugin.
- Look up “Password Protected” and find “Password Protected – Ultimate Plugin to Password Protect…” in the search results.
- Click on “Install Now” and then “Activate” to turn on the plugin.
IMPORTANT: For certain features such as WordPress posts, pages, and categories protection, you’ll need to have Password Protected Pro, so if you want to upgrade to the Pro version, follow the steps below:
- Go to the plugin’s settings and navigate to the “Get Pro” tab.
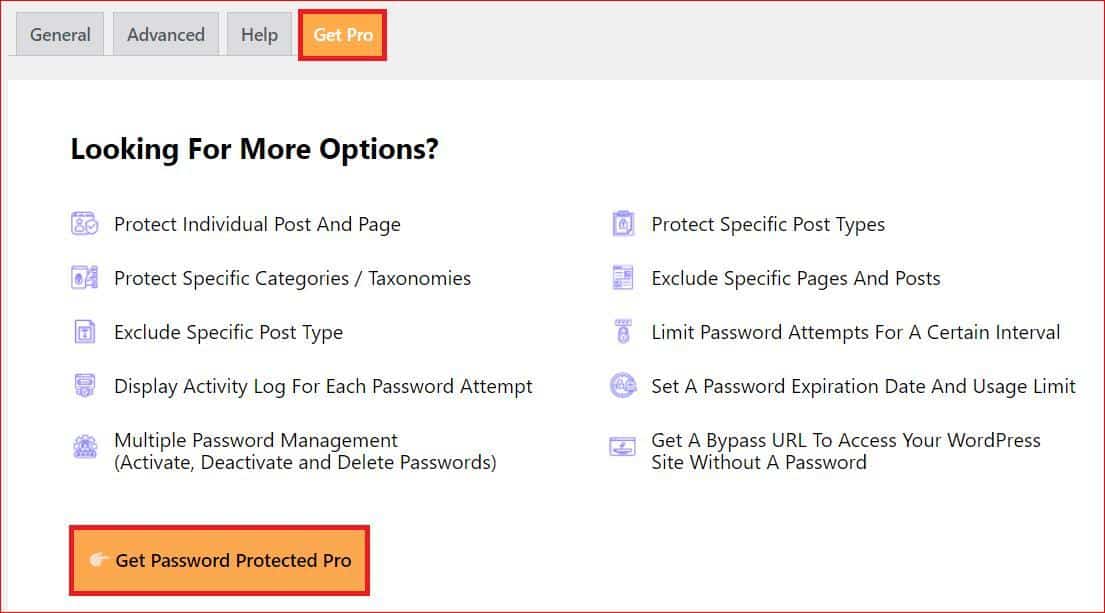
- Hit the “Get Password Protected Pro” button to go to the pricing page.
- Choose the subscription plan that suits your needs and complete the order.
After making the purchase, you’ll receive an email containing a download link for the Password Protected Pro zip file along with your unique license key.
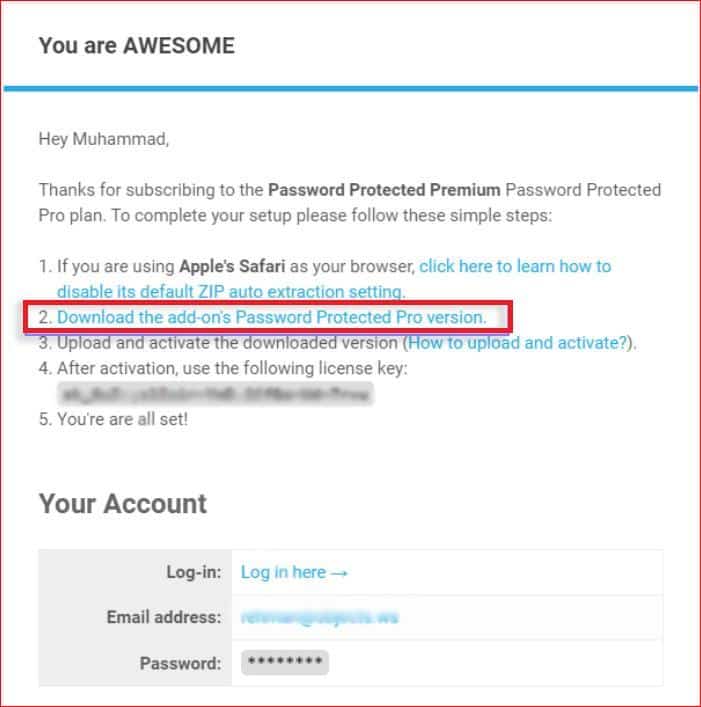
Now, follow the steps below to install the Pro version:
- Return to your WordPress dashboard and visit Plugins → Add New Plugin → Upload Plugin.
- Upload the “Password-Protected-pro.zip” file you received via email.
- Click on “Install Now” to proceed with the installation.
- Once installed, click on “Activate Plugin” to enable the Pro features.
- At the time of activation, you’ll be asked to enter your unique license key. Simply input it to finish the activation process.
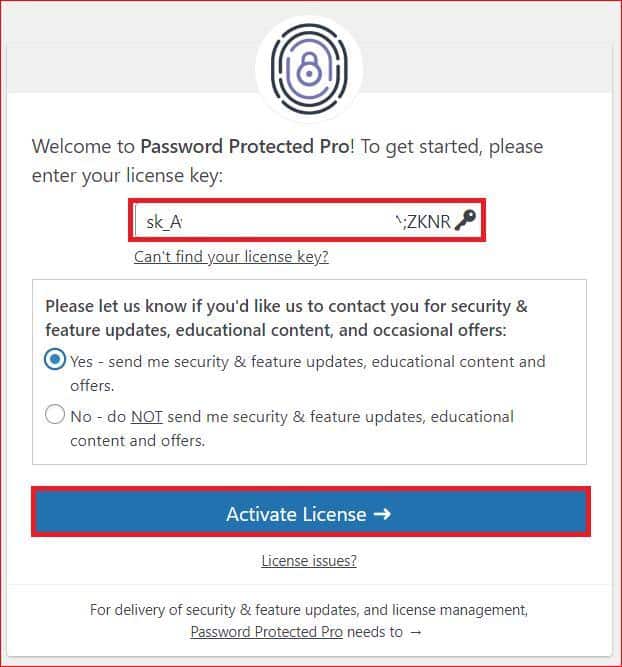
Congratulations! You’ve now successfully installed and activated Password Protected Pro. With its upgraded features, you can easily implement content locking in WordPress.
Method #1: Apply Content Locking to Entire WordPress Site
Especially if you want to restrict access to exclusive members or subscribers, locking down your entire WordPress site can be a smart move. With a password protected website, you can be certain that only those with the correct credentials can view its contents, giving you a sense of privacy and exclusivity.
To implement content locking for your entire WordPress site, follow these simple steps:
- Navigate to the Password Protected plugin in your WordPress dashboard’s right-hand side menu.
- Access the General tab and toggle on the button to enable password protection.
- Also, customize the “Protected Permissions” according to your preferences.
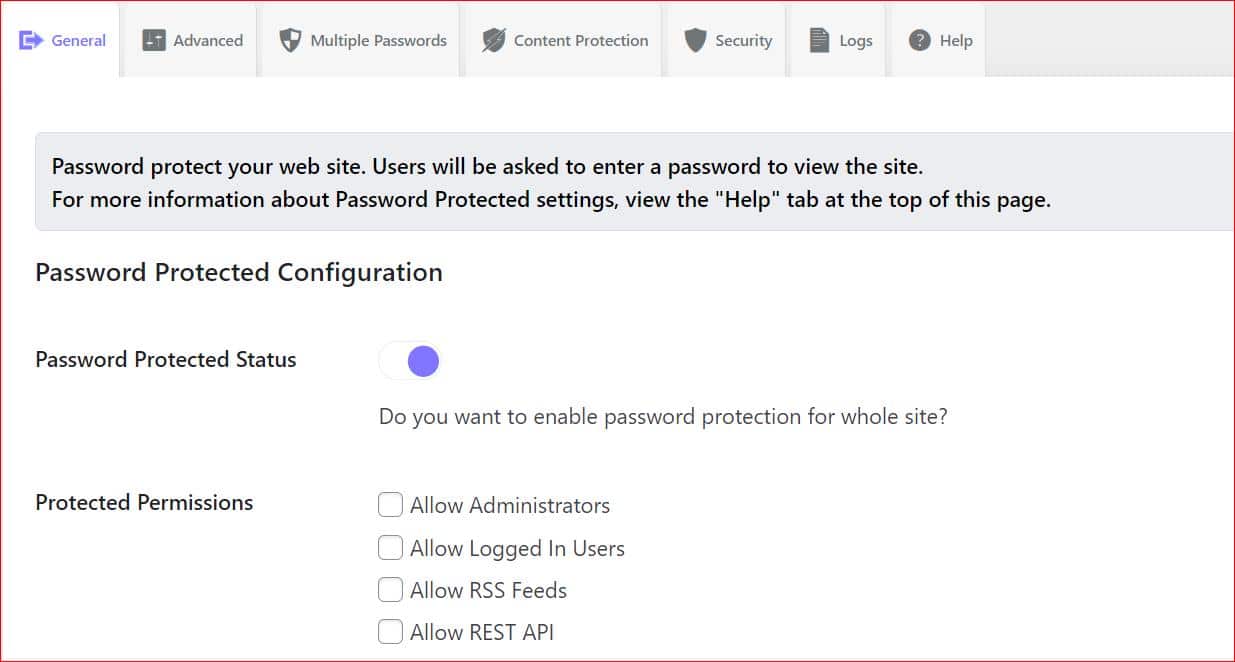
- Set a new password and specify the duration for which this password will remain active.
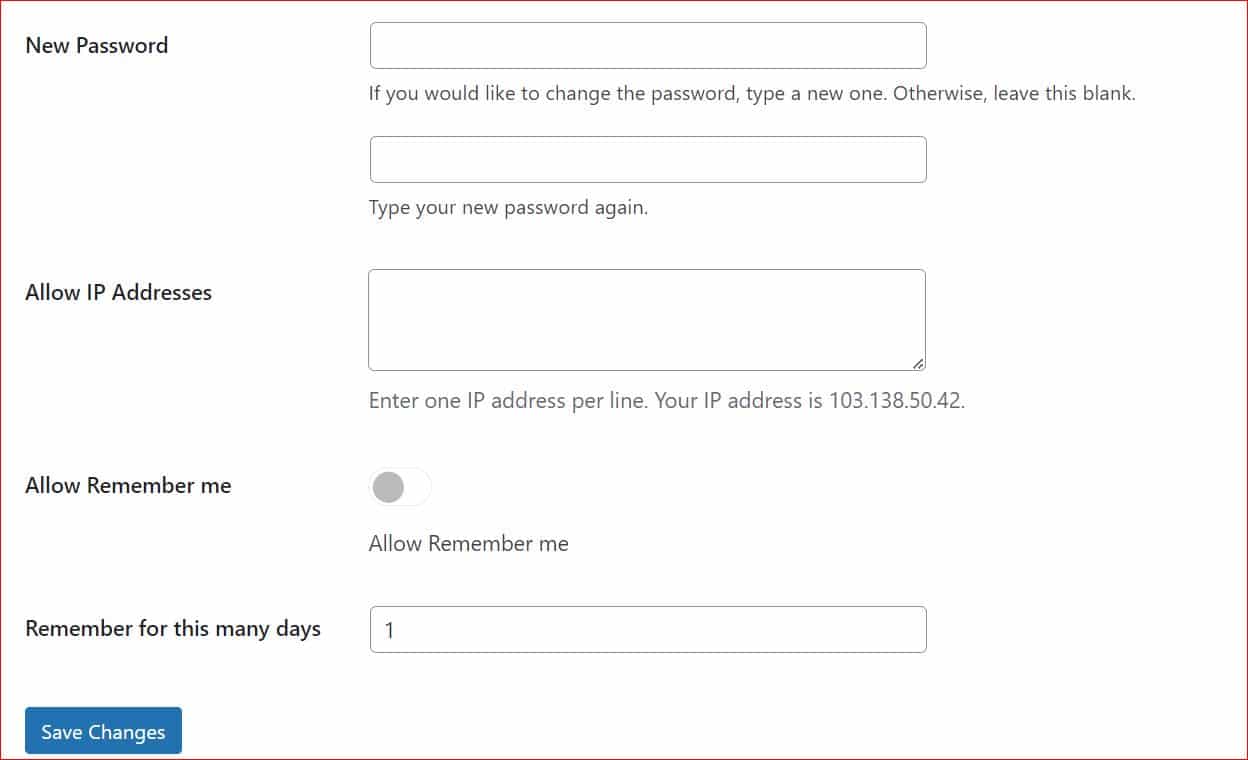
- Finally, click the “Save Changes” button to apply the settings.
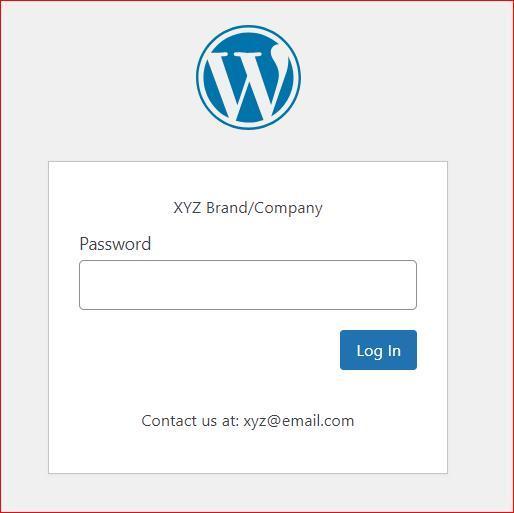
Once configured, any visitor who attempts to access your website sees the password protected screen, which ensures that only authorized users can access your website.
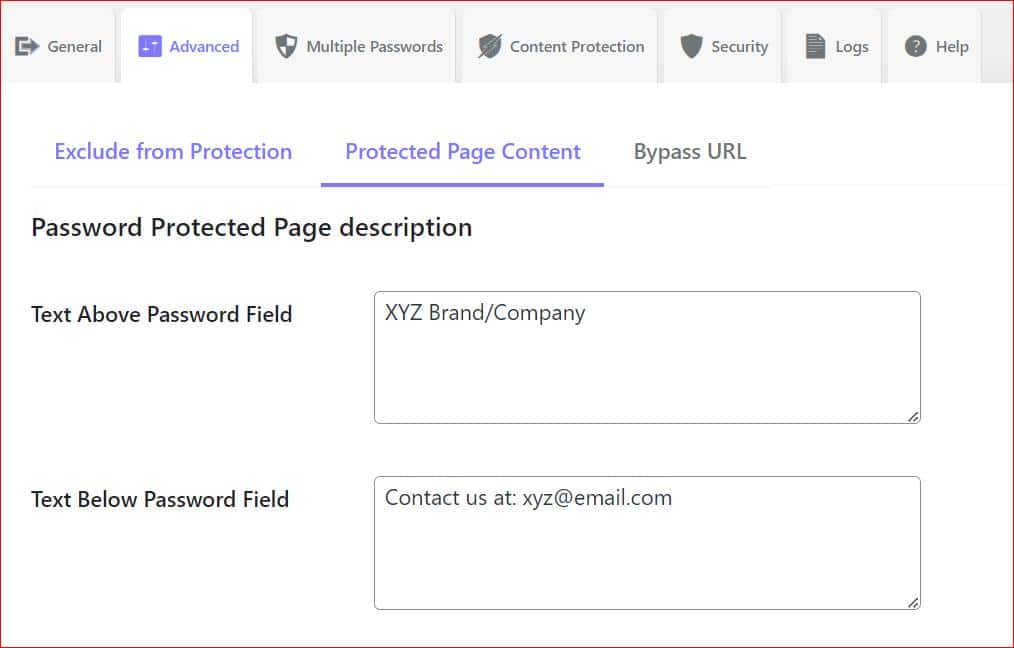
NOTE: With Password Protected Pro, you unlock additional features, such as displaying a custom message on the password-protected screen. To set up your message accordingly, navigate to the “Protected Page Content” sub-tab under the Advanced tab, as shown in the screenshot below.
If you are wondering how to WordPress password protect page, post, or category, check out the next method.
Method #2: Set Up Content Locking for WordPress Post Types and Categories
When you implement content locking for WordPress pages, posts, categories, and even if you want to password protect a WooCommerce shop page, by doing so, you can ensure that only authorized users have access to sensitive information or premium content and provide a more personalized browsing experience.
To set up content locking for WordPress post types and categories, follow these straightforward steps:
- Log into your WordPress dashboard and click “Password Protected” from the right-hand menu.
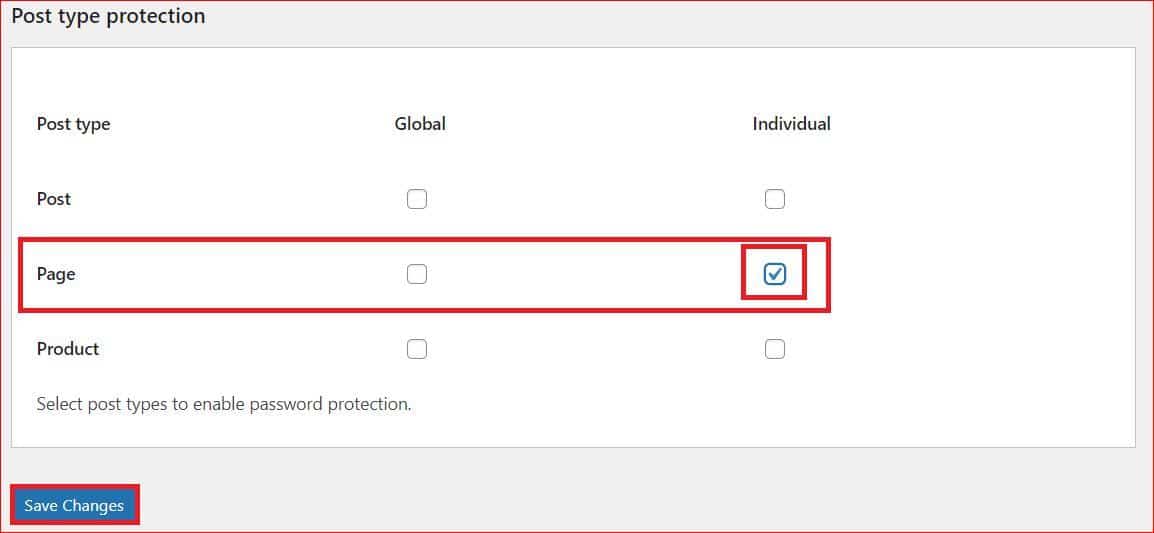
- Within the plugin’s settings, navigate to the “Post Type Protection” tab.
- Checkmark the individual page protection option for the desired post types or categories, and then click the “Save Changes” button.
NOTE: To password protect all pages, simply check the box under the “Global” column.
Now, you can set a password for any WordPress page you choose. Follow the steps below:
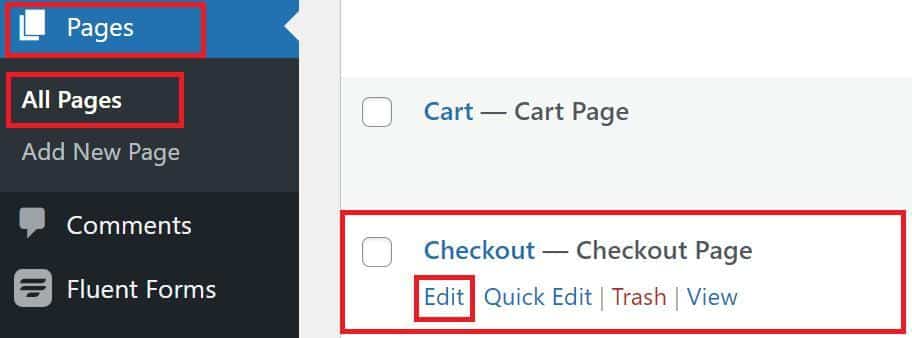
- Go back to your WordPress dashboard and navigate to Pages → All Pages.
- Hover your mouse cursor over the WordPress page you want to password protect and click on “Edit.”
- Scroll down and checkmark the “Enable Password Protection” option, then click “Save Changes.”
Tahir@123
- After clicking Save Changes, you’ll see fields for configuring your page’s password.
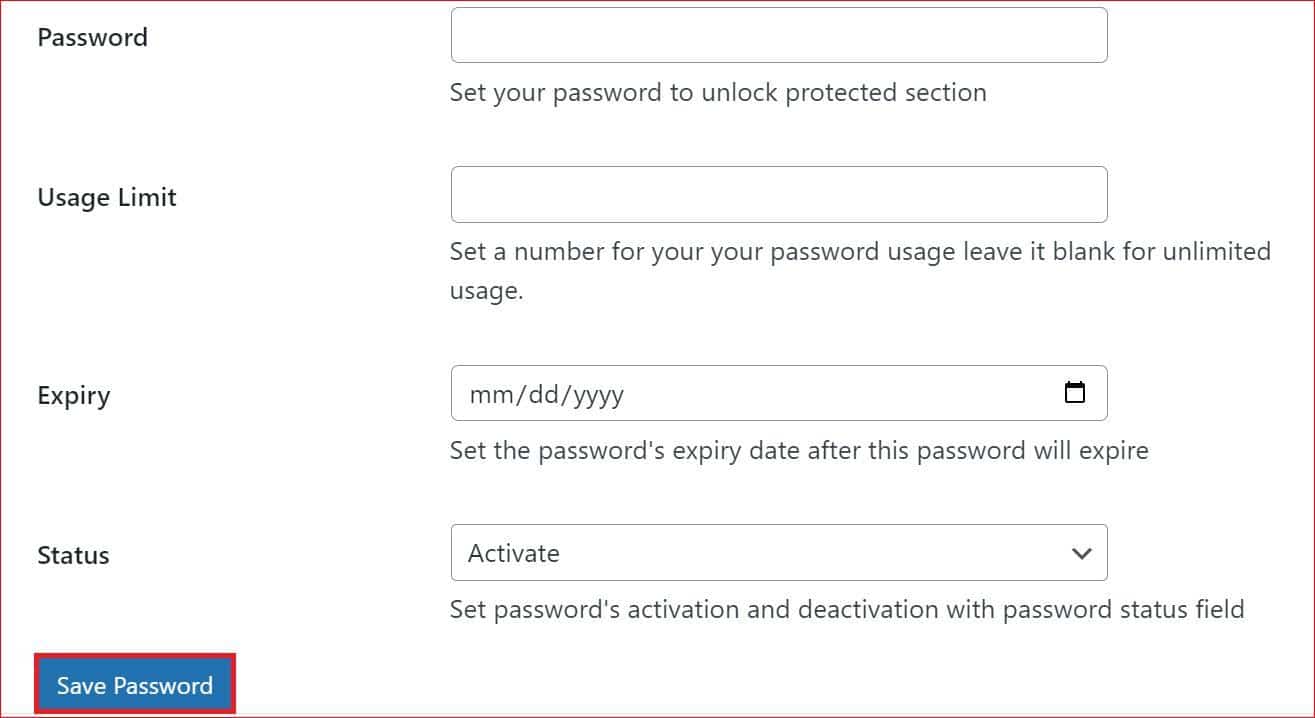
- Password: Set a password of your choice, preferably an 8-digit long password, for optimal security.
- Usage Limit: Specify how many times a user can use the same password before it expires.
- Expiry: Choose when the password will expire, after which the page won’t be password protected anymore.
- Status: Keep the status as “Activate” for now, but you can deactivate or mark it as expired later.
After configuring the password settings, select the “Save Password” button to apply the password protection.
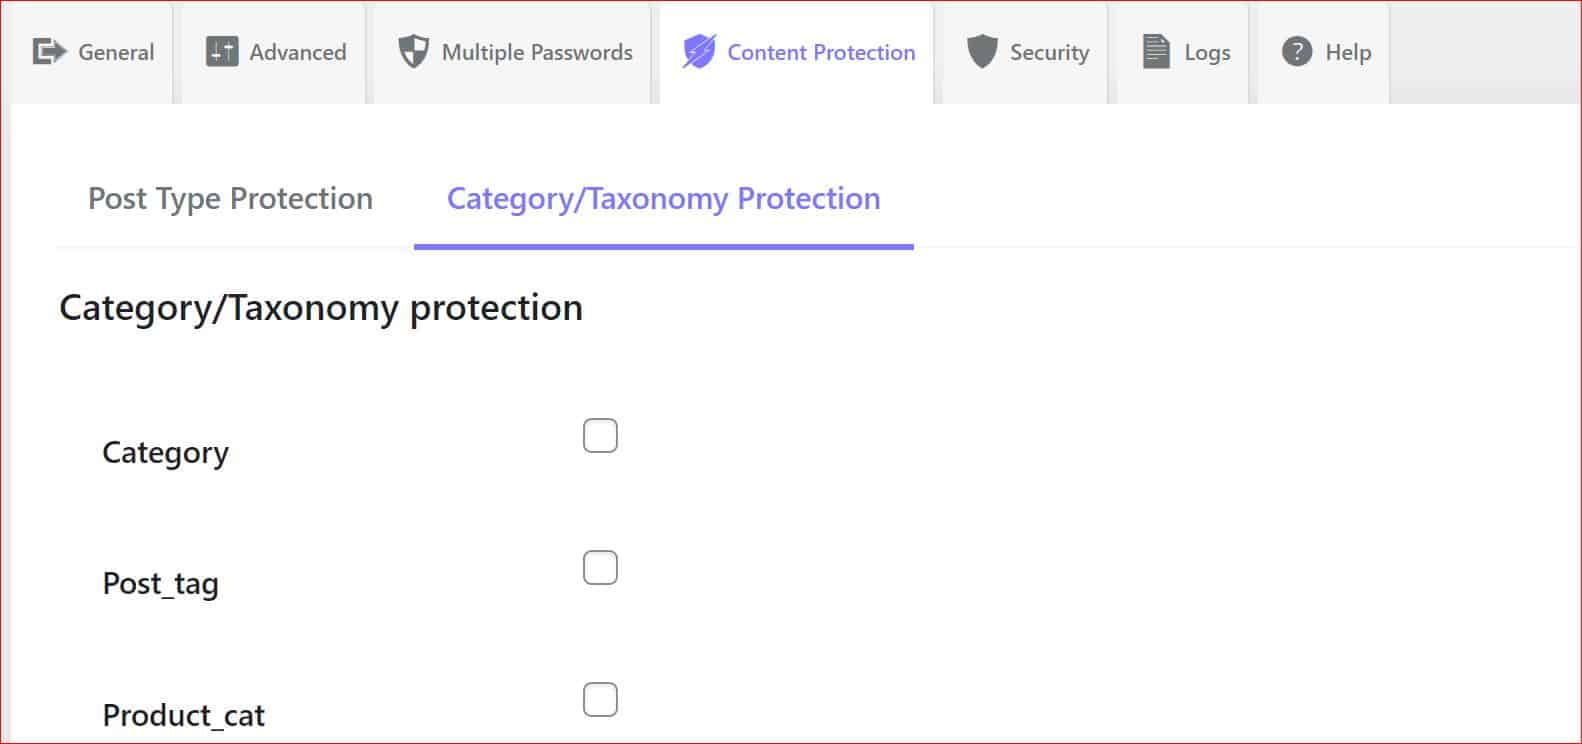
NOTE: To password-protect WordPress categories, follow the same steps as we did for WordPress pages. You can access this by clicking on the “Category/Taxonomy Protection” subtab under Content Protection.
Additionally, using our login designer plugin, you can customize the appearance of your password-protected screen to match your brand.
Concluding Thoughts
Content locking in WordPress allows you to offer exclusive content, provide a membership program, or restrict public access during maintenance.
As we have already shown you in the tutorial above, you can add WordPress content locking using two easy methods: the Password Protected Plugin.
The best part is that the Password Protected plugin also allows you to password protect WooCommerce products, custom post types, categories, and more.
Lastly, if you have any questions or need help with WordPress content locking, don’t hesitate to contact us. We would love to help you out!
Thanks for reading, and stay protected!
Frequently Asked Questions
How do I restrict content by category in WordPress?
To restrict content by category in WordPress, install the Password Protected Pro plugin. You can then lock content in WordPress. Simply navigate to the plugin’s settings, enable protection for the WordPress category under the Content Protection tab, and then set a password for the category you want to protect.
Can I make WordPress private?
Yes, you can make WordPress private by setting up password protection for your entire website or specific pages/posts. The Password Protected plugin lets you enable site-wide or individual password protection so only authorized users can access your content.
How do I restrict content with a password in WordPress?
To restrict content with a password in WordPress, use the Password Protected plugin. You can then apply password protection to the desired pages, posts, or categories, and only visitors with the password will be able to access the content.
How do I lock a post in WordPress?
The easiest way to lock your post in WordPress is to use the Password Protected plugin. Once you’ve installed and activated the plugin, enable the password protection for an individual WordPress post under the Content Protection tab. Then, go to the posts section, click on the edit button of the post you want to lock, scroll down to the password protection settings, and enable password protection.
How do I lock content in WordPress for free?
The free version of the Password Protected plugin allows you to lock WordPress content on the whole site. However, the Pro version offers much more flexibility, such as password protection for individual pages, posts, categories, your wp-admin page, etc.