Have you ever entered a trusted website URL, only to find yourself redirected to a suspicious or unfamiliar page?
Now, imagine your audience experiencing this when they try to visit your site. Instead of arriving where they intended, they land on a malicious site built to steal data or spread harmful software. Such incidents not only compromise user safety but also damage the credibility you’ve worked hard to build.
If you’ve tackled website redirection issues but the problem persists, it could be something more advanced, such as DNS hijacking. This sneaky attack targets your website’s connection pathways and redirects users without their knowledge.
In this article, we’ll break down what DNS hijacking is, how to detect it, and the practical steps you can take to prevent it.
Ready? Let’s get started!
What is DNS Hijacking?
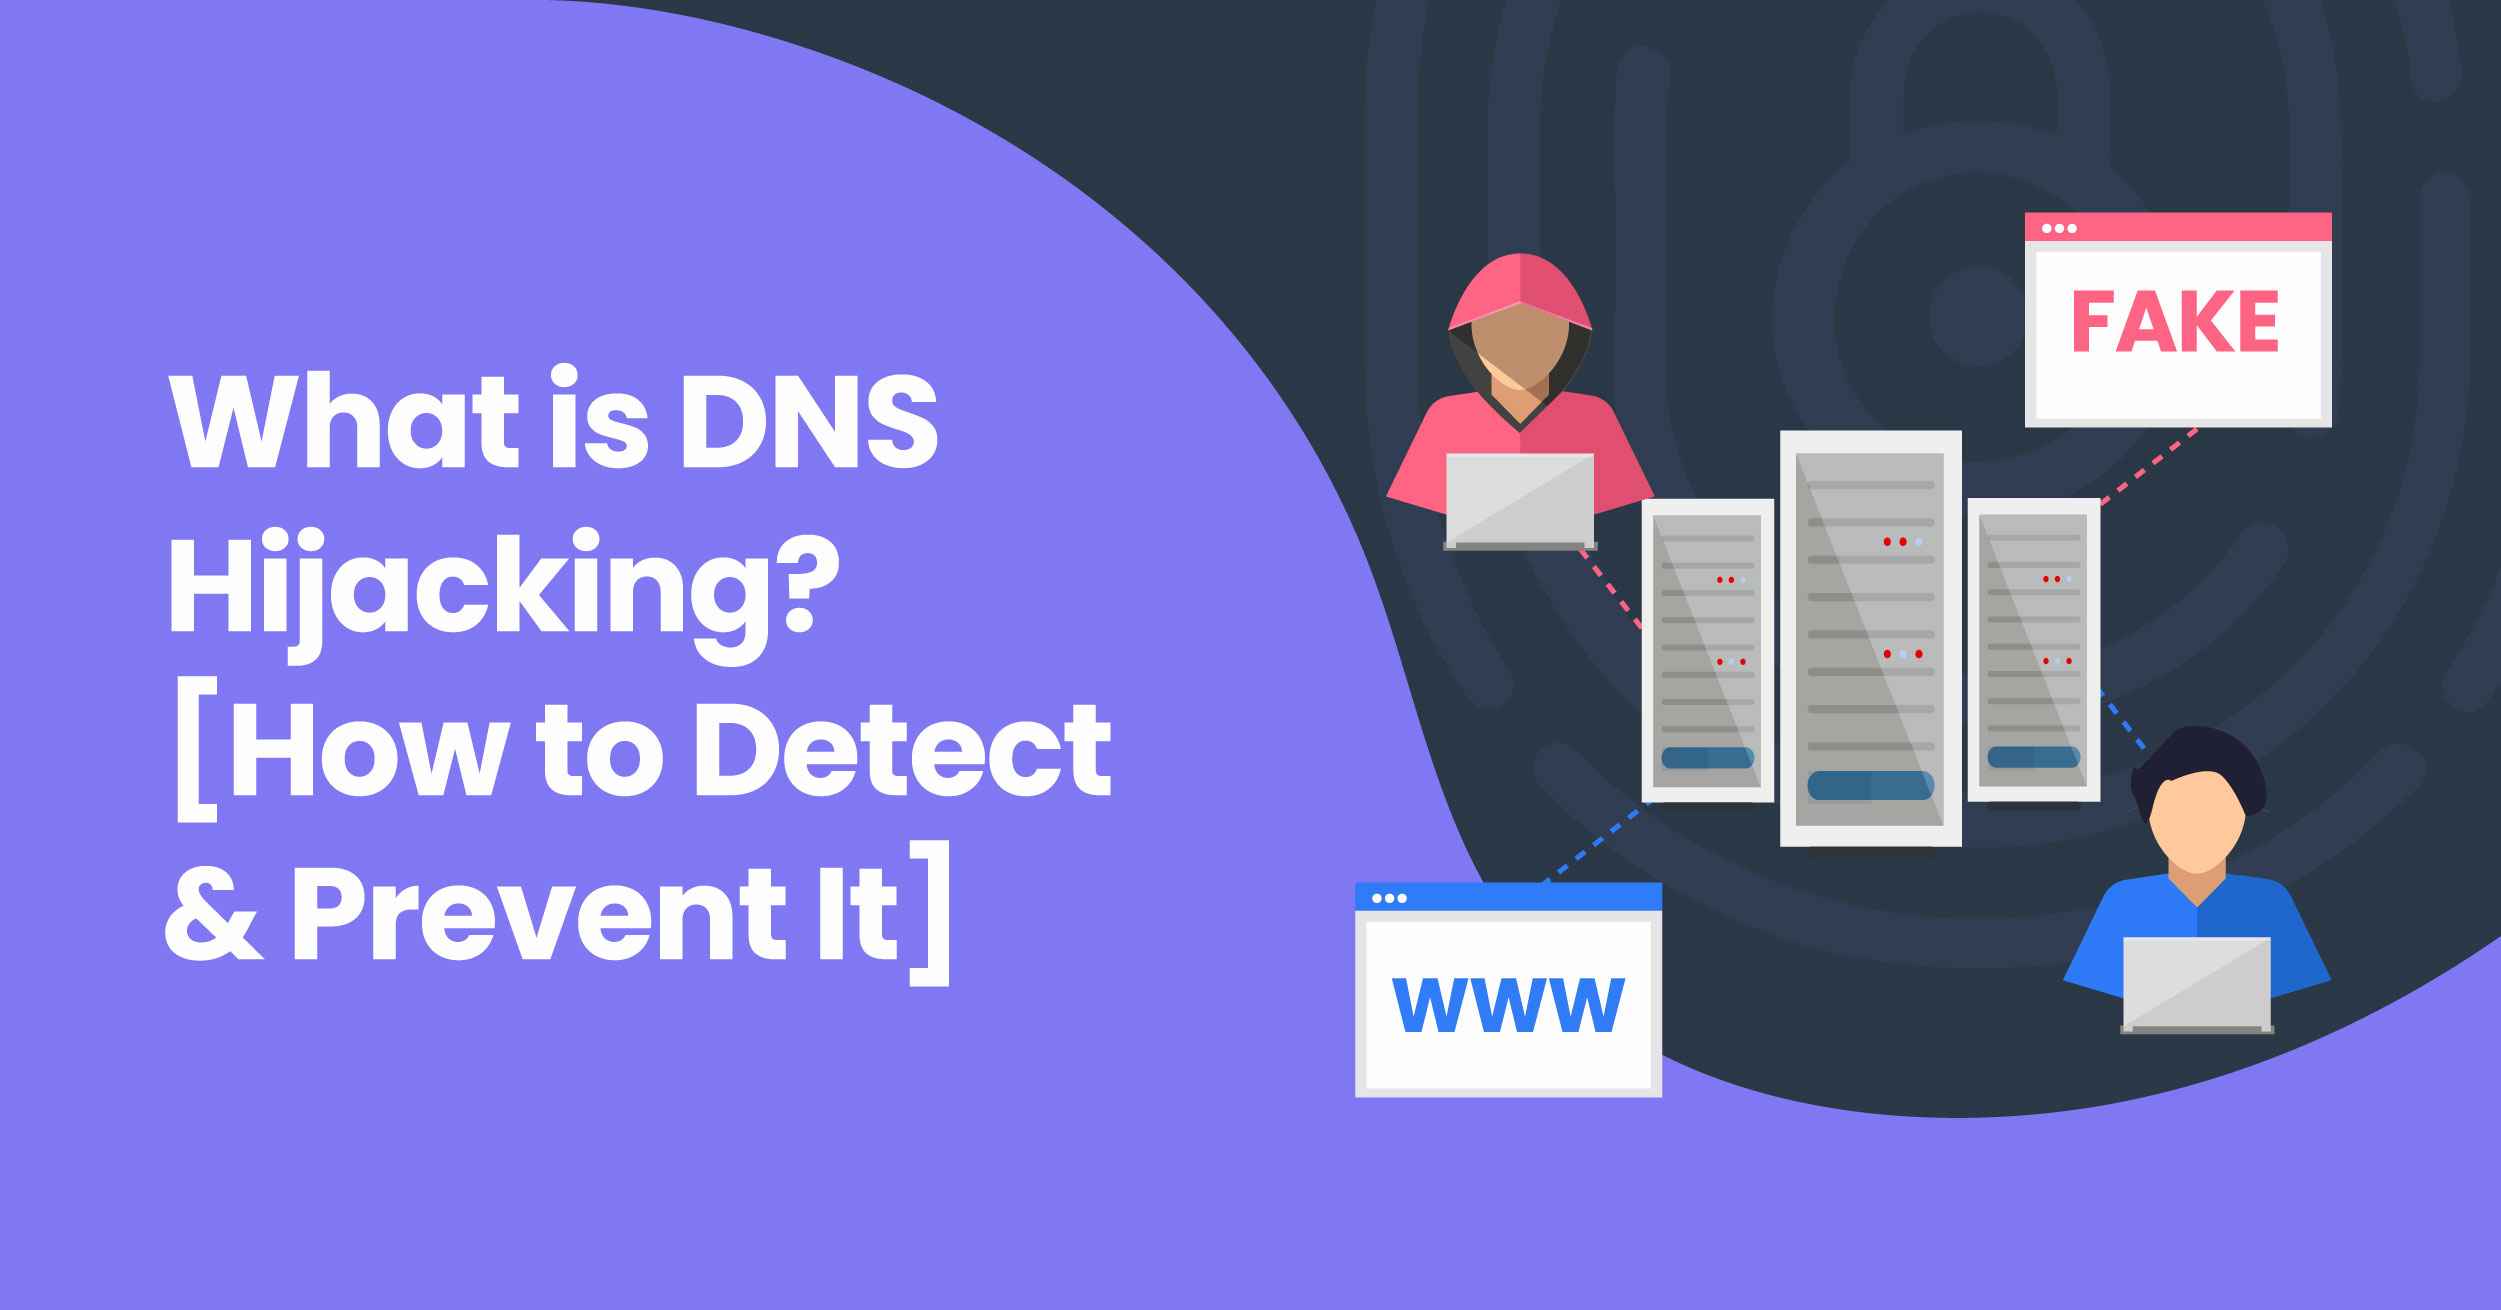
DNS hijacking, also called a DNS redirection attack, is a technique hackers use to manipulate website traffic. When someone enters your website’s URL into their browser, the browser sends a DNS query to identify your website’s IP address. Under normal circumstances, this process directs users to your legitimate site. However, in a DNS hijacking attack, this process is tampered with.
A hacker intercepts the DNS query and redirects it to a rogue DNS server. Instead of returning the correct IP address for your website, this server sends back an IP that points to a malicious site.
As a result, visitors attempting to access your site unknowingly end up on a fake website. These fraudulent sites are often designed to mimic the real one, tricking users into sharing sensitive information or unknowingly downloading malware. This not only compromises user data but also undermines trust in your website.
How Does DNS Hijacking Work?
When you enter a website URL into your browser, your system retrieves the necessary data from either the local cache (if you’ve recently visited the site) or sends a DNS query to a name server, typically provided by a trusted Internet Service Provider (ISP). However, this communication between your browser and the DNS server is vulnerable because it often lacks encryption.
Hackers exploit this weak point by intercepting DNS queries and manipulating the responses. Instead of directing you to the correct website, the query is diverted to a malicious site under their control. Cybercriminals use this method to steal sensitive data, inject malware, or execute phishing attacks.

Types of DNS Hijacking
DNS hijacking can occur in multiple ways, depending on the level of access a hacker gains. To understand it better, check out the common types of DNS hijacking:
- Local Hijacking
In local hijacking, hackers install Trojan horse malware directly on a user’s system to alter the local DNS settings. Once compromised, the attacker replaces legitimate DNS servers with their own malicious ones. Any DNS request from the infected device then goes to the attacker’s server, allowing them to redirect users to harmful websites or steal sensitive information.
- Router Hijacking
Routers are often the first target for attackers because many still use default passwords or contain firmware vulnerabilities. Once hackers gain access to a router, they change its DNS settings to point to their malicious DNS server. This method is particularly dangerous as it impacts all devices connected to the compromised router, exposing multiple users to malicious redirects.
- Rogue DNS Hijacking
In this more advanced attack, hackers compromise the DNS servers of Internet Service Providers. Instead of attacking a single device or router, they manipulate the ISP’s DNS records to redirect queries to malicious sites. Since the compromised server appears legitimate to users, it becomes difficult to detect. While this attack is less common due to improved ISP security, it can affect a vast number of users when executed.
- Man-in-the-Middle Attacks
In a man-in-the-middle attack, hackers intercept DNS communication between a client (your browser) and the DNS server. By exploiting the lack of encryption in DNS queries, attackers replace the legitimate IP address with their own malicious destination. This technique can also lead to DNS cache poisoning, where incorrect DNS data spreads further, impacting both local devices and DNS servers.
How to Detect a DNS Hijacking Attack
Detecting DNS hijacking early is crucial to protect your website and users from harm. Here are some key indicators and practical tests to identify if your DNS has been compromised:
Watch for Unusual Signs
- Websites that usually load quickly may become noticeably slow.
- Frequent pop-up advertisements, especially on trusted websites where they shouldn’t appear.
- Sudden alerts that claim your device is infected with malware when browsing trusted pages.
While these symptoms raise red flags, they aren’t definitive proof of DNS hijacking. To confirm, perform the following checks:
a) Run a Ping Command Test
A “ping command” helps determine if your DNS is resolving correctly. Here’s how you can test it:
- For Mac Users:
- Open the Terminal.
- Type the command: ping kaspersky123456.com
- If the response says “cannot resolve,” your DNS settings are safe.
- For Windows Users:
- Open the Command Prompt.
- Enter the command: ping kaspersky123456.com
- If you see “cannot resolve,” your DNS is functioning correctly.
If the ping resolves to an IP address, it’s a strong sign that your DNS has been tampered with.
b) Check Your Router’s DNS Settings
Hackers often target routers to hijack DNS queries. To verify this:
- Log into your router’s admin panel (usually accessible via your browser).
- Review the DNS server settings. Confirm that they match your ISP-provided DNS or trusted DNS servers.
Alternatively, you can use online “router checker” tools that compare your DNS against a known, secure DNS resolver.
c) Use Online DNS Verification Tools
Tools like WhoIsMyDNS.com help confirm which DNS servers you are using and who owns them. Typically, your DNS servers should belong to your Internet Service Provider or a trusted public DNS provider. If the displayed company name looks unfamiliar or suspicious, your DNS may have been compromised.
d) Switch to Public DNS Services
If you suspect your DNS has been hijacked, switch to reliable public DNS servers like Google Public DNS (8.8.8.8 and 8.8.4.4). These servers are secure and help bypass malicious DNS configurations.
By combining these signs and verification methods, you can quickly detect DNS hijacking and take immediate action to mitigate the risks.
How to Recover From a DNS Hijacking Attack
Finding out that your DNS has been hijacked can feel pretty stressful, but don’t worry! Acting quickly can reduce the damage and get your site back on track. Just follow these simple steps to recover effectively:
Step #1: Immediately Change All Passwords
Start by updating passwords for all critical accounts, including your domain registrar, hosting provider, and website dashboard. Use strong, unique passwords for each account and enable two-factor authentication (2FA) wherever possible to add an extra layer of security. When creating your new passwords, avoid making common password mistakes to create safe and strong passwords.
Step #2: Contact the Domain Registrar or DNS Provider
Reach out to your domain registrar or DNS provider as soon as you identify the issue. Inform them about the hijacking so they can investigate, help correct your DNS records, and provide additional security measures to prevent further tampering.
Step #3: Verify and Restore DNS Settings
Review all DNS records to identify unauthorized changes. Restore the correct settings and confirm that all records point to the right IP addresses for your website. Your domain registrar or DNS provider can assist in verifying and securing these settings.
Step #4: Conduct a Full Security Audit
Run a thorough security scan to detect and resolve vulnerabilities on your website. Look for malware infections, unauthorized file changes, and suspicious access activity. Security tools and services like malware scanners can help identify and clean any malicious code that attackers may have introduced.
Step #5: Reset Security Keys and SSL/TLS Certificates
If attackers gain access to your SSL/TLS certificates or encryption keys, revoke and replace them immediately. Doing so prevents attackers from impersonating your site or intercepting sensitive data.
Step #6: Keep Your Users Informed
Be transparent with your users about the situation. Let them know about the attack, the steps you’re taking to fix it, and any actions they should take—such as changing their passwords or watching for phishing attempts. Clear communication will help rebuild trust.
Step #7: Review and Strengthen Security Measures
Take this incident as an opportunity to improve your site’s security. Implement best practices like:
- Enabling DNSSEC (Domain Name System Security Extensions) to validate DNS queries.
- Updating all software, plugins, and themes regularly.
- Using monitor tools to detect suspicious activity early.
Step #8: Install a Reliable Security Plugin
Enhance your website’s defenses with a robust security plugin that includes malware scanning, firewall protection, and DNS monitoring. Security tools can actively block threats and alert you to vulnerabilities before they escalate.
By following these steps, you can recover from DNS hijacking effectively, protect your users, and prevent similar attacks in the future.
How to Prevent a DNS Hijacking Attack
Preventing a DNS hijacking attack is far more effective than dealing with its aftermath. By implementing the best security practices, you can protect your DNS and keep your data safe. Here are key steps to reduce the risk:
#1: Avoid Clicking Suspicious Links
Never click on unfamiliar or suspicious links, especially those sent via email, text, or social media. Be cautious of shortened URLs, as they can hide malicious destinations. Instead, manually enter the website address into your browser after verifying its legitimacy.
#2: Use Trusted Antivirus Software
Install reputable antivirus software and regularly scan your system for malware. Trojans and other malicious programs can modify your DNS settings during a local hijacking attack. Keeping your antivirus updated will help detect and remove threats promptly.
#3: Use a Virtual Private Network (VPN)
A VPN creates an encrypted tunnel for your internet traffic, protecting it from interception. Many reliable VPN services use private DNS servers with end-to-end encryption, significantly reducing the risk of man-in-the-middle DNS hijacks.
#4: Change Your Router’s Default Login Credentials
Default router usernames and passwords are widely known and easy to exploit. Change your router’s login details to a strong password with at least 10–12 characters, including a mix of numbers, special symbols, and uppercase and lowercase letters.
#5: Stay Alert to Unusual Website Behavior
If you land on an unfamiliar website that displays unexpected pop-ups, redirects, or strange content, leave the page immediately. Recognizing digital red flags early can help you avoid potential attacks.
#6: Limit Access to DNS Settings
Restrict DNS settings access to only trusted members of your IT team. Limiting access reduces the risk of human error or opportunistic attacks. Additionally, enforce two-factor authentication (2FA) to enhance security when accessing DNS registrars.
#7: Enable Client Lock
Many DNS registrars provide a helpful feature called “client lock,” which keeps your DNS records safe from unauthorized changes without your consent. By enabling this feature, you can enjoy an extra layer of security against any unwanted tampering.
#8: Use DNSSEC (Domain Name System Security Extensions)
Choose a DNS registrar that supports DNSSEC. This security feature adds cryptographic validation to DNS lookups, ensuring the authenticity of the response and making it harder for attackers to intercept or manipulate DNS queries.
By adopting these security measures, you can protect your DNS infrastructure, reduce the chances of hijacking, and keep your visitors and data safe from malicious actors.
To Sum It Up
DNS hijacking is a significant threat that can compromise both your website and its visitors. Understanding its workings, identifying the types of attacks, and recognizing the consequences are vital for website owners and administrators. By staying proactive and adopting robust security measures, you can detect suspicious activities early and respond swiftly to minimize damage.
Additionally, website security isn’t limited to DNS hijacking. Other threats like SQL injection and cross-site scripting (XSS) can also jeopardize your website’s integrity. Implementing regular security monitoring, malware scans, and strong protective tools can keep your site secure and safeguard user data.
Lastly, while recovering your site from a DNS Hijacking attack, we recommend using the Password Protected plugin to make your entire site private so no more data is stolen.
Frequently Asked Questions
What causes DNS hijacking?
DNS hijacking occurs when attackers compromise the Domain Name System (DNS) to redirect traffic to malicious websites. This can happen due to malware infections, weak router security, vulnerabilities in DNS servers, or phishing attacks. Hackers exploit these weaknesses to manipulate DNS settings and mislead users to fake or harmful sites.
What is a DNS attack?
A DNS attack refers to any malicious activity that targets the Domain Name System. Hackers use this attack to disrupt DNS functions, redirect traffic, or intercept communications. Common examples include DNS hijacking, DNS spoofing, and DNS amplification attacks, all of which aim to compromise user data, inject malware, or overload servers.
What is another name for DNS domain hijacking?
DNS domain hijacking is also known as DNS redirection or DNS takeover. It refers to an attack where hackers alter DNS records to redirect website visitors to malicious destinations or gain unauthorized control over a domain.
How do you mitigate DNS hijacking?
To mitigate DNS hijacking:
Monitor DNS records and network activity for unauthorized changes or anomalies.
Use strong, unique passwords for routers, domain registrars, and hosting accounts.
Enable two-factor authentication (2FA) wherever possible.
Regularly update router firmware and DNS server software to fix vulnerabilities.
Deploy DNSSEC (Domain Name System Security Extensions) to authenticate DNS responses.
Install reputable antivirus software to detect malware that could alter DNS settings.
What is the difference between DNS hijacking and DNS spoofing?
DNS hijacking involves taking control of DNS settings or servers to redirect traffic to malicious websites. Attackers may compromise routers, DNS servers, or local devices.
On the other hand, DNS spoofing is a type of attack where hackers forge DNS responses to trick users’ systems into connecting to fake IP addresses. Unlike hijacking, spoofing doesn’t involve changing DNS settings but instead manipulates the DNS response temporarily.
Both attacks aim to mislead users and steal sensitive information but operate through slightly different mechanisms.