
Many WordPress users need a way to password protect a WordPress post to share content privately with clients, team members, or subscribers.
The good news is that WordPress makes it easy to password protect posts without coding, so whether you’re a photographer sharing a private gallery with a client, a blogger offering exclusive content to your subscribers, or a developer testing a new draft, you can password-protect WordPress post content using the methods we’ll discuss in this article.
However, not all password protection methods offer the same level of security and control. Both ways, although easy to follow, are different in implementation and style: the quick, built-in method and a more powerful plugin-based approach that gives you total control.
By the end of this guide, you’ll know exactly how to password protect a WordPress post step-by-step, along with the best method for your needs.
Method 1: Using the Built-in WordPress Block Editor
The built-in WordPress Block Editor (Gutenberg) allows you to quickly password protect a WordPress post without installing any plugins, but it does come with limitations.
Use this method if you need a quick and simple way to protect a WordPress post without advanced control or tracking.
How to Password Protect a Post in WordPress Using Block Editor
Follow these simple steps to secure a single blog post in WordPress:
- Open the post you want to protect in the WordPress Block Editor (Gutenberg).
- In the right-hand sidebar, click on the “Post” tab to open the settings panel.
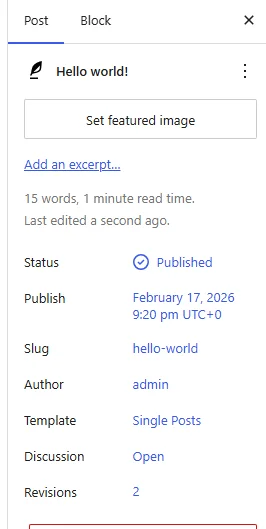
- Find the “Status & Visibility” section.
- Next to “Visibility,” you’ll see it set to “Public” by default.
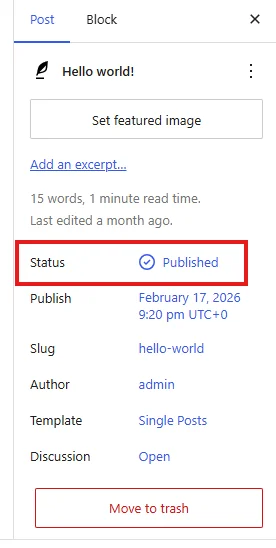
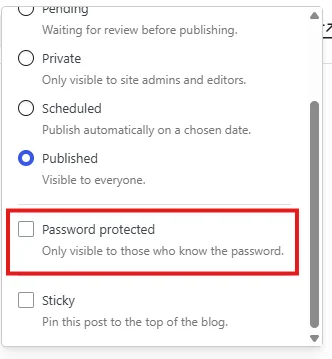
- Click ‘Published’ and select Password Protected option.
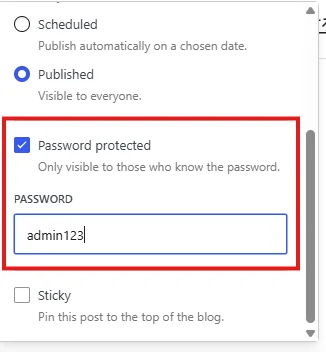
- Enter a secure password that visitors will need to access the post.
- Click “Update” to publish your changes.
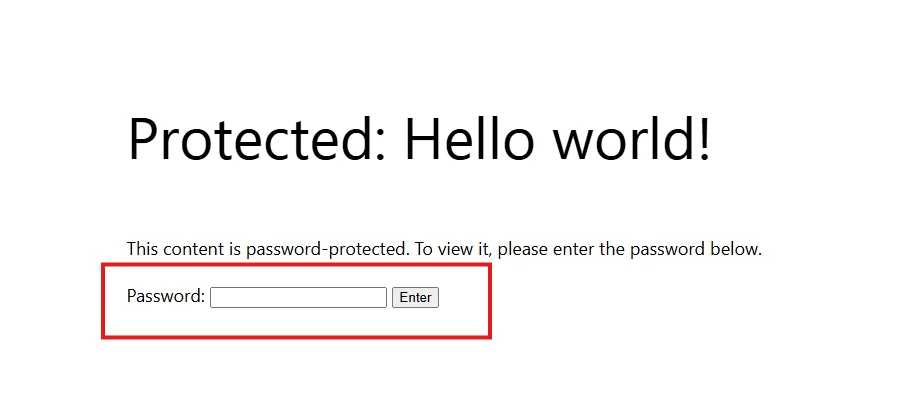
- Password-protected posts will display a form requesting the password.
Limitations of the Default Method
Although convenient, the built-in WordPress feature is basic and lacks flexibility. It is important to understand its limitations before you use this method on your posts:
- One Password Only: You can set only one password per post. This limits you to sharing it with different groups.
- No Tracking: WordPress does not track who accesses a password-protected post, making it unsuitable for client-sensitive content.
- No Expiration: The password will remain valid until you manually remove it.
- Media Files Are Not Fully Protected: Direct links to images or PDFs can still be accessed without a password.
If you require a solution that extends beyond these limitations, we recommend using a dedicated password-protection plugin.
Method 2: Use a Password Protection Plugin
Advanced plugins like Password Protected offer complete control over how you password protect WordPress posts, including tracking, expiry, and multiple passwords.
This method is ideal for businesses, agencies, and membership sites that require secure and controlled content access.
How to Secure Individual Posts Using Password Protected
Before we get started, make sure that you have downloaded and installed Password Protected Pro on your WordPress website. In case you haven’t, follow steps 1 to 7; otherwise, skip to step 8 directly.
- Go to the Password Protected pricing page and select your plan.
- Review your order details and click the Submit button. An email with the link to the password-protected Pro zip file will be sent to your email address.
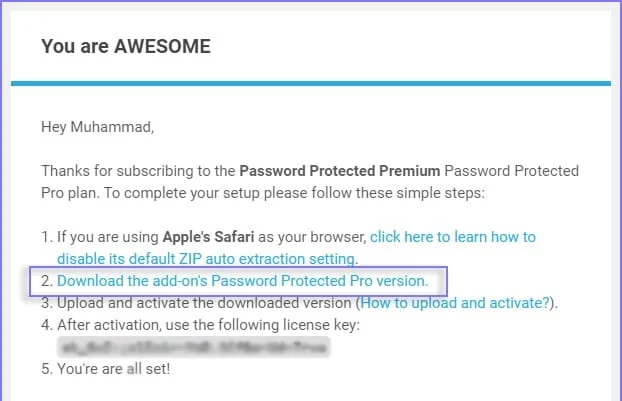
- Click on that link. The Password-Protected Pro Zip File will begin downloading to your computer.
- Go to the WP-Admin Dashboard and Click on Plugin > Add Plugin.
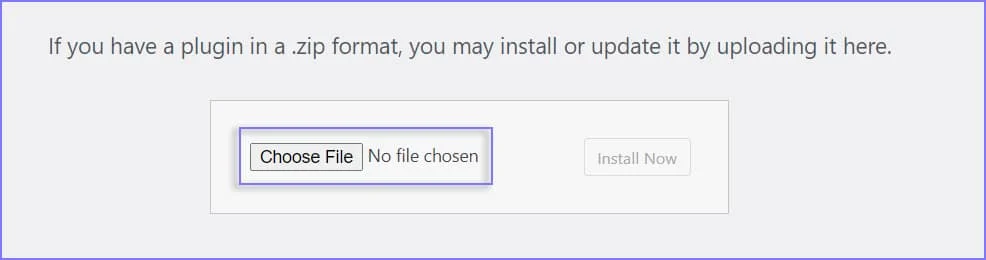
- Click “Choose File” and select the Password Protected Pro WordPress Plugin zip file you downloaded earlier.
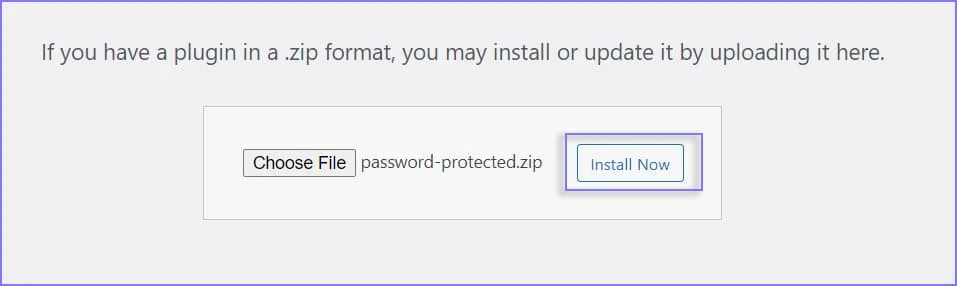
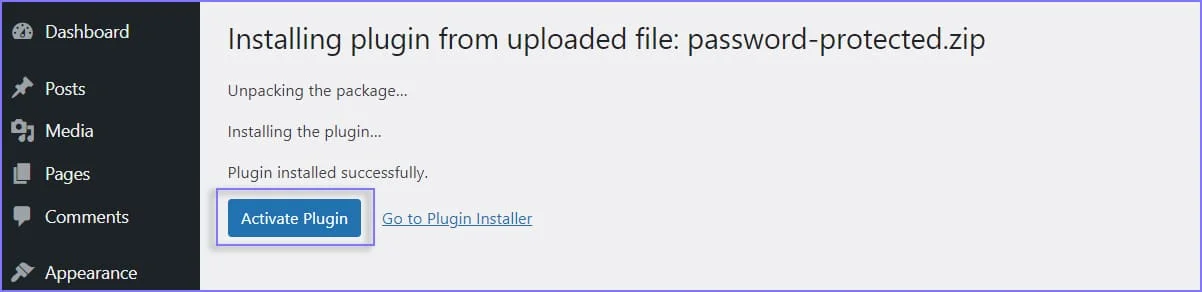
- Click the “Install Now” button and wait for WordPress to install the plugin.
- Once the installation is done, click on the “Activate Plugin” button to activate the Password Protected WordPress plugin on your site.
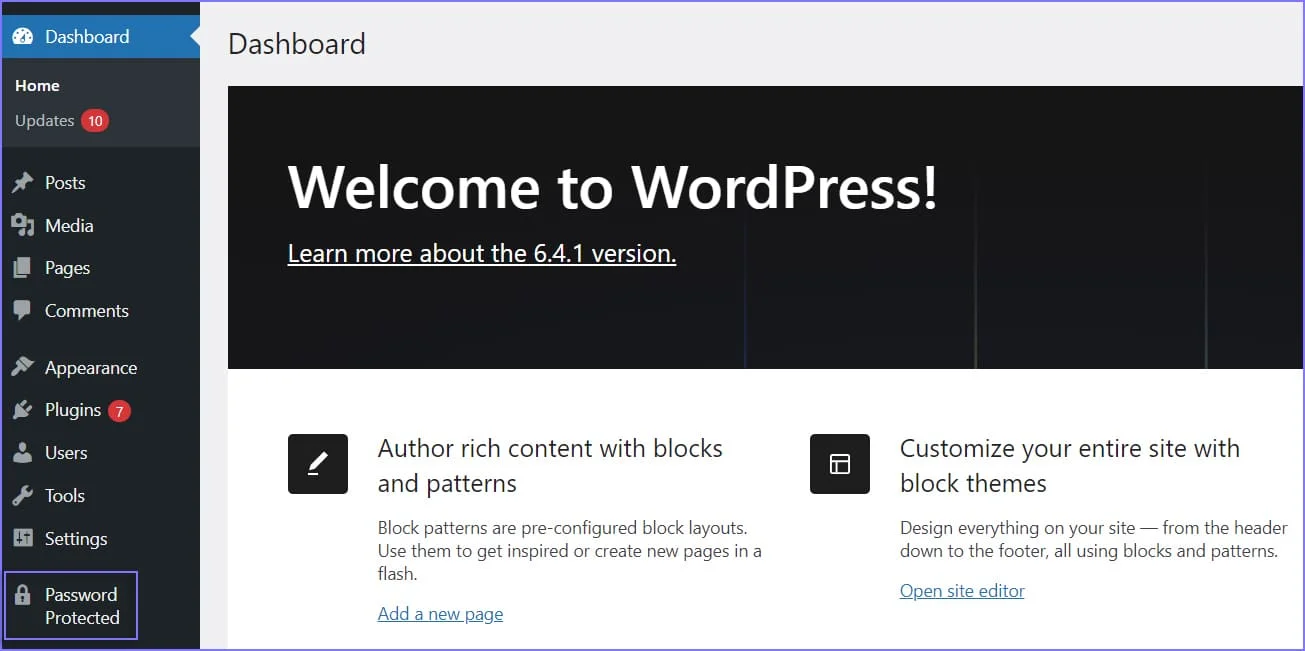
- Go to the WordPress admin dashboard and click on the “Password Protected” plugin from the side menu.
- Navigate to the “Post Type Protection” sub-tab after clicking the “Content Protection” tab from the top navigation tabs.
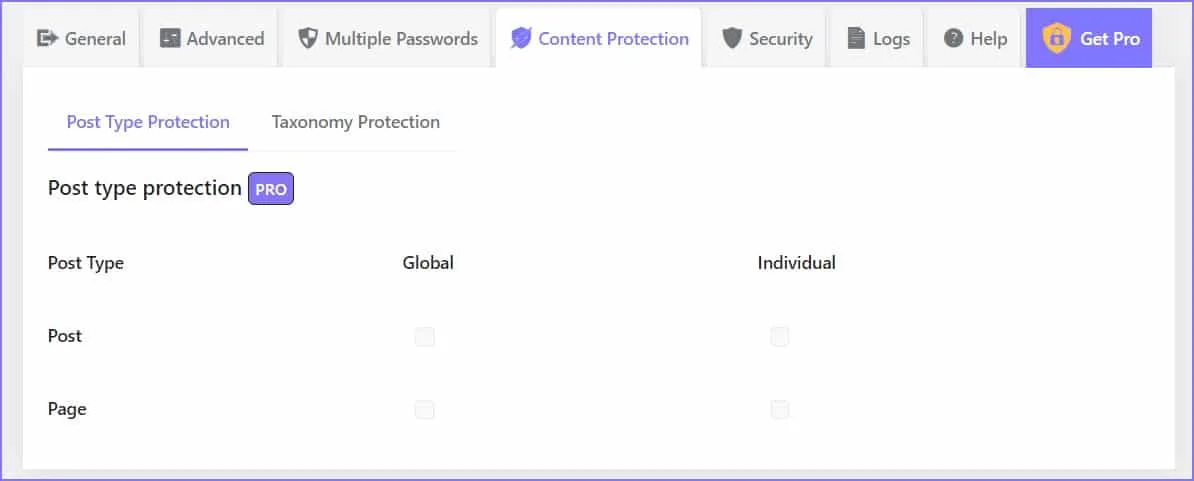
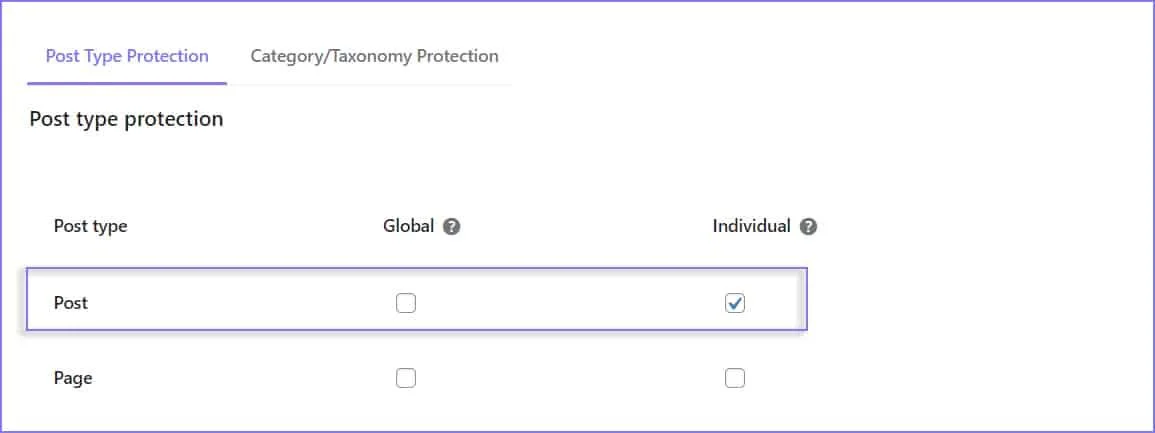
- Within the “Post Type Protection” tab, you’ll find two options for post protection: Protect Individual Post & Protect Individual Page.
- To enable individual post protection, select the “Individual” checkbox.
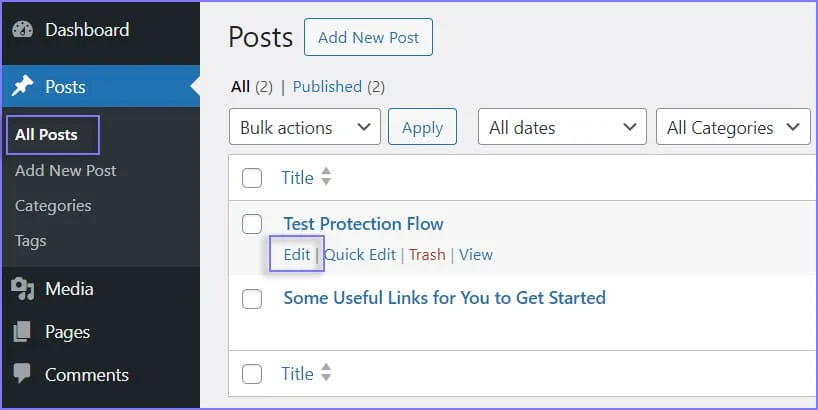
- Click on the “edit” option of your post.
- Scroll down to the Password Protected section at the bottom of the page and check the “Enable Password Protection” checkbox.

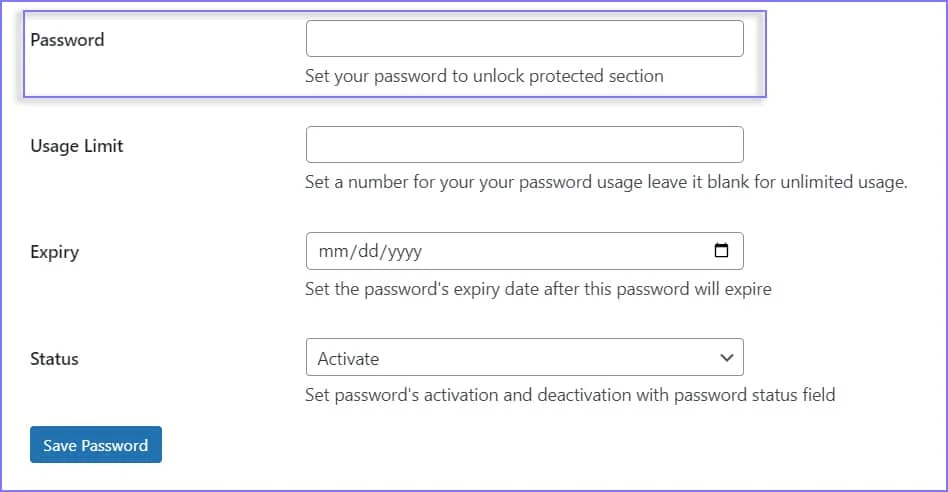
- When you click the “Save Changes” button, you will see fields to configure the password settings for your post.
- Password: Set the password for your post. Front-end users will enter this password to access the post.
- Usage Limit: Enter the number of times a user can access your post. Once the limit is reached, the post will be inaccessible with the set password.

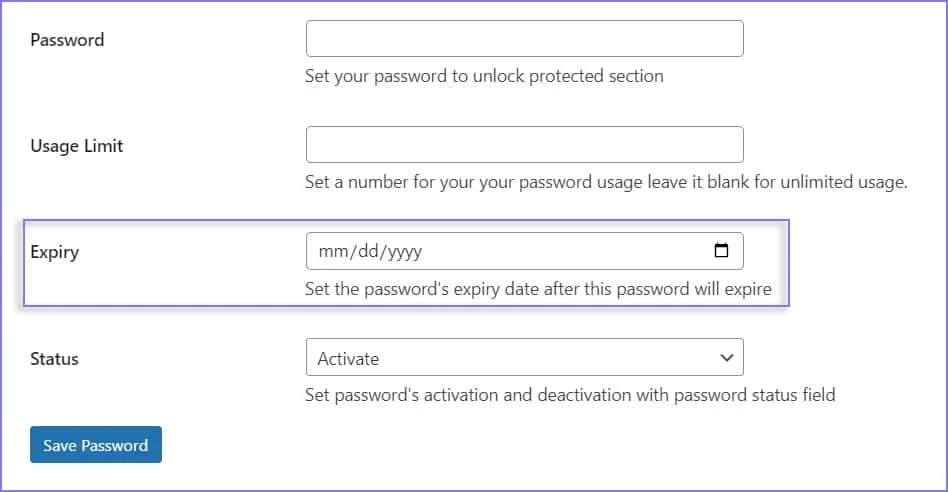
- Expiry: Enter the date when the password will expire. After the expiration date, the post will be inaccessible with the set password.
- Status: Choose whether to activate, deactivate, or expire the password.
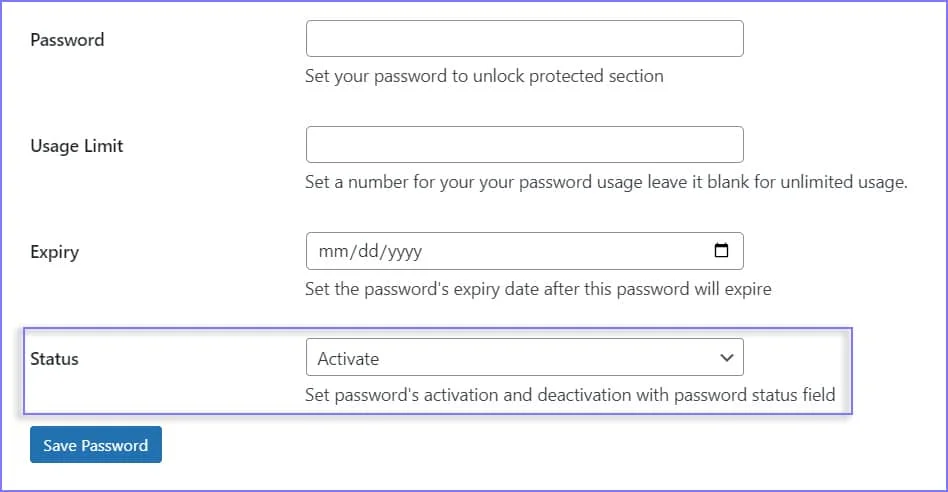
- Click Save Password to apply password protection to your post.
Why Choose the Password Protected Plugin?
Password Protected is a powerful WordPress plugin that helps you secure posts with advanced password protection features beyond the default WordPress options.
After we explore some of the core features of the plugin, you’ll see why Password Protected is perfect for every professional, whether a blogger or a developer.
Key Features for Protecting Your Posts
The plugin offers advanced features that turn basic password protection into a full access control system:
- Specific Post/Page Protection: Password-protect individual blog posts or pages.
- Partial Content Protection: Lock only specific sections of a post using simple shortcodes.
- Multiple Password Management: Create unlimited passwords for a single post. You can also control (change, activate, or deactivate) each password individually.
- Password Expiration and Usage Limits (Pro): Create passwords that expire on a specific date or after a set number of uses.
- User Role Whitelisting: Whitelist user roles such as admins or editors and grant them access to view protected posts without requiring a password.
- Activity Logs: View insights with detailed logs of every password attempt. You can see IP addresses, timestamps, and whether the attempt was successful or failed.
- Limit Login Attempts: Set the maximum number of password-entry attempts a user can make.
Built-in WordPress Password Protection vs Password Protected Plugin: Which Should You Choose?
A quick comparison between the built-in WordPress feature and the Password Protected plugin might help you decide which method is best for your needs.
| Feature | Built-in WordPress Password Protection | Password Protected |
| Cost and ease of use. | Free and requires no setup. | Free and simple to install and configure. |
| Passwords per post. | One. | Unlimited. |
| Access tracking. | None. | Detailed activity logs with IPs. |
| Password expiry. | No. | Yes, with date and usage limits. |
| Partial content locking. | No. | Yes, via shortcodes. |
| Unauthorized access protection. | No. | Yes, with limited login attempts and CAPTCHA. |
| User role access restriction. | No. | Yes, with user role whitelisting. |
| Customization. | None. | Yes, with full-screen lock-screen customization options. |
Conclusion
The right method for password-protecting a WordPress post depends on your needs and requirements. For a quick, simple lock for your post, the built-in WordPress feature is the way to go.
However, Password Protected is an advanced option that offers features such as activity logs, password management controls, and password expiry settings, giving you complete control over who can access your content and how.
Frequently Asked Questions
Here are answers to some common questions about password-protecting posts on WordPress:
Does password protection affect other posts or pages?
No. If you lock a specific page or post, it doesn’t apply to the entire website. You only restrict access to the specific item you configured.
Can I use different passwords for different posts?
Yes. With the Password Protected plugin, you can assign several different passwords to a single post.
Do password-protected WordPress posts appear in search results?
Yes. Password-protecting a post restricts viewing access, not its ability to rank in search results.
What is the difference between private and password-protected WordPress posts?
A private post is only visible to logged-in users with specific permission. A Password Protected post is visible to anyone who has the specific password.
Can I track who accesses a password-protected post?
This feature is only available in the Password Protected plugin, where you can view detailed activity logs, login attempt records, and success/failure statuses.
Can I password-protect WooCommerce or custom post types?
Yes. Password Protected offers “Custom Post Type Protection” that allows you to secure WooCommerce products, portfolios, testimonials, and any other custom content type on your site.