Have you ever wanted to give someone quick access to a private page on your WordPress site—without asking them to create an account or type in a password?
A one-time login link lets you do exactly that. With a single click, your visitors can bypass the login (password protected) screen and view protected content.
These special links are perfect for sharing client previews, granting temporary access to subscribers, or simplifying onboarding for new members.
In this guide, you’ll learn what one-time login links are, when to use them, their benefits, and how to set them up in WordPress using a password protection plugin.
Ready? Let’s get started!
What Is a One-Time Login Link in WordPress?
A one-time WordPress login link is a special bypass URL that lets someone access a password-protected page, post, or even your entire site without entering a password. As the name suggests, the link usually works only once or for a limited period of time, after which it expires.
Think of it as a digital “guest pass.” Instead of handing out a permanent password, you’re giving temporary access that can’t be reused once it’s been clicked.
Here’s how it works in practice:
- You set a password for your protected content.
- The plugin generates a unique link tied to that password.
- When a user clicks the link, they bypass the password screen and go straight to the content.
- Depending on your settings, the link may expire after one use, after a set number of uses, or after a chosen date.
This approach combines convenience with control. Visitors get quick access, while you still maintain strong boundaries around your protected content.
When Should You Use a One-Time WordPress Login Link?
One-time login links aren’t meant to replace user accounts or full membership systems. Instead, they shine in situations where you want to give people quick, temporary, and hassle-free access.
Here are some of the most common use cases:
- Subscriber onboarding: Instead of sending both a password and a link in your welcome email, you can simply include a one-time access link. New subscribers click and instantly land on your protected content.
- Exclusive content access: Running a VIP campaign or a limited-time event? A single-use link feels more personal and secure than handing out a shared password.
- Client previews: Designers, developers, and agencies often use one-time links to let clients view work-in-progress pages without setting up accounts.
- Frequent visitor convenience: If someone regularly accesses your protected resources, giving them one-click access reduces friction while keeping security intact.
- Temporary collaboration: Sharing research material, documents, or private posts with a small team can be done more smoothly with bypass links.
In short, single-time login links are best for short-term or special access scenarios where you want to simplify entry but still maintain control.
Benefits of Using One-Time Login Links
Adding one-time login links to your WordPress site isn’t just about convenience; they also deliver a balance of better user experience and stronger security when compared to sharing a permanent password.
Here are the key advantages:
- Frictionless access: Visitors skip the password entry step and go directly to your content with a single click.
- More secure than shared passwords: Since each link is unique and can expire after one use, there’s less risk of it being reused or shared widely.
- Flexible controls: You decide how long a link remains valid, how many times it can be used, and which content it unlocks.
- Professional impression: Sending a personalized one-time link feels polished, especially in client or VIP situations.
- Simplified management: Instead of constantly resetting and sharing passwords, you generate unique access links whenever you need.
In essence, one-time login links let you protect your content without frustrating your audience, giving them the right balance of security and ease.
Password Protected Plugin: The Best Way to Create One-Time Links
If you’re looking for a reliable way to create one-time links in WordPress, the Password Protected plugin is one of the best solutions available. Instead of dealing with custom code or complex setups, this plugin gives you a straightforward interface to protect content and share it with your audience in a controlled way.
Key Features for One-Time Links
Password Protected Pro comes with powerful tools that make creating and managing one-time links effortless:
- Bypass URLs: Generate unique links that let users access protected posts, pages, categories, or even WooCommerce products without entering a password.
- Granular Control: Protect your entire site globally or lock down specific posts, pages, or categories.
- Expiration Settings: Decide how long a bypass link should remain valid—set limits by expiry date, number of uses, or both.
Please note: In addition to creating one-time links (bypass links), the Password Protected plugin offers numerous other password protection features, including Partial Content Protection, CAPTCHA security, multiple password management, activity logs, password import/export tools, and much more. Check out the detailed list of all features.
Why Use Password Protected Instead of DIY Solutions?
While it’s possible to create one-time links using custom code or third-party scripts, these approaches are often fragile, difficult to maintain, and risky from a security standpoint. Password Protected Pro, on the other hand, is built specifically for WordPress, regularly updated, and backed by a team focused on data protection.
With it, you don’t need to worry about coding errors, plugin conflicts, or loopholes.
In short, if you want professional-grade content protection without wasting time reinventing the wheel, Password Protected Pro is the smarter choice.
How to Create a One-Time Login Link in WordPress (Step-by-Step)
Creating a one-time login link in WordPress is simple with Password Protected. Here’s how to set it up from start to finish.
Step 1: Install and Activate Password Protected Pro
Bypass Links is a premium feature, so you need to install the Pro version. However, before installing the Pro version, you’ll first need to install the free Password Protected plugin—the Pro add-on depends on it to function properly.
To install the free version:
- Go to your WordPress dashboard → Plugins → Add Plugin.
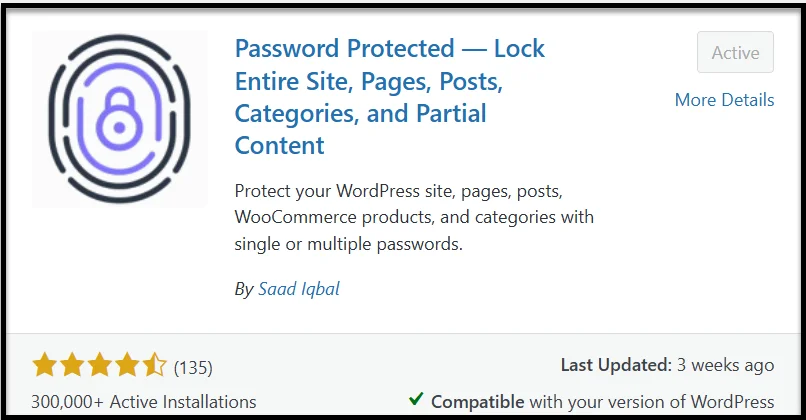
- Search for “Password Protected” by Saad Iqbal.
- Click Install Now, then Activate.
Once the free version is active, you can install the Pro version:
- Get any Password Protected premium plan from the official website.
- You’ll receive a welcome email with the license key and zip file.
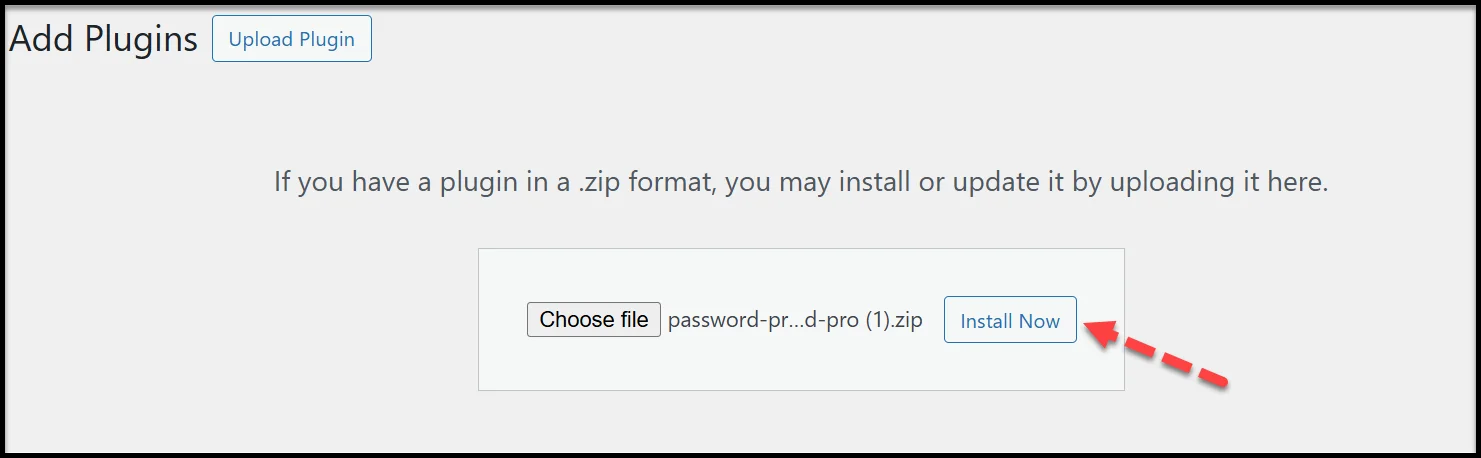
- Upload the zip file to your site via Plugins → Add Plugin → Upload Plugin.
- Click Install Now, then Activate.
Step 2: Protect Your Content
Next, decide which part of your site you want to secure. Password Protected Pro gives you several options, such as:
- Global Posts/Pages: Apply password protection to all posts or all pages at once.
- Individual Posts/Pages: Secure selected content individually.
- WooCommerce Products: Lock specific products or your entire store behind a password or one-time link.
- Categories & Taxonomies: Restrict access to all posts within chosen categories or custom taxonomies.
- Post Tags: Protect content grouped under a specific tag.
- Custom Post Types: Apply protection to any custom content type (like portfolios, events, or case studies).
This flexibility means you can create one-time links for a single product, a specific tag, or even a full content section, all without affecting the rest of your site.
Step 3: Enable and Configure One-Time Login Links
As we mentioned, Password Protected Pro offers flexible options for generating one-time bypass links. Here’s how each option works and how to set it up.
#1: Set Up One-Time Login Links for Global Posts/Pages
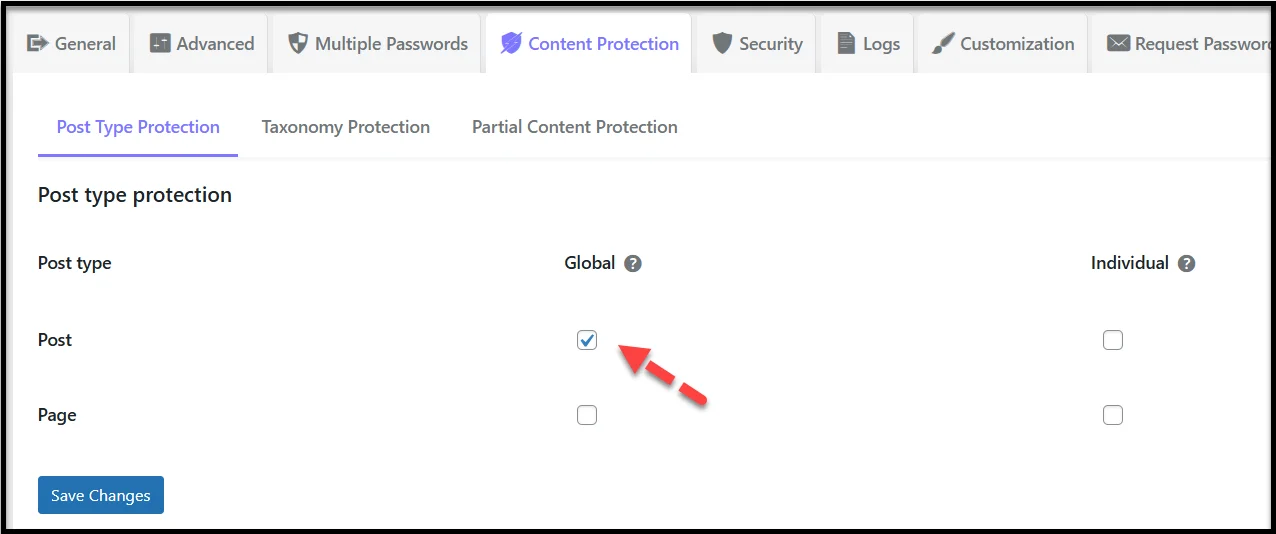
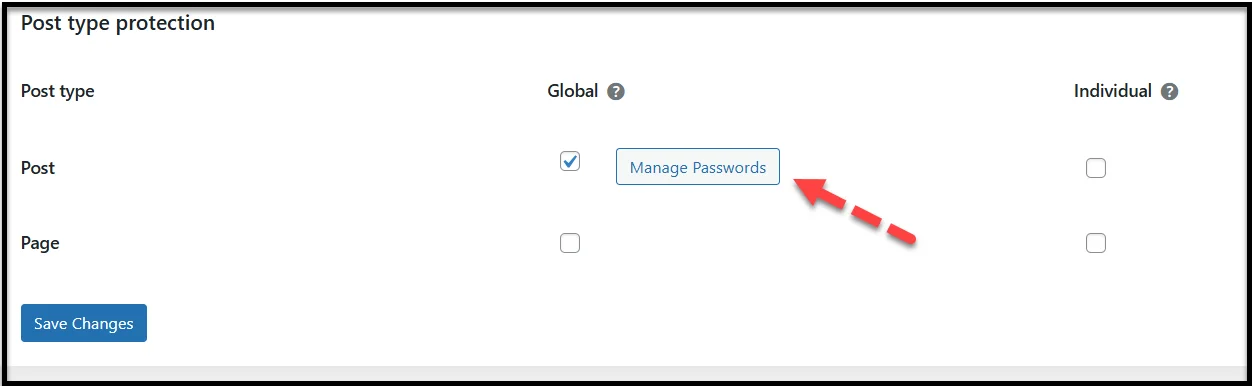
- Go to Password Protected → Content Protection → Post Type Protection.
- Checkmark the ‘Global’ post or page protection (You can select both) and click ‘Save Changes.’
- Next, you will see the ‘Manage Passwords’ option under the Global column. Simply click on it.
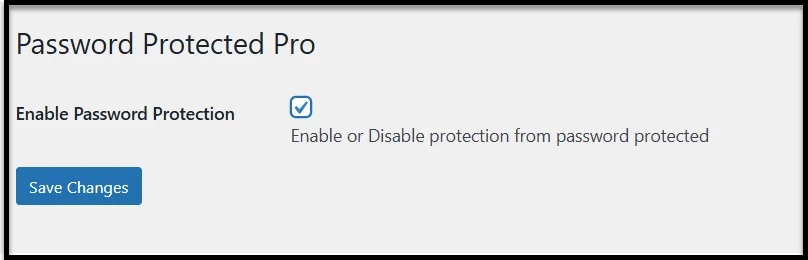
- On the subsequent screen, check the ‘Enable Password Protection’ option and click ‘Save Changes.’
- Your screen will now display the password and one-time login configuration panel, as shown in the following image.
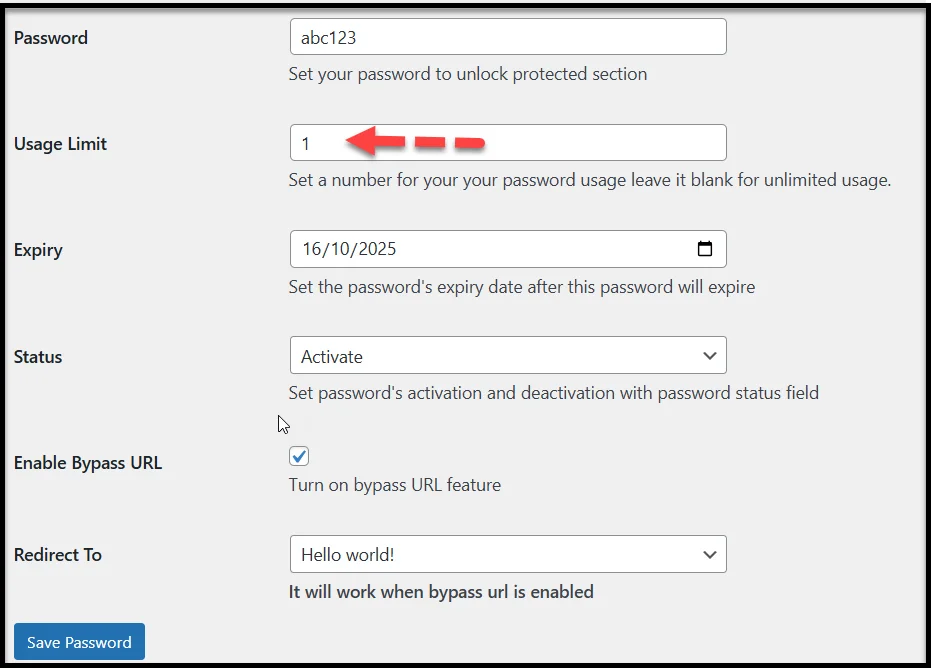
- Here’s what each option does:
- Password: Enter a password that will secure all globally protected posts or pages.
- Usage Limit: Define how many times this password can be used. For a one-time login link, set the usage limit to ‘1.’
- Expiry: Set an expiration date for the password. After this date, both the password and its one-time link will no longer work.
- Status: Use this dropdown to activate, deactivate, or expire the password without deleting it.
- Enable Bypass URL: Check this box to turn on the Bypass Link feature, which automatically generates a one-time login link for your protected content.
- Redirect To: Choose where users should be redirected after they successfully use the link or once it expires, such as a “Thank You” page, a product page, or your site’s homepage.
- Finally, click Save Password to confirm your settings.
Once saved, your one-time login link will be generated automatically, as shown in the screenshot below. You can copy it and share it with your audience.

This single link gives one-time access to all globally protected posts or pages until the defined usage limit or expiry date is reached.
#2: Configure One-Time Login Links for WooCommerce Products
The process will be the same. When you install the WooCommerce plugin, you will see the Product option in the Post Type Protection sub-tab, which you can see in the screenshot below.
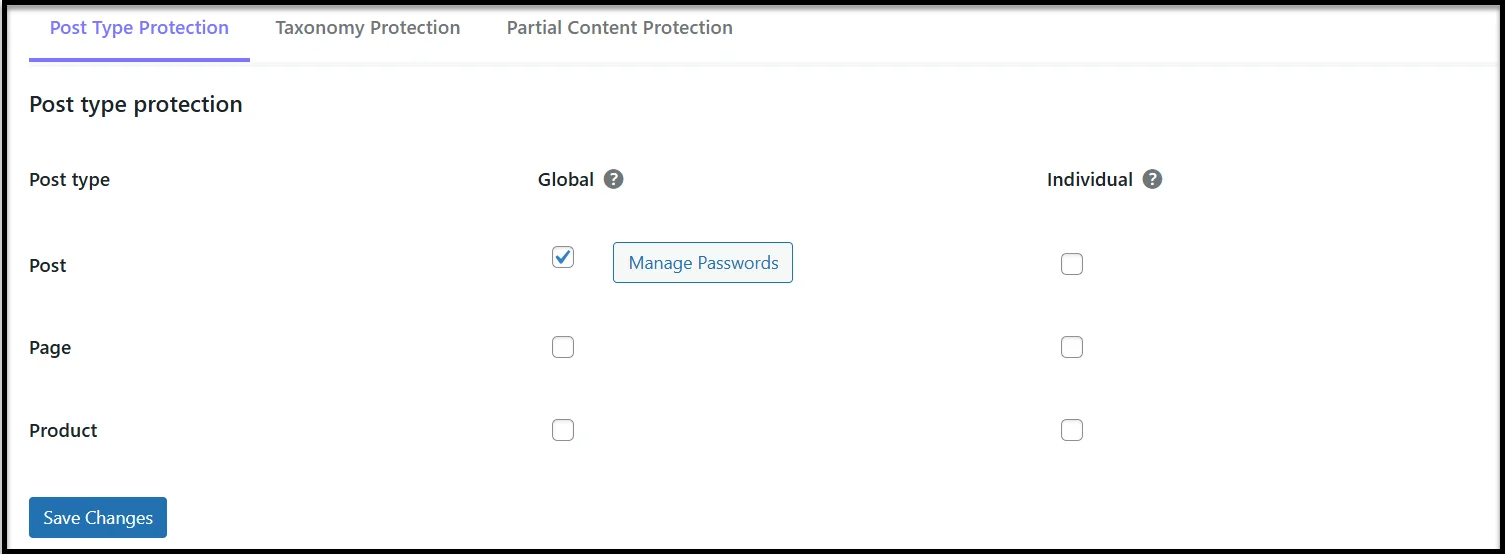
Select the Global or Individual product protection option. Click Save Changes. For global product protection, the process will be the same as we previously demonstrated.
However, for an individual product, go to Products → All Products and click the ‘Edit’ option for the product you want to protect. Enable password protection and define all the parameters that we’ve done for Global Posts and pages protection.
To learn more, check out 👉 How to Password Protect WooCommerce Products [3 Simple Steps]
#3: Configure One-Time Login Links for Individual Posts/Pages
The setup process for one-time login links for individual posts and pages is similar. For a step-by-step process, refer to our detailed documentation on creating a bypass link for a post or page.
#4: Set Up One-Time Login Links for Categories/Taxonomies
To create one-time bypass links for categories and taxonomies, see our documentation on how to create one-time login links for categories and taxonomies.
How the Bypass Link Feature Works for Parent & Child Pages
If your WordPress site uses parent and child pages, Password Protected Pro gives you the option to extend a bypass link from the parent page down to its children.
When you create a bypass link for a parent page, the token can automatically apply to all its child pages as well. For example:
- Parent page: https://yoursite.com/resources/
- Child page: https://yoursite.com/resources/tutorial-1/
- Child page: https://yoursite.com/resources/tutorial-2/
By generating one bypass link for the parent, visitors with that link can access both the parent and all its children without needing separate links.
When to Use Parent vs. Individual Links
- Use Parent Bypass Links if you want to give someone access to a full section of your site (like a learning module, documentation hub, or course series) without creating multiple links.
- Use Individual Bypass Links if you only want to share a specific child page while keeping the rest of the section private.
This feature saves time when you’re managing structured content but still lets you stay in control of which areas are accessible.
Security Considerations for One-Time Login Links
While one-time login links make content access fast and convenient, they also require careful handling to maintain security. Understanding the risks and applying best practices helps you keep your WordPress site safe.
Potential Risks of Link Sharing
Even though each bypass link is unique, anyone who gets hold of that URL can access the protected content, at least until it expires or reaches its usage limit. If users share the link publicly or forward it in group chats, unintended visitors might also gain access.
Best Practices for Safe Usage
To reduce risks, follow these simple but effective practices:
- Use low usage limits: To prevent link sharing exploitation, restrict each link to a single use or a very small number of visits.
- Enable IP restrictions: This helps block access if the same link is opened from multiple devices or locations. Using the Password Protected plugin, you can restrict access by IP address.
- Rotate links regularly: For recurring access needs, create new links instead of reusing old ones.
When Not to Use One-Time Links?
One-time login links are great for temporary previews or private content sharing, but they’re not ideal for highly sensitive data like financial documents, customer records, or confidential internal files. In those cases, consider using a membership system, user login roles, or two-factor authentication for stronger protection.
Alternative Approaches to One-Time Links
One-time login links are convenient, but they’re not the only way to control who sees your WordPress content. Depending on your security needs and workflow, you might prefer more advanced or permanent access methods.
1. WordPress User Accounts
The built-in WordPress user system remains the most reliable method for granting ongoing access. You can create user accounts for clients, team members, or subscribers and assign them roles like Subscriber or Editor to manage what they can view or edit. This method keeps access tied to user credentials rather than shareable URLs.
2. Membership Plugins
For sites that manage recurring users or paid access, membership plugins like MemberPress, Restrict Content Pro, or Paid Memberships Pro offer detailed control. You can restrict entire sections, courses, or downloads to specific membership levels, perfect for subscription-based content or digital communities.
For more information, you might want to read this 👉 Password Protection vs Membership Plugins: Which Is Better for WordPress Post Visibility?
3. Role-Based or IP-Based Access
If you only want certain users or networks to access private areas, role-based or IP-based restrictions are useful alternatives.
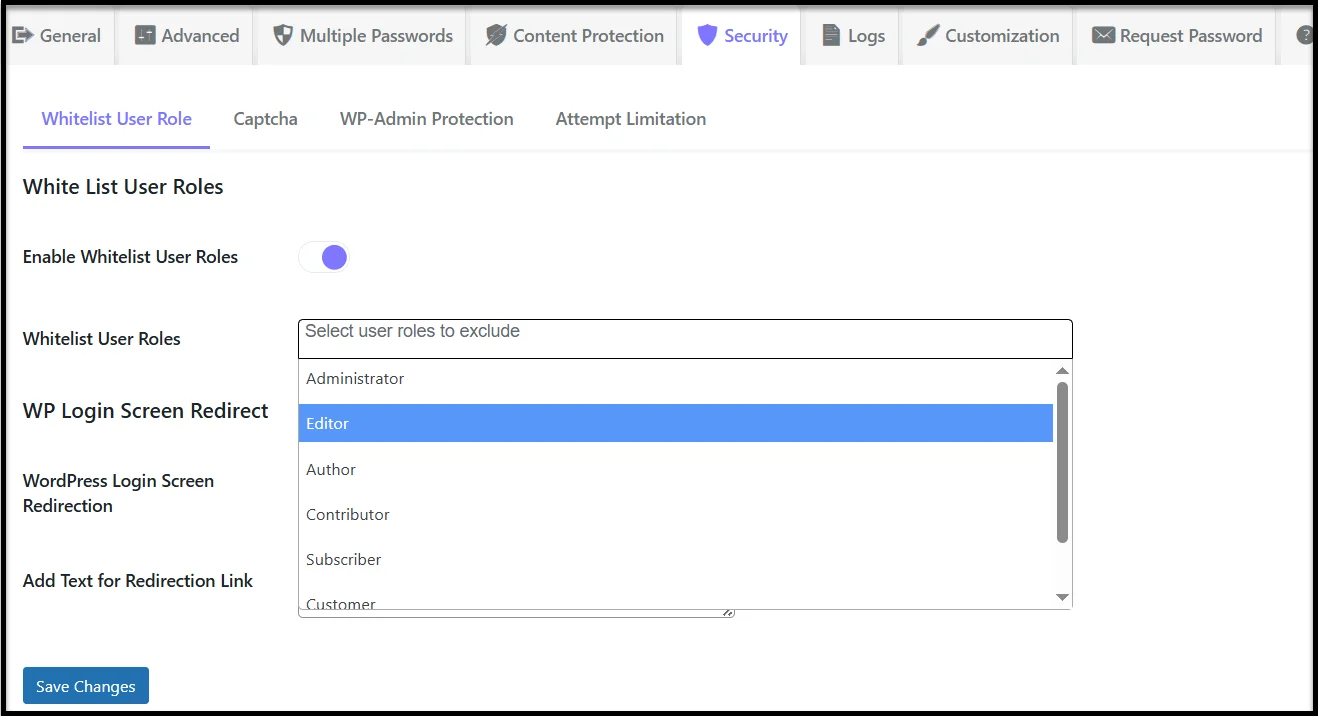
- Role-based access limits visibility by WordPress role (e.g., only admins or authors can see specific content).
For this, you can use the ‘White List User Roles ‘ feature of Password Protected.
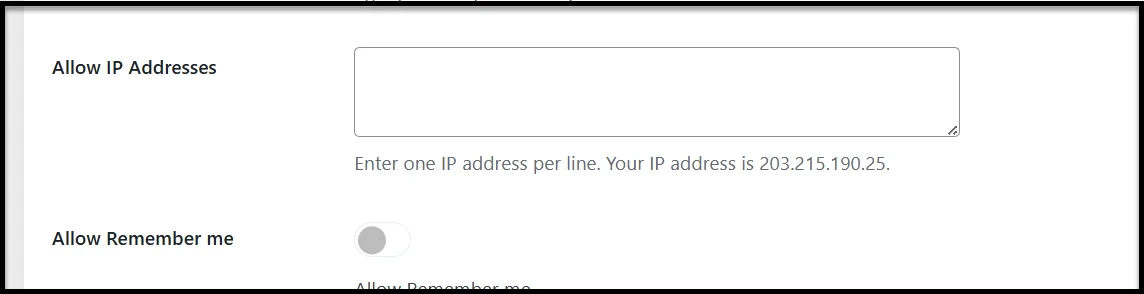
- IP-based access allows you to allow or block visitors based on their network or organization, making it ideal for internal portals or company sites.
To allow IP-based access, check out the ‘Allow IP Addresses’ feature under the General settings in Password Restored.
4. Time-Based Access Controls
Another secure method is time-based access, where content becomes available for a set duration, for example, 24 hours (for one day) after registration. This approach works well for limited-time offers, expiring downloads, or short-term training materials.
Each of these alternatives provides a different level of control and accountability. If you only need temporary, quick access for someone outside your user base, one-time links are great. But for long-term or sensitive access, these structured methods offer stronger security and better tracking.
Get Password Protected to Create a One-Time Login Link in WordPress
One-time login links are one of the simplest yet most effective ways to grant temporary access to protected content in WordPress. They eliminate the need for user accounts or manual password sharing, making them perfect for sharing private pages, client previews, or limited-time resources.
With Password Protected Pro, you can create secure one-time login links in just a few clicks. Whether you want to share a single post, a category, or even a set of child pages, this feature gives you total control over who can view your content and for how long.
You can also set expiration dates, usage limits, or IP-based restrictions to keep your links private and prevent unauthorized access.
👉 Get Password Protected Pro and start creating secure one-time login links today.
FAQs about One-Time WordPress Login Links
Are there any security considerations to keep in mind with one-time login links?
Yes, since anyone with the link can access protected content, it’s important to restrict usage limits, enable IP restrictions, and regularly rotate links to prevent unauthorized sharing and maintain security.
How can I create a one-time login link in WordPress?
You can create a one-time login link in WordPress using the Password Protected plugin by installing its Pro version, configuring protection settings for your content, enabling the bypass URL feature, and then generating and sharing the secure link.
What are the main benefits of using one-time login links?
The benefits include frictionless access for visitors, enhanced security compared to shared passwords, flexible control over link expiration and usage, a professional approach in client communication, and easier management of protected content.
When should I use a one-time login link on my WordPress site?
A one-time login link is ideal for providing quick, temporary access to content, such as client previews, subscriber onboarding, VIP campaigns, or short-term collaborations, without creating user accounts or sharing passwords.
What is a one-time login link in WordPress?
A one-time login link in WordPress is a special bypass URL that allows someone to access a password-protected page, post, or site without entering a password, and typically works only once or for a limited period before it expires.