Restricting content can be practical in multiple scenarios, including, but not limited to, creating a membership site or improving the website’s general security.
But the problem is—how?
That’s exactly what this article explores. We are here with three simple ways you can use to restrict content in WordPress.
We can use a dedicated plugin that offers complete control over content restriction, use WordPress user roles, or custom code if you are familiar with development and coding. Whatever you choose, we are here to help with everything!
But first, let’s understand why you may need to restrict specific content for a specific audience.
Why Restrict Content in WordPress?
There are several valid reasons to limit access to certain parts of your WordPress site. Such as:
- Membership or Subscription Sites. Want to offer exclusive content to paying members? Content restriction helps you deliver value only to those who’ve signed up.
- Client or Internal Portals. Share private files, dashboards, or reports with specific clients or team members without exposing them to the public.
- Course or Educational Content. If you run an online course or want to transform your WordPress into a learning management system, you might wish for lessons or resources to be exclusive to enrolled students.
- Age-Restricted or Sensitive Content. With content restriction, you can keep mature or sensitive material behind a prompt or login to comply with laws and user expectations.
- Marketing and Lead Generation. Restrict premium downloads, guides, or templates behind email opt-ins or account creation. This will allow you to grow your mailing list, which is beneficial for marketing.
In short, content restriction is about creating a better, more tailored experience for your users while giving you greater control over your website’s flow and structure.
How to Restrict Content in WordPress: 3 Easy Ways
Now that you know why, let’s explore how to actually do it. The most efficient method is to use a plugin.
#1: Use The Password Protected WordPress Plugin
Although the one with WordPress settings sounds more straightforward, it isn’t the complete solution, as it does have a few loopholes and may not be sufficient for you if you are looking for full control over who can access specific content.
Let’s get started by downloading the Password Protected plugin.

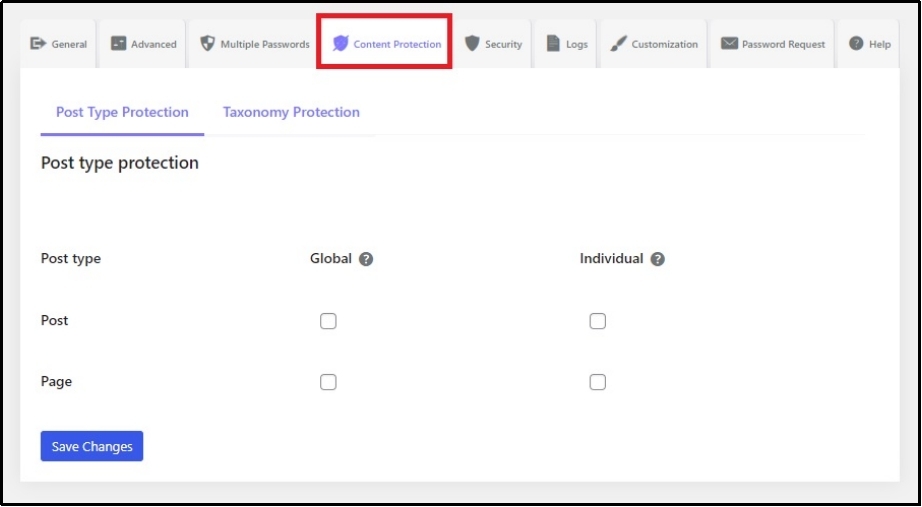
Once activated. Head inside the plugin and navigate to the “Content Protection” tab.
Here, you can control whether to password protect an entire page or just a post. To make it clearer, here’s what these mean:
- Post: Check this box if you want to password protect a specific post within a category or a page. Anyone can explore the category, but not the specific post.
- Page: Checking this box enables password protection on a page. No one except the password will be able to access the entire page and everything on the page.
The global settings ensure every post or page, already on the website or about to be created, is password protected. Checking the individual tab enables you to safeguard posts or pages individually.
Let’s take a look at both examples.
If we check the global checkbox in the Post column, every post on WordPress will be password-protected.
In fact, if I create a new post, it will also be protected without manually changing the settings repeatedly.
Moreover, we can also protect pages or posts individually.
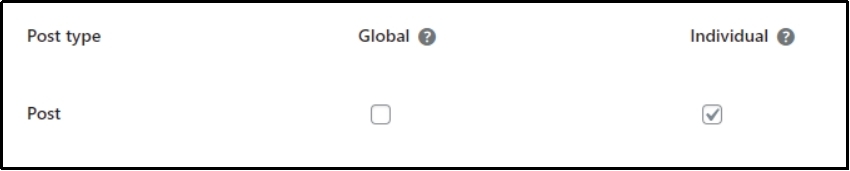
After checking the box in the “Individual” column, go to the individual post that you want to protect and edit it.
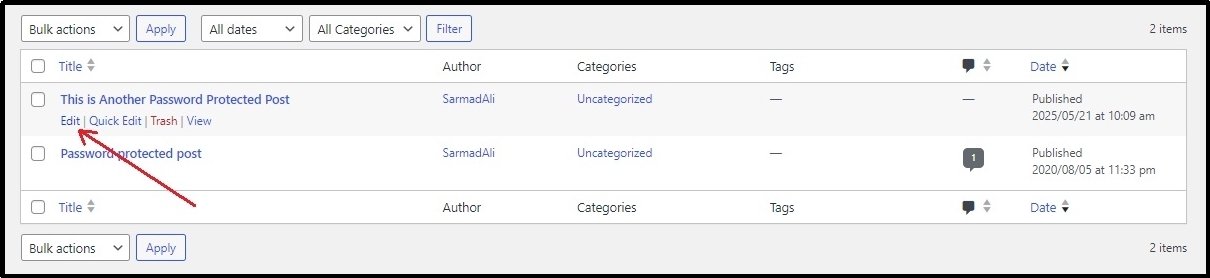
Once inside, scroll until you find the Password Protected screen. Enable Password protection using the checkbox. Then, set a password and usage limit for your password. You can set an expiry date, which can be beneficial for seasonal offers or when you want to protect an individual post for a specific time.
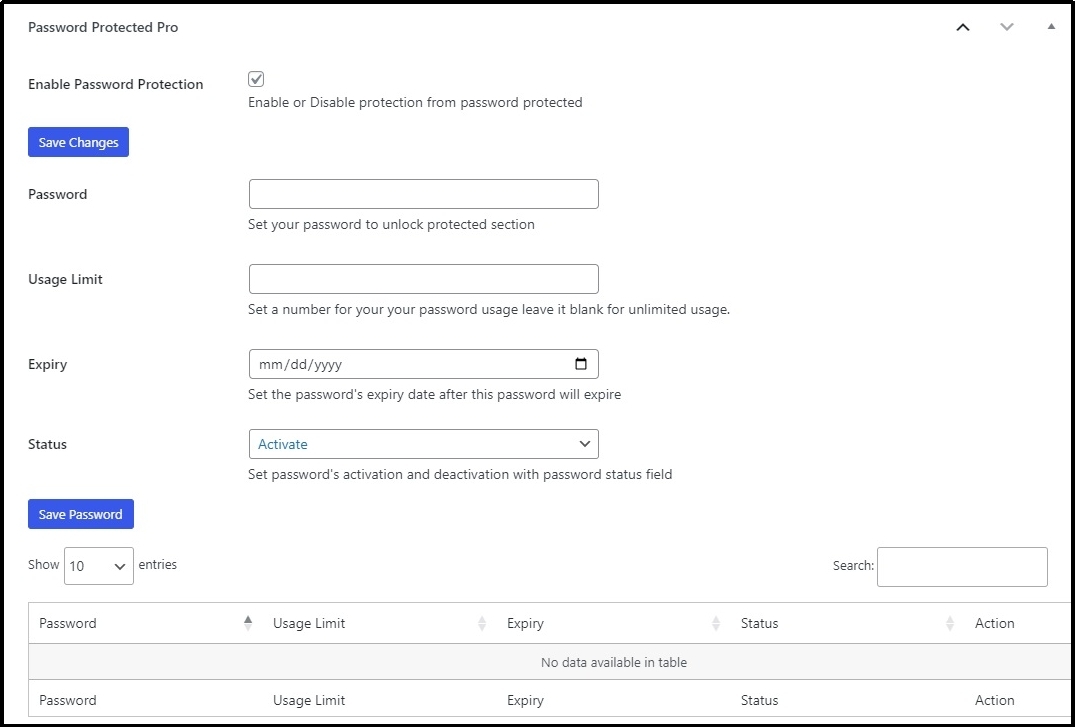
Once done, save progress using the “Save Password” button, and you have done it.
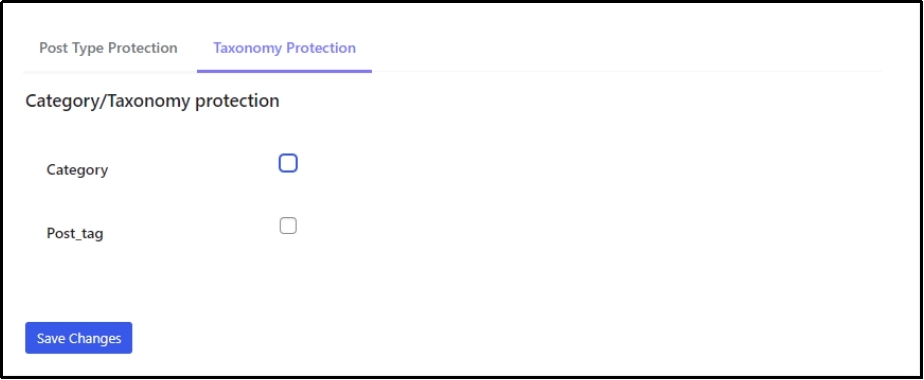
You can also protect certain categories or tags.
Just switch to the Taxonomy Protection subtab and check the box that you want to protect. Like earlier, let’s see how both of these work.
After checking the category checkbox, head to the categories by navigating to Posts ⇒ Categories.
Here’s how the category page should look.
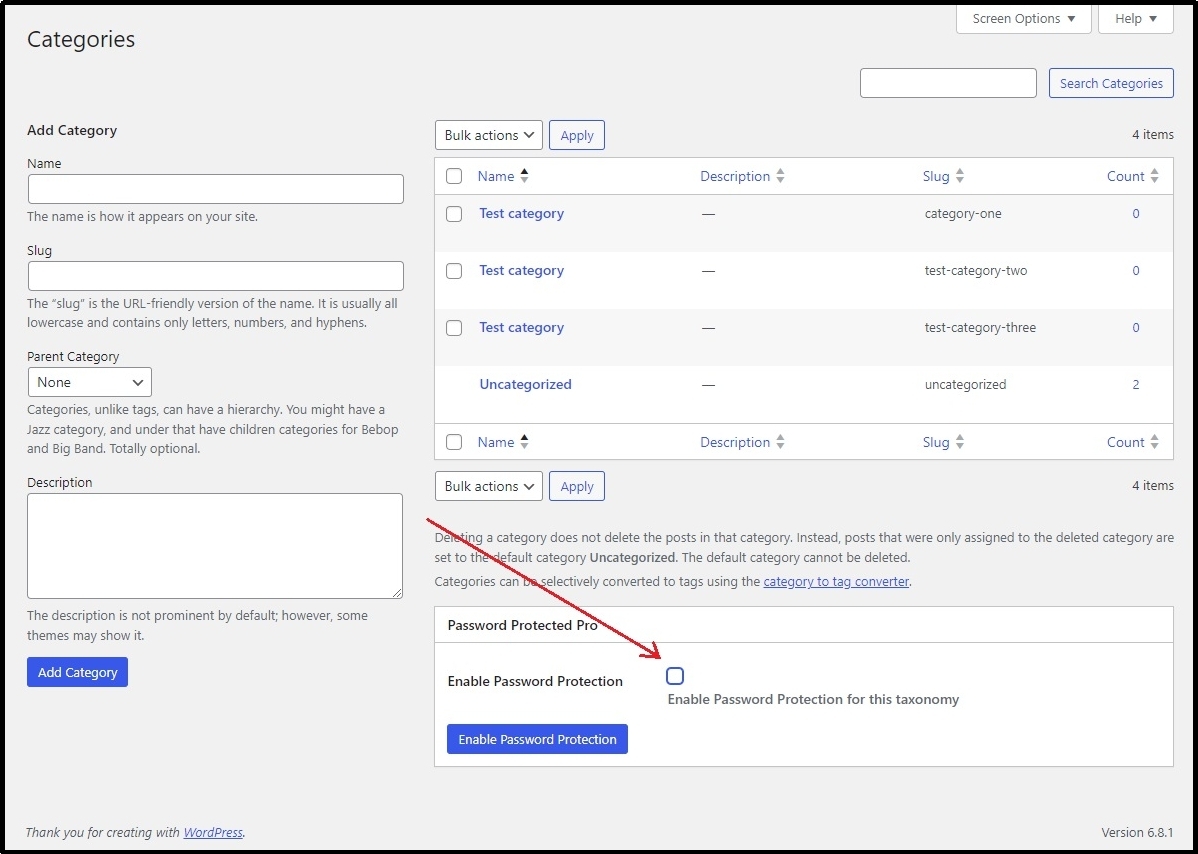
You can find the password protection screen at the bottom. Check the box and click the “Enable Password Protection” button.
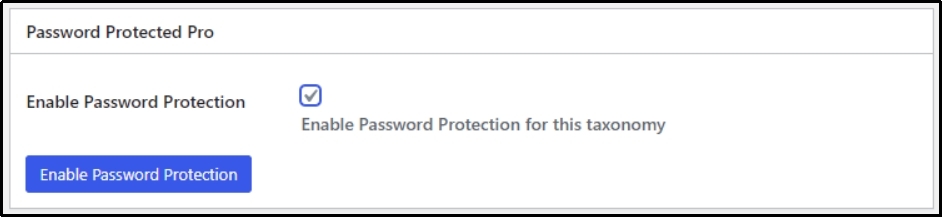
That would reveal additional options.
Use the “Select Category” dropdown to select the categories you want to protect, set up a password and usage limit, decide the expiry date for the protection, and save changes.
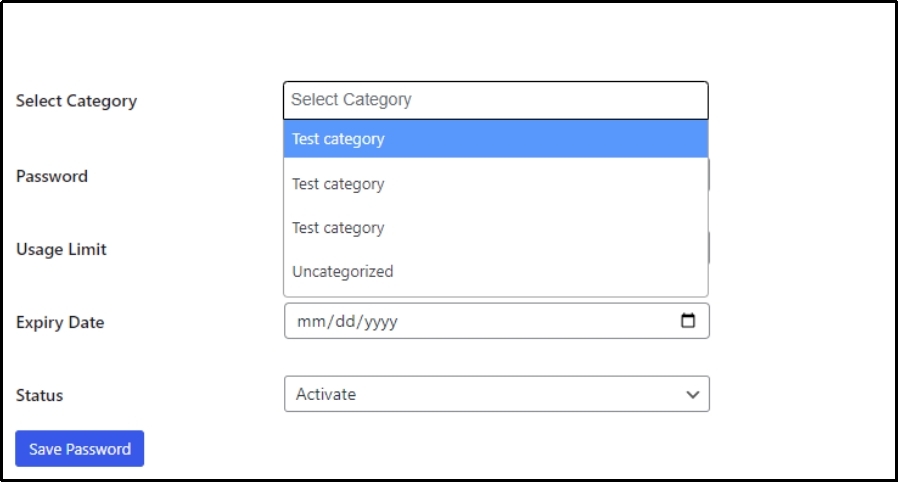
That should be enough to protect categories.
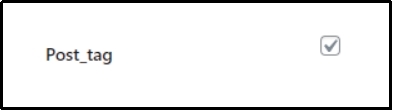
You can do that to tags as well.
Just check this box and follow a similar process as we just did with categories.
#2: Use WordPress’s Default Visibility Function
On to the next, easy but limited-functionality way of password-protecting WordPress posts. It uses the WordPress visibility settings, which allow setting up a unique password for an individual post.
Enabling proper content restriction. However, there is a catch. You can’t protect a specific category. To do so, you must manually password-protect all the posts within a category.
This is not only super time-consuming but also not very practical. Considering the possibility of human error, it is very likely you will leave a few and set up an incorrect password for others, which may cause complications.
However, this can be a better way if you only want to lock a few posts.
To do so, click the post you want to lock and check its switch to the “Post” tab.
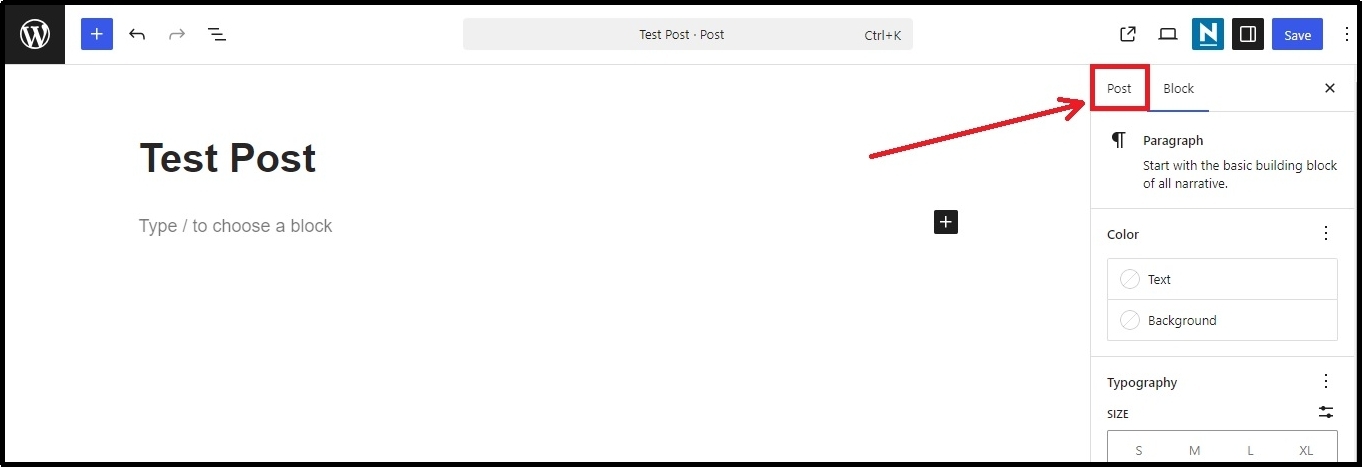
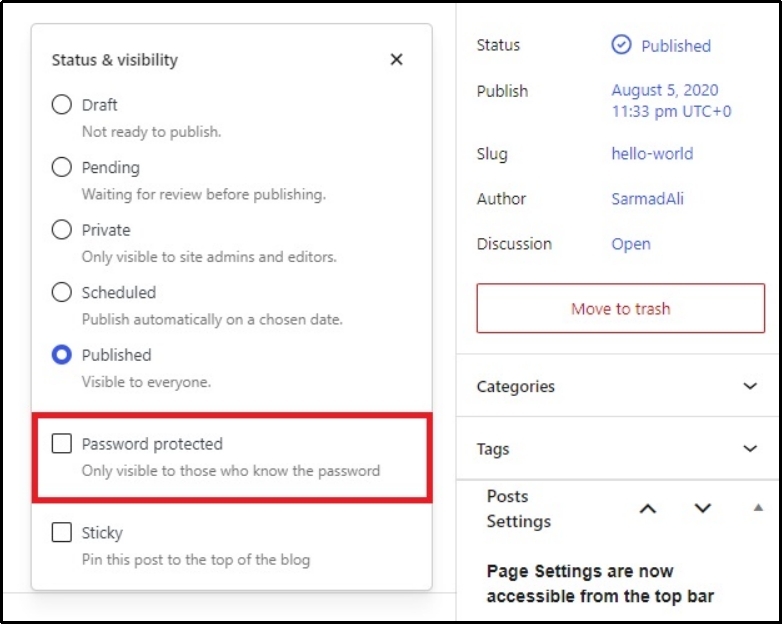
Look for the post’s status, and click on it.
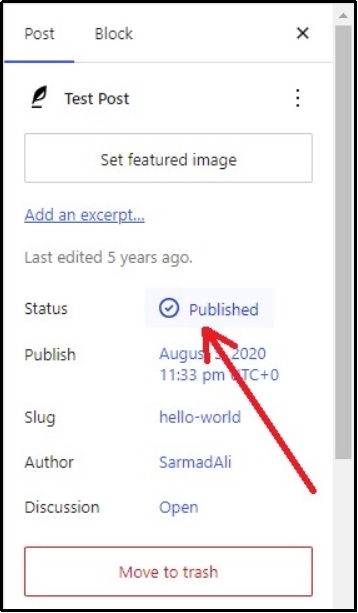
It will reveal another set of options. Check the Password protected box.
Set a unique password.
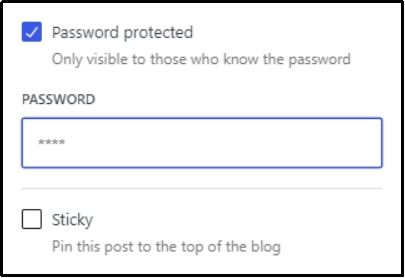
Save the post, and there you go!
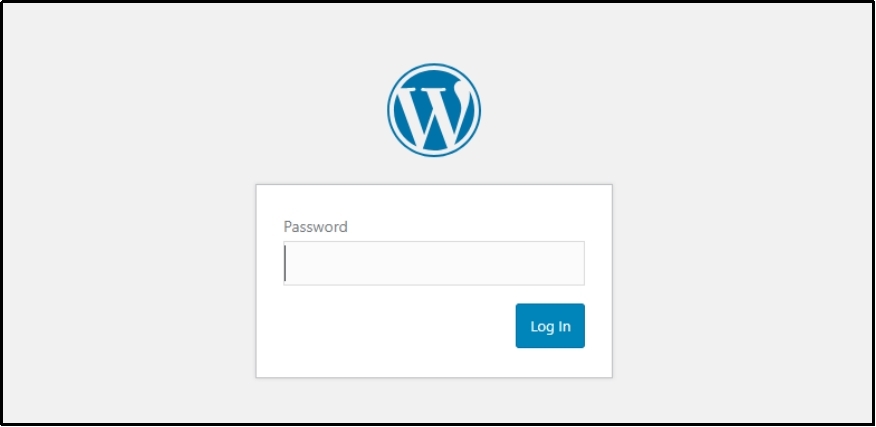
Here is what the password-protected screen looks like.
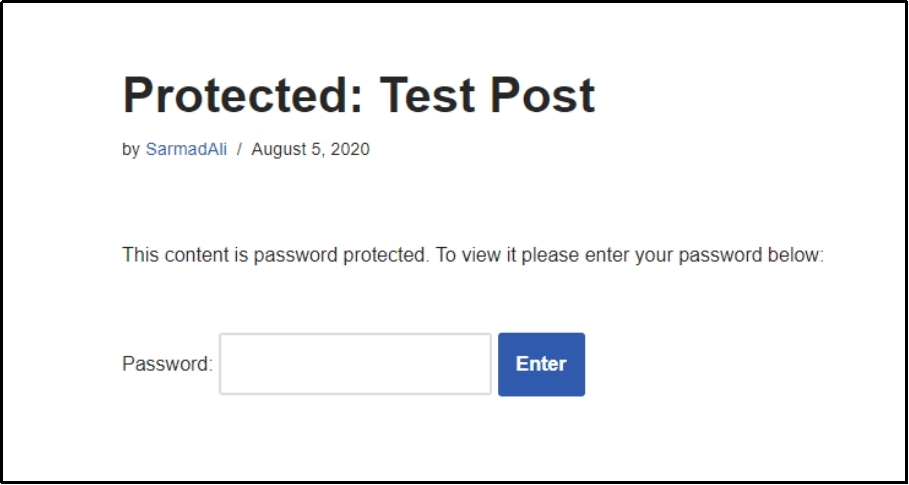
However, there is a problem.
This screen is very bland and unappealing to the common eye. It also doesn’t fit with the overall brand aesthetics, especially if your brand colors are vibrant and sharp.
Password Protected has a solution for that as well. With the latest v1.7.0 the plugin has infused complete customization that enables users to customize the password protected screens to make it appealing and exciting.
Go to the Customization tab. Here, you have various sub tabs to select from, including logo, labels, fields, button, remember me, form background, body background, form content, and custom CSS.
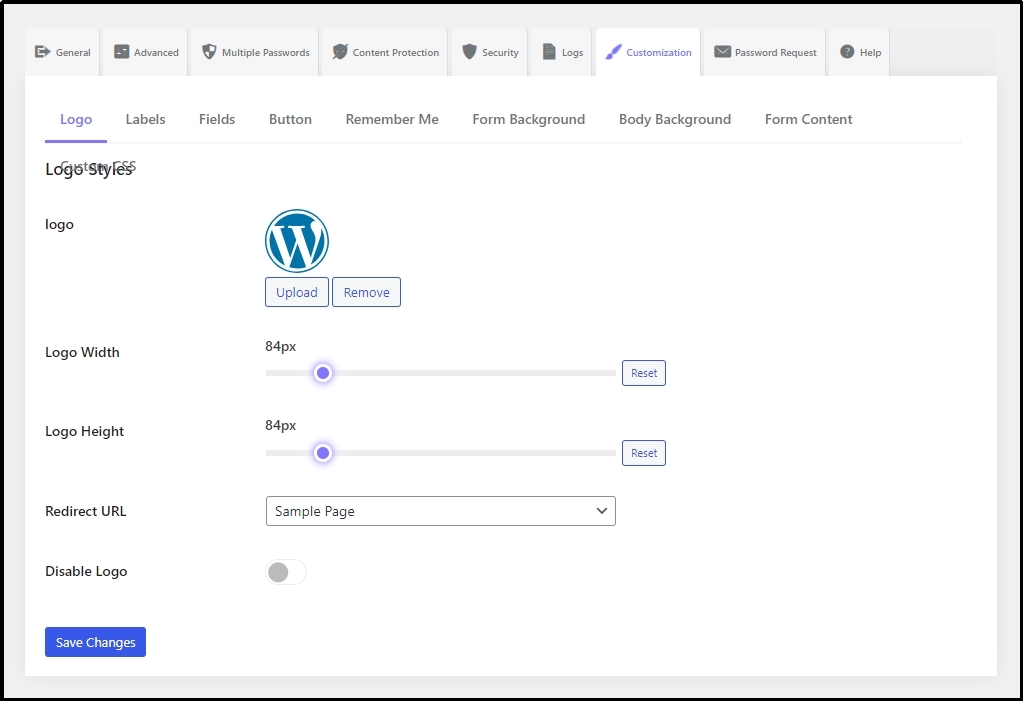
Change logos, background, colors, buttons, and everything.
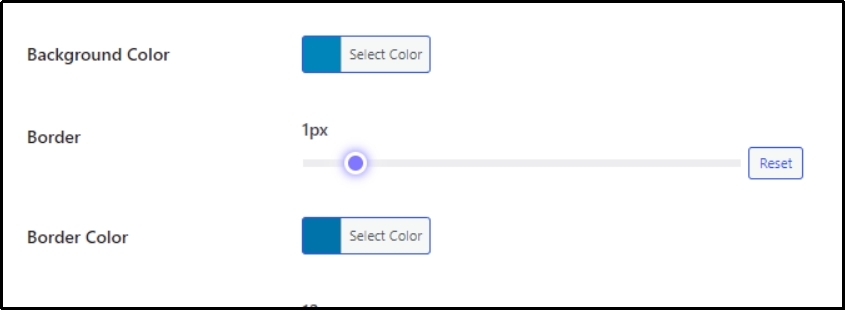
You can play around with sliders until borders match your preferences.
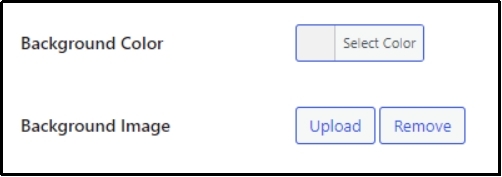
Moreover, upload your own images from the “Body Background” subtab. Use the Upload button and browse from the media library.
And much more.
#3: Use Code Snippets
The last one, and a developer-friendly way to restrict content in WordPress, is to use code snippets.
You can manually add the code to the WordPress theme. However, it’s riskier, especially for those who are not proficient with coding. Thus, it’s better to use any plugin that can help you add snippets without breaking your site.
A few of them offer a testing environment or safe mode to test the integration without potentially breaking the site.
Add the following code in the snippet box and save changes.
/**
* Set password for a post.
*
* @param array $args
* @return array
*/
function wpufe_post_password( $args ) {
if ( isset( $_POST[‘post_password’] ) ) {
$args[‘post_password’] = sanitize_text_field( $_POST[‘post_password’] );
}
return $args;
}
add_filter( ‘wpuf_add_post_args’, ‘wpufe_post_password’ );
add_filter( ‘wpuf_update_post_args’, ‘wpufe_post_password’ );
Save changes, and there you go!
Final Words
As discussed, content restriction is immensely helpful for building lists and creating member-only content. With a plugin like Password Protected, you not only get a complete solution for content restriction, but also a tool for WordPress security.
With cybercrime escalating, it is no surprise that the more security measures you take, the better your chances of survival in this virus-filled digital landscape.
Make the right choice, and install Password Protected today, and enjoy a bunch of features for free. For even more functionality and security, go premium. Check out the prices here.
Frequently Asked Questions
How do I restrict content in WordPress?
You can easily restrict content in WordPress by using the Password Protected plugin. The plugin allows password protecting individual posts or entire pages, tags, or categories. Alternatively, you can use WordPress’s password protection feature that can individually lock a post, but can not lock an entire category. Lastly, you can add a code snippet directly to your theme’s core files or via a snippet plugin.
How do I make my WordPress posts private?
Using the Password Protected plugin, you can make WordPress posts private by adding a password screen. The plugin allows you to add a password to posts, pages, or your entire site, enabling you to make it completely private or share the access with only those you allow.
Can I restrict WooCommerce products or content?
Of course, you can! Password Protected allows restricting WooCommerce products and categories. Making it a complete solution for WordPress or WooCommerce content restriction.
What happens when unauthorized users try to access restricted content?
When unauthorized users try to access restricted content, they will be shown a password-protected screen; those unaware of the password will have to bounce back. However, Password Protected allows you to customize password screens with custom messages to avoid confusing visitors.