

With WordPress powering over 43–44% of all websites globally, it’s no surprise that individuals and businesses rely on this CMS to build their online presence. Among the most popular WordPress website builders is Elementor, widely recognized for its drag-and-drop editor and powerful customization features.
As digital content grows rapidly, protecting valuable information from unauthorized access or content theft has become essential. Irrespective of what you are creating, adding password protection helps keep your website secure.
In this guide, you’ll learn how to create a password protected page in Elementor step-by-step.
What is a Password Protected Page in Elementor?
In Elementor, a password protected page is a private WordPress page accessible only to users with the correct password credentials. Instead of making your content fully public, WordPress lets you restrict access to selected pages with a password, protecting your website from content theft and giving you more control.
In the WordPress context, password protection is a visibility feature available for pages and posts. This is also useful for sharing exclusive information without creating user accounts.
Website owners commonly use an Elementor private page/password protection page for:
- Client-only resources
- Online course materials
- VIP or premium content
- Event details and invitations
- Internal business documents
- Temporary staging or hidden landing pages
Why Password Protect an Elementor Page?
If you are an individual or business, there are always a thing or two on your site that you want to keep private. Whether it is a portfolio, agency page, or membership website, sometimes a few things need to be shared securely.
Password protection fills that gap. How?
It helps you control who can view specific content. You can limit access to selected users with simple passwords. Also, hide pages from public access so you or your team can work on confidential projects.
To sum it up, here are the key benefits of password protecting Elementor pages:
- Keep private or unfinished content hidden from the public
- Secure client pages and internal team resources
- Restrict access to premium or members-only content
- Share hidden landing pages for marketing campaigns
- Provide temporary access for clients or reviewers
- Prevent unauthorized content sharing or indexing by search engines
Steps to Create a Password Protected Page in Elementor
Creating a password protected page in Elementor is easy. You can easily secure pages without a developer. Follow the steps below carefully to create a private, password protected page in Elementor and restrict access with a password.
Step 1: Install Elementor and Password Protected Plugin
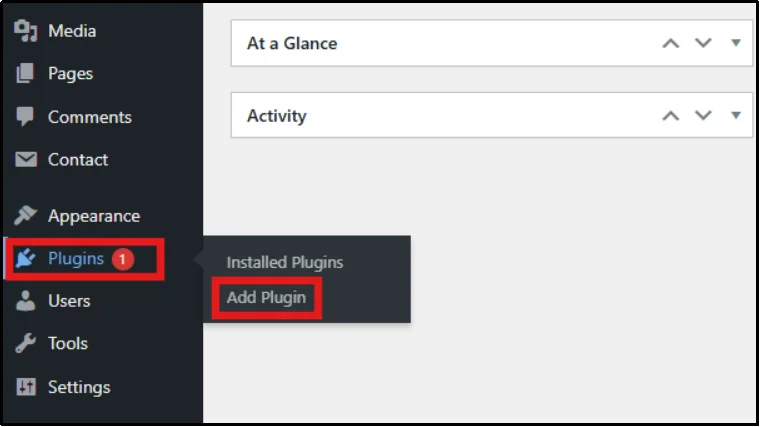
- In your WordPress dashboard, go to Plugins → Add Plugin.
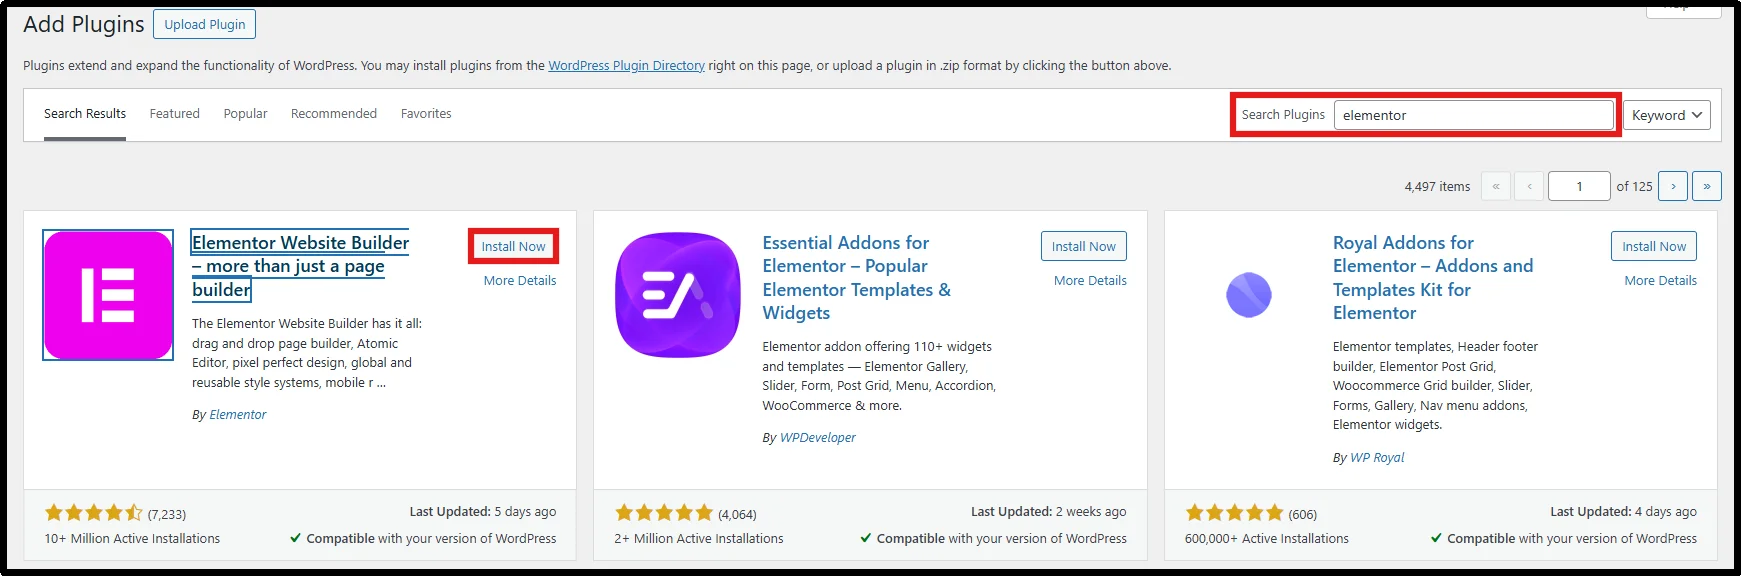
- In the search bar, type “Elementor” and click on “Install Now”.
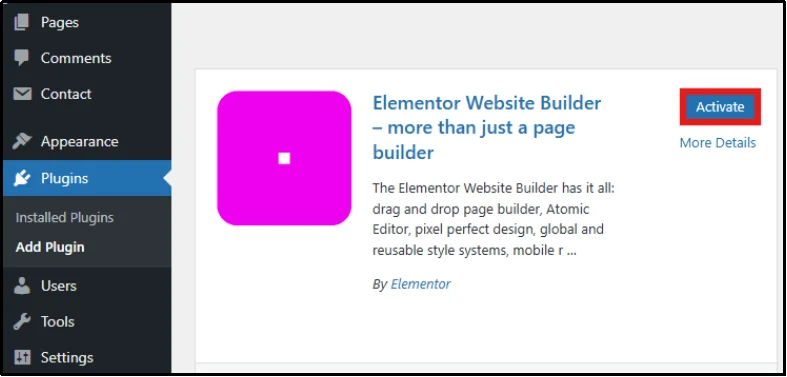
- After a few seconds, click on Activate.
- Once Elementor is activated, type “Password Protected” in the search bar and click “Install Now”.
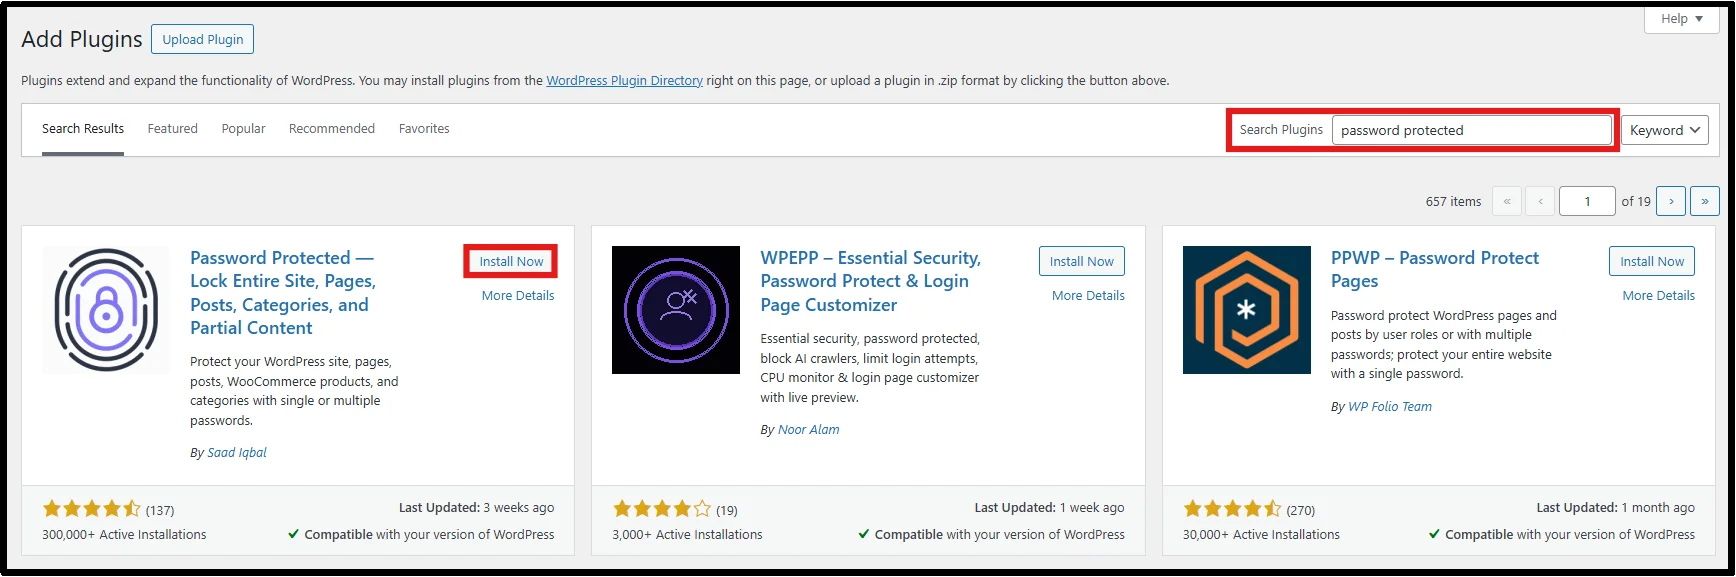
- Later, click on Activate to enable the Password Protected plugin.
Note: You just installed the Password Protected (FREE) version. Page Content protection requires Password Protection Pro.
You can follow the steps below to get Password Protection Pro:
- Navigate to the Password Protected pricing page and purchase a professional or business plan.
- Receive an email with the Password Protected Pro ZIP file and license key.
- Download the Pro plugin ZIP file from the email and copy the license key for later use.
- Visit your WordPress dashboard, head to Plugins → Add Plugin → Upload Plugin.
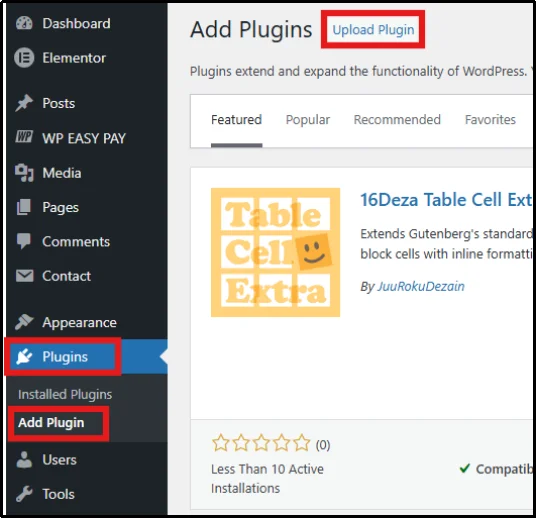
- Click on Upload Plugin, and Choose the File.
- After choosing it, click on Install Now.

- You will be redirected to the Activation page, paste your license key, and click on Activate License.
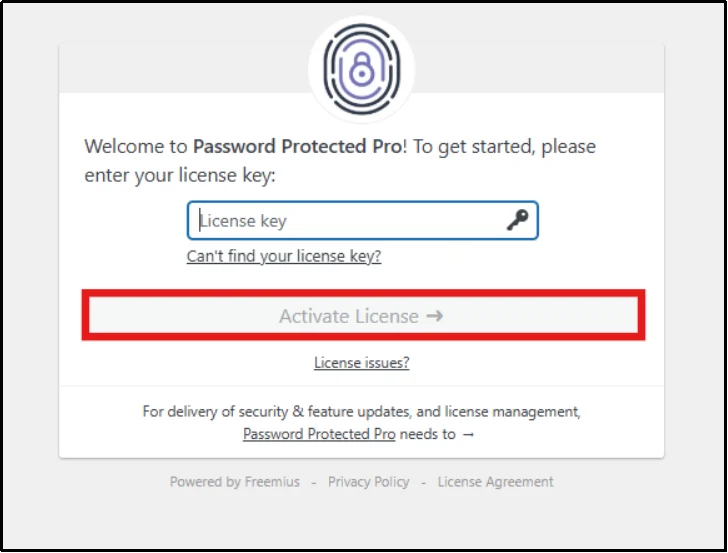
You have successfully installed Elementor and Password Protected Pro!
Step 2: Enable Page Protection in Password Protected
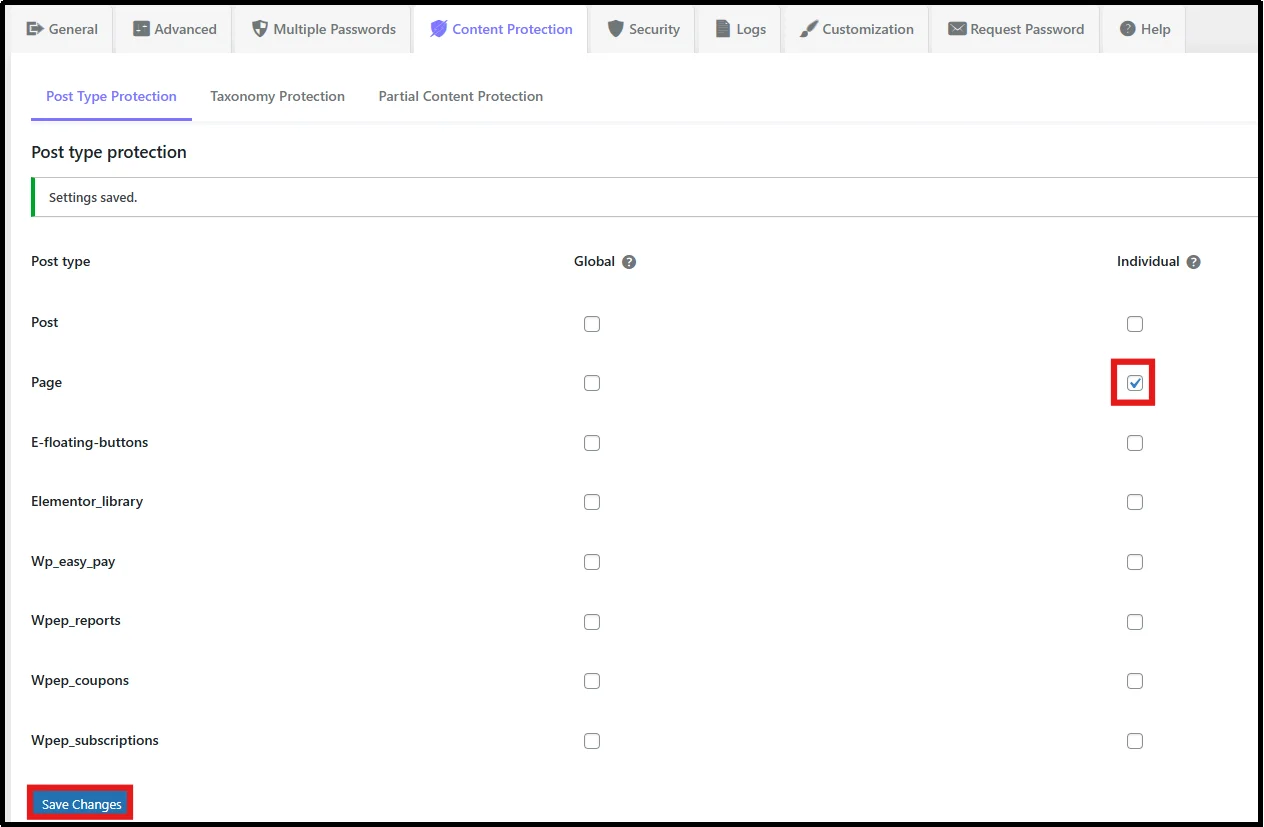
- Go to Password Protected in the WordPress sidebar and head to the Content Protection tab.
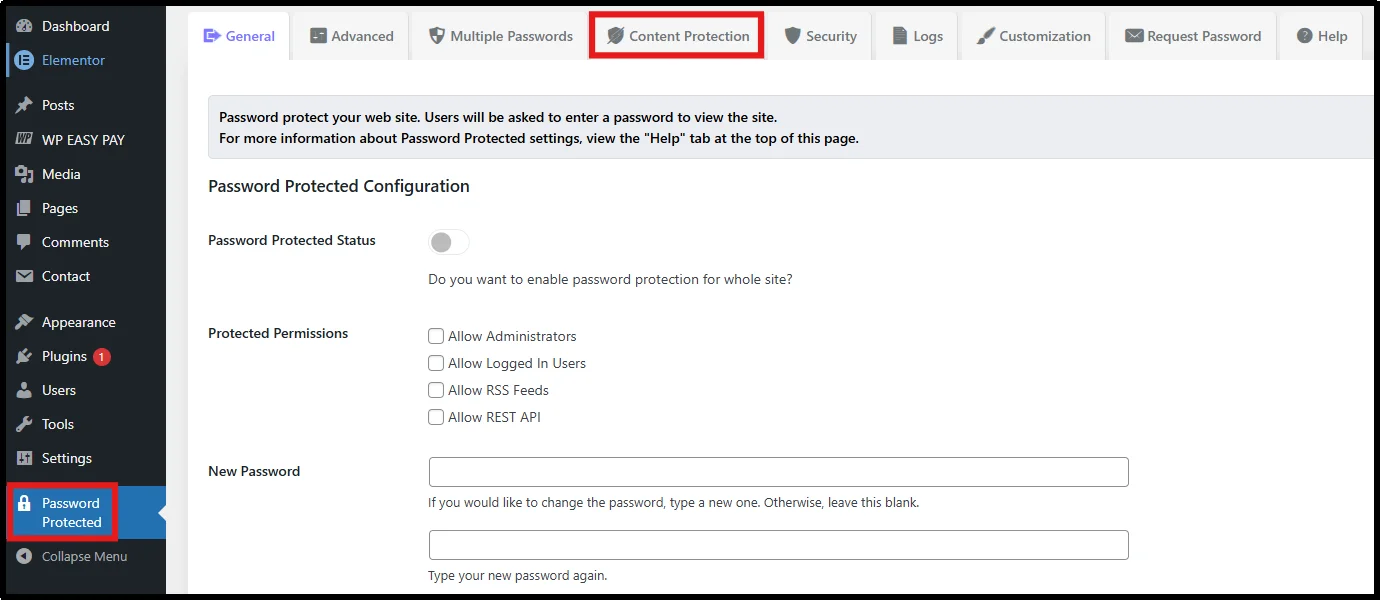
- Tick the Page checkbox under the Individual column, and then Save Changes.
Step 3: Create a Page Using Elementor
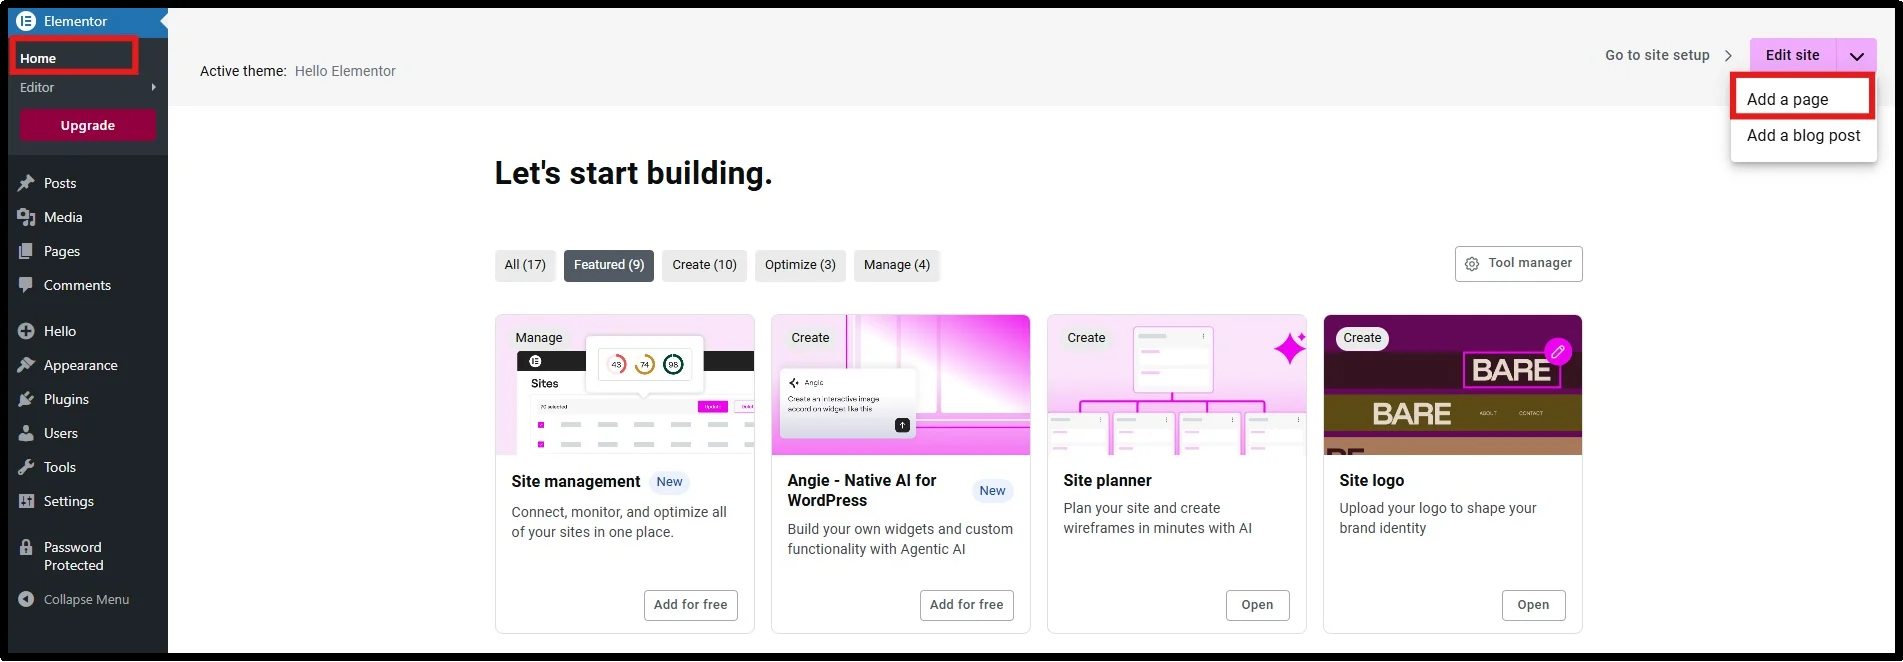
- Go to Elementor → Home, and click on Add a page.
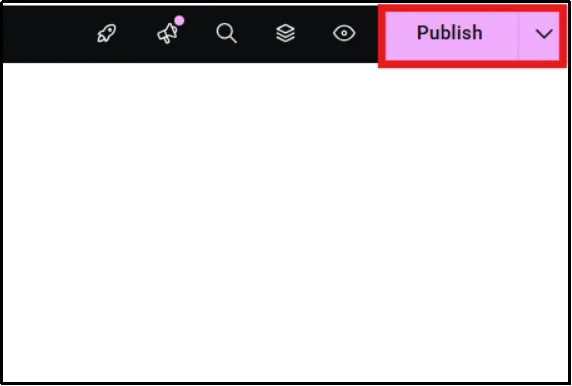
- Add your desired content or design to the page, and then click on Publish.
Step 4: Password Protect a Page
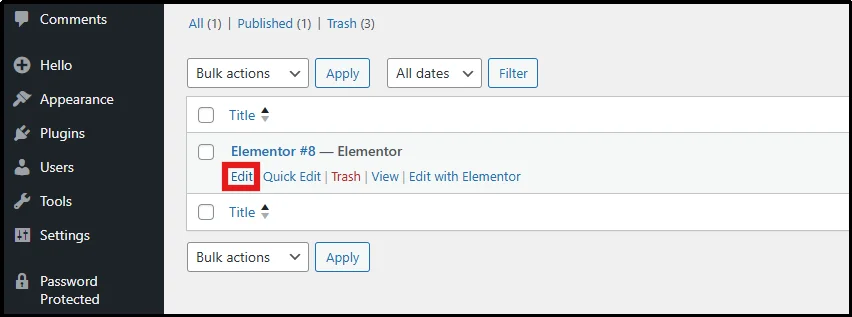
- Now go back to the WordPress dashboard, head to Pages → All Pages.
- On any existing page, click on Edit.
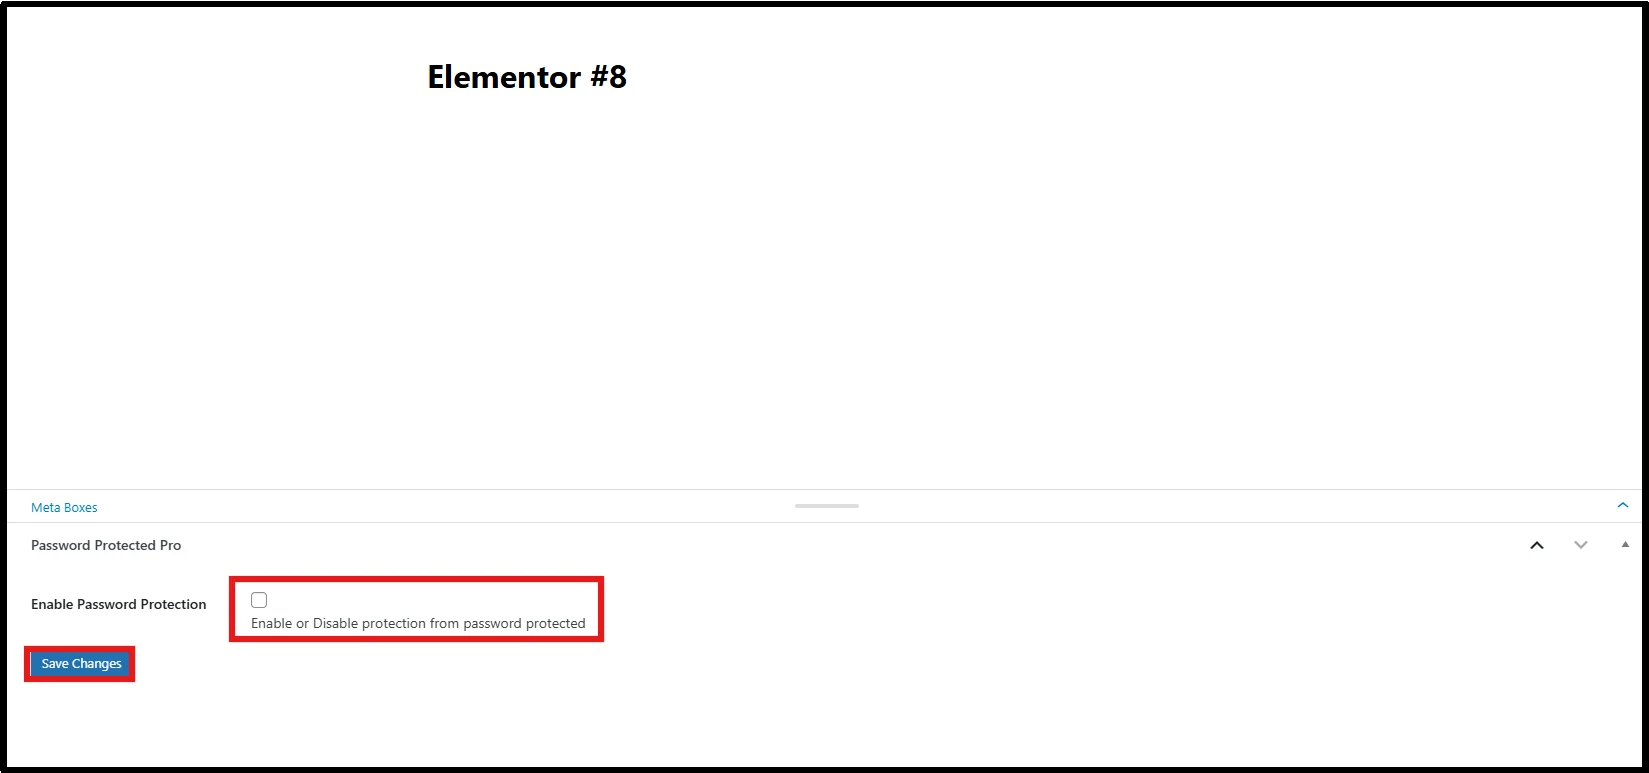
- Click the checkbox to enable the Password Protection on the individual page, and Save Changes.
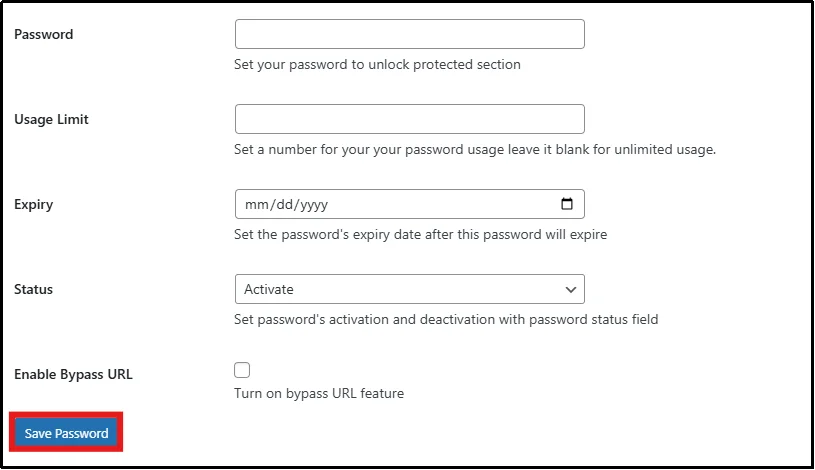
- Scroll down to enter your desired password specifications, such as usage limit, expiry, etc., and then press Save Changes again.
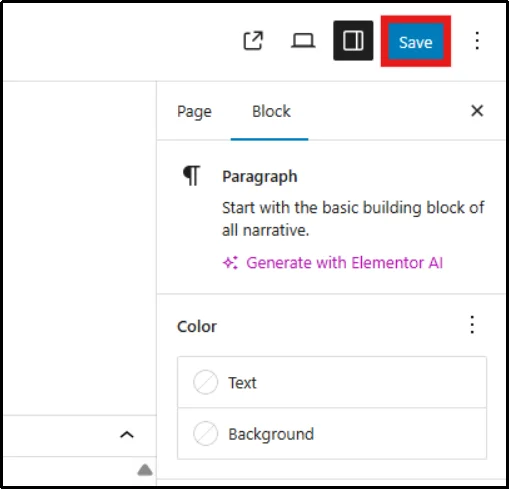
- On the top right of the page, Click on Save.
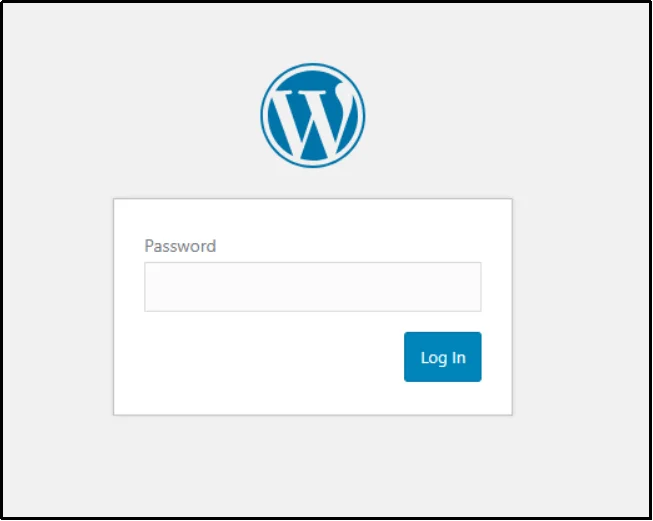
- View the published page and enter your password to check whether the password protection is functioning properly.
Congratulations on successfully creating a password protected page in elementor with the help of Password Protected plugin!
Common Issues With Elementor Password Protected Pages
Sometimes, issues occur when you try to password-protect pages. These errors don’t mean your website is broken – they usually involve caching or plugin conflicts. Here are a few of the most common issues that might occur with Elementor password protected pages:
- Password Protected Page Not Working: One of the most frequent problems is when the password doesn’t unlock the page. Double‑check that the page is published, the password is set, and caching plugins aren’t interfering.
- Cache Problems: Third‑party caching plugins can prevent password changes from taking effect. If users enter the correct password but still see restricted content, clear both Elementor cache and your WordPress site cache.
- Plugin Conflicts: Security plugins may override WordPress’s default password protection. Disable other plugins temporarily to identify the conflict, then adjust settings accordingly.
- Logged‑In Users Bypassing Restrictions: Logged‑in administrators may bypass password protection. Use an incognito browser window to verify that the password prompt appears for regular visitors.
Secure Your Elementor Pages Today with Password Protected
Password protecting your Elementor pages helps you control access, safeguard client work, restrict premium content, and secure hidden landing pages. Whether it is a private portal, a members-only course, or a pre-launch page for a limited audience, you can guarantee that only authorized people view the content.
If you are serious about protecting your Elementor pages today, the Password Protected Pro is one of the best options out there. With advanced features and an easy-to-use interface, you can secure your content – posts, pages, and more – without external help.
Your Page Content Deserves Protection – Get Password Protected Pro Now!
FAQs
Can Elementor password protect pages by itself?
No, Elementor doesn’t password protect pages by itself. You either have to use third-party plugins, such as Password Protected, or Elementor add-ons to password protect your page.
Can I password protect only part of a page in Elementor?
Yes, you can password protect only part of a page in Elementor using Password Protected. Check our guide and follow the interactive demo to protect only part of a page in Elementor.
How do I create members‑only pages in Elementor?
You can create a simple page, then add password protection. Make sure you share the credentials only with the members. Voila, your members-only page is ready.