Have you ever landed on a password-protected WordPress page and had no clue how to get in?
That’s where most visitors bounce back, costing you real, interested users.
Fortunately, the Password Protected plugin offers the Request Password feature, which allows users to request a password directly from the page. No extra emails. No confusion. Just a clear, controlled path to access.
More importantly, this feature gives you complete control over who gets in and who doesn’t, while making life easier for people who actually want your content.
In this guide, I’ll walk you through how to add the Request Password feature to your protected WordPress page—from setup to customization—so you can stop turning away visitors and manage access like a pro.
Ready? Let’s get started!
What Is the Request Password Feature in Password Protected?
The Request Password feature is a game-changer for site owners who use password-protected content in WordPress.
Instead of leaving visitors stranded with a “This content is password protected” message, you can now give them a clear next step. Right on the protected page, they’ll see a link labeled “Request for password.” When they click it, a small form asks for their email address. That’s it. No sign-ups, no redirects, no chasing you down via contact forms.
Once they submit their email, you, as the site admin, get a notification inside your WordPress dashboard. You can review the request, approve or deny it, and if approved, the system sends them the password automatically. You don’t even need to write the email yourself.
If a visitor previously had the password but used up the number of allowed views, they can request to reactivate it through the same feature. It’s a smart way to balance protection and accessibility without making your visitors jump through hoops.
Why You Should Use the Request Password Feature
Let’s be honest—locking content behind a password is only helpful if the right people can still get in. That’s where the Request Password feature really shines.
Here’s why it’s worth adding to your site:
You Stay in Control
You don’t want everyone accessing your protected pages. This feature ensures you don’t have to worry about that. Every password request lands in your WordPress dashboard, where you can approve or reject it with one click.
Better for Visitors
Not everyone wants to chase you down through contact forms or social media DMs just to get a password. With this setup, all they have to do is submit their email, and the system handles the rest. It’s fast, simple, and user-friendly.
Built-In Limits & Automation
Once you approve a request, the plugin automatically creates a password for that user. It’s valid for five uses over five days by default, but you can customize that according to your needs. This gives you even more control without having to monitor every login manually.
Organized and Trackable
Every password request gets logged. That means you can track who asked for what, when, and whether you approved or denied it. It’s all accessible from your dashboard, with zero clutter.
Works for Reactivations Too
Even if a visitor has already used the password and it has expired, they can use the same request system to get reactivated. You won’t need to reset anything manually. They can click “Resend Email Password” and they’re good to go.
Step-by-Step Process to Add Password Request to Your WordPress Site
Setting up the Request Password feature doesn’t require coding. Whether you’re a seasoned developer or just getting started with WordPress, you’ll have it running in minutes.
Here’s how to do it step by step:
Step #1: Install the Password Protected Plugin (Free + Pro)
Before you can unlock the Request Password feature, you need to install both the free and Pro versions of the Password Protected plugin.
- Log in to your WordPress admin dashboard.
- Head to Plugins → Add Plugin.
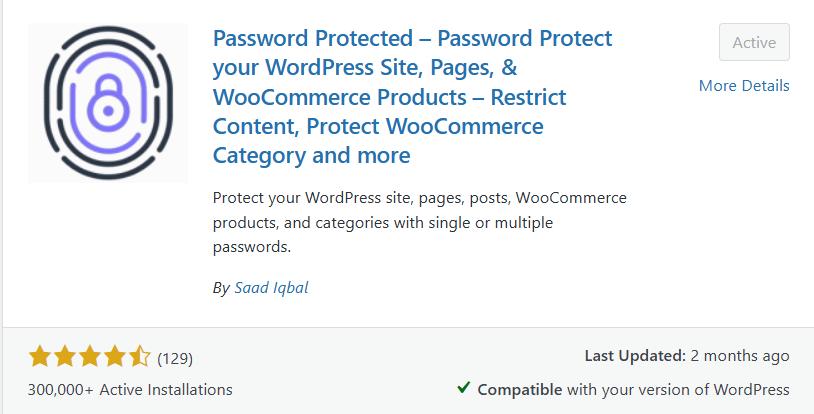
- In the search bar, type Password Protected.
- Locate the plugin, then click Install Now.
- After the installation finishes, click Activate.
This sets up the basic password protection on your site. You can now lock down the entire website with a single password.
NOTE: The Request Password feature and many more are available in the premium version of the plugin.
To upgrade:
- Go to the plugin’s dashboard in WordPress.
- Click the ‘Get Pro’ tab or visit the official Password Protected website to purchase the Pro plugin.

- After purchase, you’ll receive a .zip file containing the Pro plugin and a license key via email.
- Go back to your WordPress dashboard.
- Navigate to Plugins → Add Plugin → Upload Plugin.
- Click Choose File, select the Pro version .zip file, then click Install Now.

- After installation, click Activate Plugin.
- Once activated, you must paste in your license key and click ‘Activate License.’
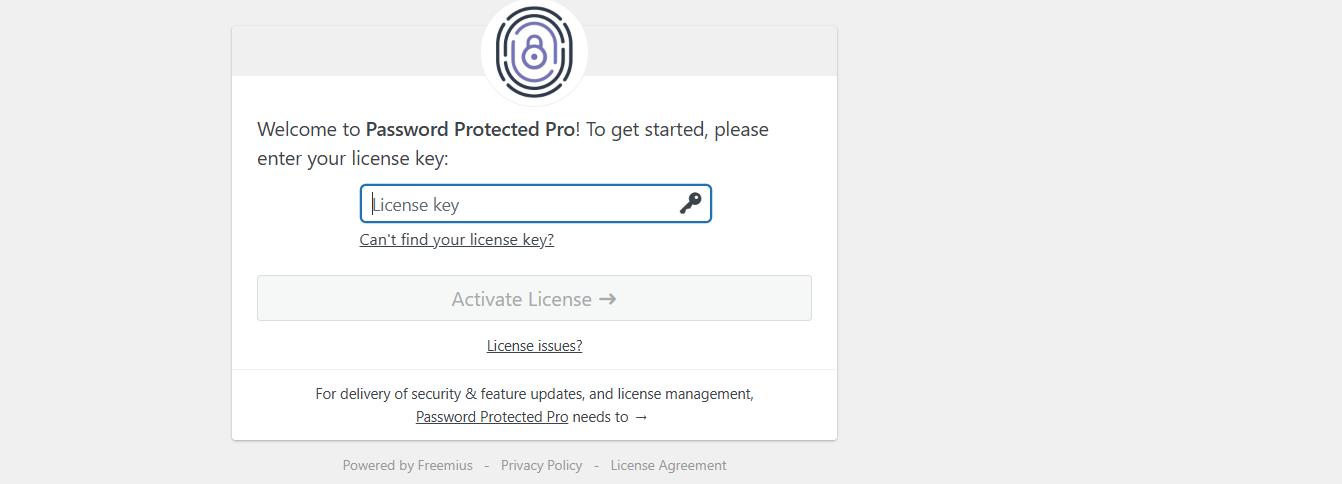
Once the license is activated, your dashboard will show new Pro-only features, including the Request Password option.
Step #2: Enable the Request Password Feature
Before you enable the Request Password feature, make sure you’ve already protected your content — whether it’s your entire site, a specific page, post, or category.
If you don’t know how to do so, then check our following guides:
✅ How to Password Protect a WordPress Page
✅ How to Password Protect Your Entire WordPress Site
✅ How to Password Protect a Category in WordPress
After configuring the password protection, follow the steps below:
- Go to your WordPress dashboard.
- Navigate to Password Protected → Request Password.
- You’ll see a toggle labeled “Enable Password Requests.”
- Turn it on and click Save Changes.
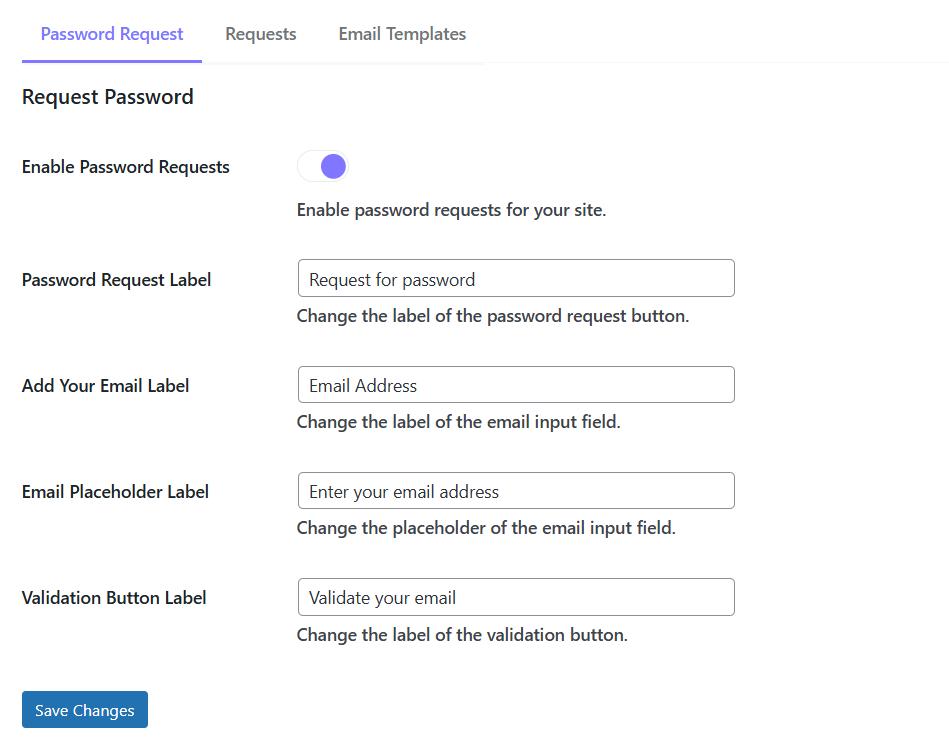
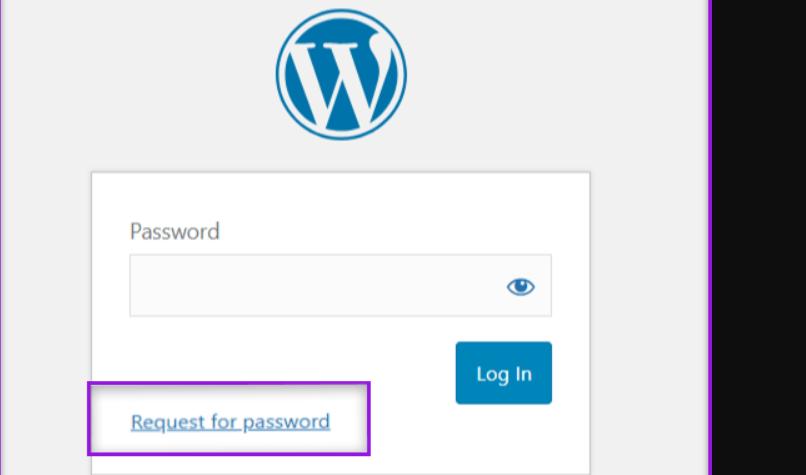
Once activated, a “Request for password” link will automatically appear on every page or post that’s password-protected.
NOTE: You can customize the labels/placeholders as you like.
Step #3: Customize Email Templates
Several email messages are involved during the entire password request and approval process. The best part is that the Password Protected plugin allows you to customize those emails.
Here’s how to do it. From your WordPress dashboard:
- Go to Password Protected → Request Password → Email Templates
- You’ll find three editable templates:
- Validation Email – sent to the user to confirm their email address.
- Password Request Notification Email – sent to the admin when someone makes a new request.
- Send Password/Content Access Email – sent to the user after the admin approves their request.
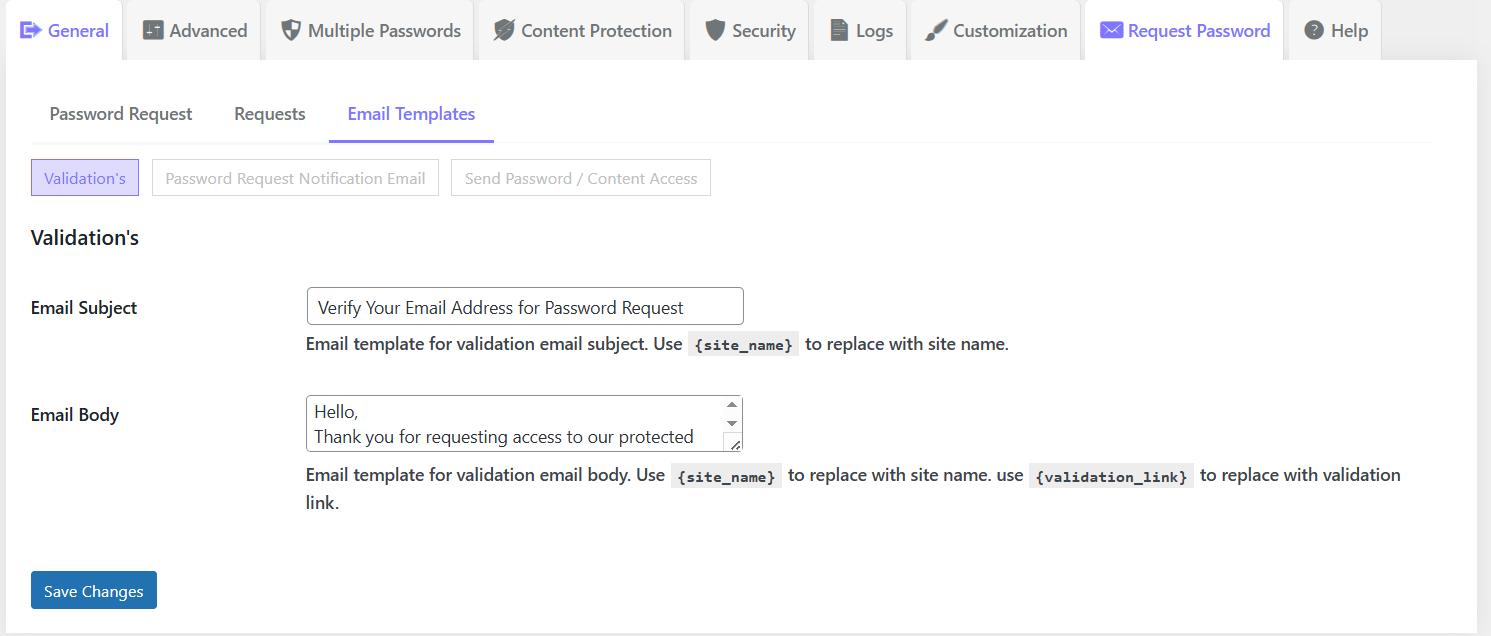
Use Smart Placeholders for Dynamic Info
These templates support smart tags (placeholders) that automatically fill in the right info. You don’t have to guess or rewrite everything manually. Just use:
- {site_name} – Your WordPress site’s name
- {validation_link} – Link for the user to confirm their email
- {requested_content} – Title of the protected page/post
- {user_email_address} – The visitor’s submitted email
- {status} – Status of their request (Approved / Rejected)
For example:
Hi there,
Thanks for requesting access to {requested_content} on {site_name}.
Click the link below to validate your email:
{validation_link}
This turns a plain email into a user-friendly message that feels custom-written without extra work from your side.
Pro Tip: Keep It Clear and Friendly
When customizing your emails, keep your tone human and helpful. Avoid sounding robotic or too formal. Add your personal flair, especially if you’re running a membership site, private blog, or internal resource.
After setting up the Request Password feature, let’s check out how it works for the visitor and admin.
What the Visitor Sees
When someone visits a protected page, they’ll now see a link that says “Request for password” beneath the password input box.
- Clicking the link triggers a pop-up form.
- The form asks for their email address.
- After they submit, they’ll see a confirmation message.
Behind the scenes, this submission immediately notifies the admin via the dashboard and email.
Review & Respond to Requests in the Admin Panel
Now, head back to your WordPress admin:
- Go to Password Protected → Request Password → Requests.

- You’ll see a clean list of every password request with key info like:
- Request ID
- User’s email
- Which page/post did they try to access
- Request status
- Date and time
- Approve or Reject buttons
Click Approve to generate a password for that user. As discussed, the password is valid for 5 uses over 5 days by default, but you can tweak those settings if needed.

After approval, a Send Email Password button appears—click it, and the user gets the password in their inbox instantly.
Don’t Let Interested Visitors Bounce — Enable Password Requests Today!
Every visitor counts, especially those who are genuinely interested in your content. When someone lands on a protected page and finds no clear way to access it, they’ll likely leave.
But with the Request Password feature, you keep the door open for real users while still locking out unwanted access. Instead of feeling frustrated, visitors get a clear path to requesting entry with just their email. You stay in control, decide who gets in, and send passwords in just one click.
Therefore, don’t lose potential subscribers, leads, or customers — activate the Request Password feature today and guide visitors instead of losing them.For more details about the Password Protected Pro version, 👉 click here.